Create a Theme
What you'll learn
After going through this tutorial, you will have learnt how to
- Set up your local development environment.
- Clone Fynd Platform’s reference theme Emerge
- Preview changes made to your local code.
- Push your theme’s code to the application.
- Prepare your theme for submitting on themes marketplace.
Pre-requisite
Before you begin creating a theme, you need:
-
To create or have access to a Partner account on Fynd Partners. To have at least 1 development account or live account available in your partner organization.
-
Click here to know how to create development account or get access to a live account through your partner panel. It is recommended to use development account for this tutorial.
-
FDK-CLI latest version.
-
Node.js v16.19.
-
Git installed.
Initialize new theme using base theme template
Step 1: Install FDK CLI
FDK CLI is a CLI tool that helps developers build themes, extensions, etc. Follow the below instructions to install FDK CLI.
npm install -g @gofynd/fdk-cli
If global installation fails due to restricted permissions you can execute the command with sudo/root permissions. To verify the installation was successful use the below command. If everything went well you should be prompted with the latest version of the CLI
fdk --version
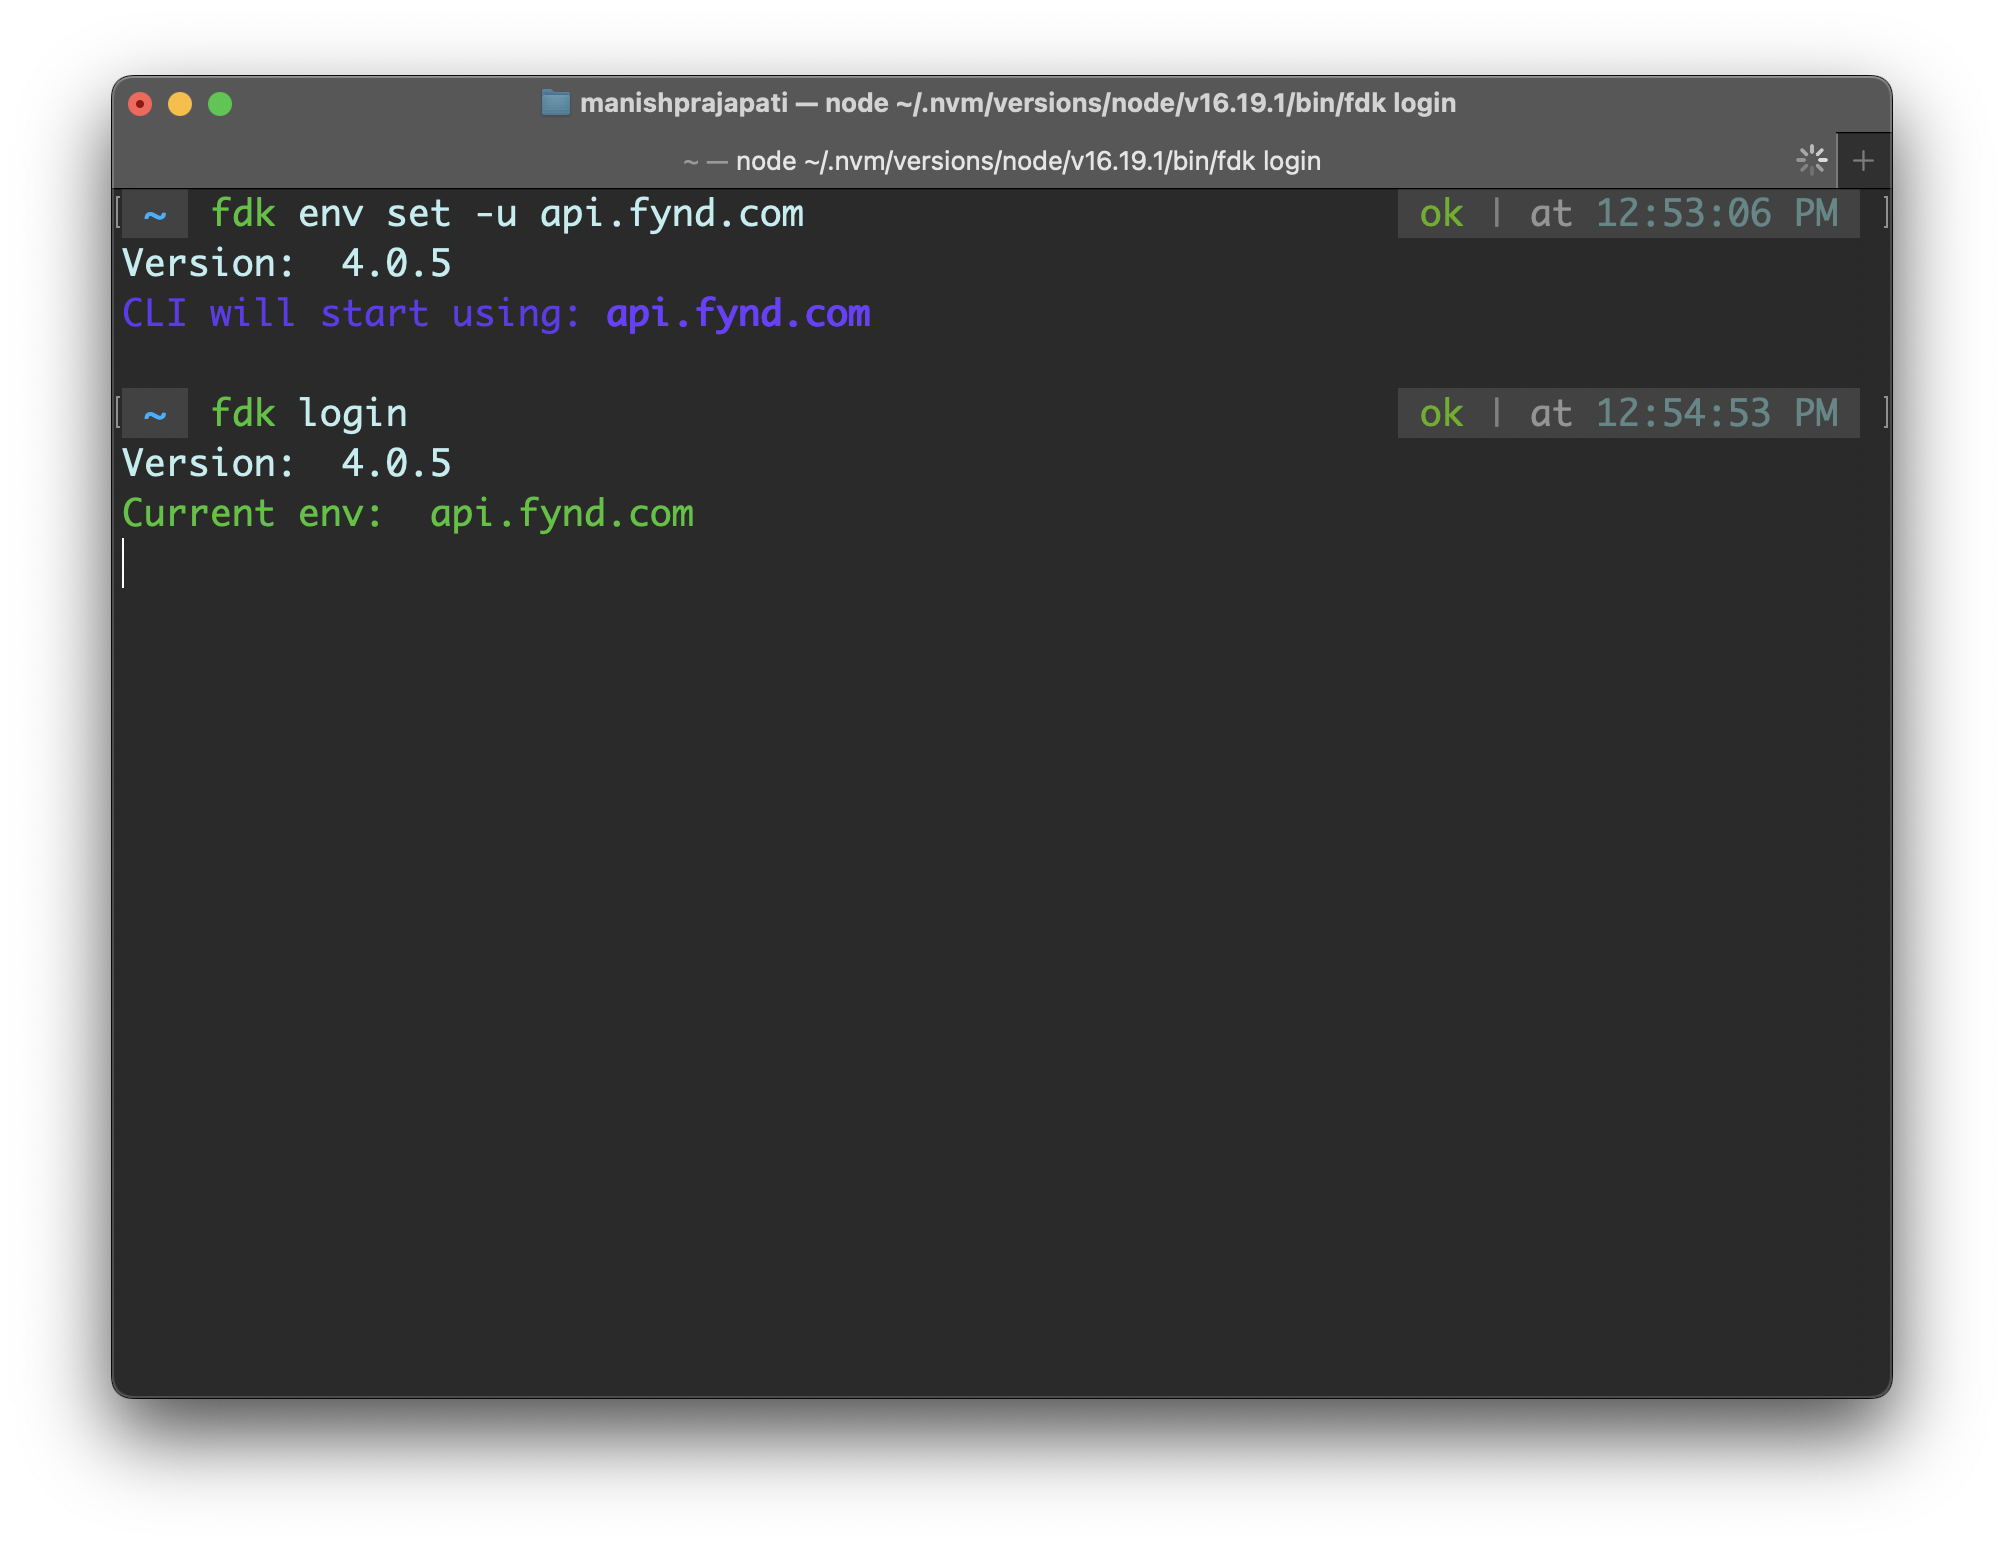
Step 2: Login your partner account into FDK/CLI
Run the below command in terminal to login to your partners account of environment set in Step 1.
fdk login
And after running the login command you will be redirected to the homepage of the partner’s panel of that specific env.
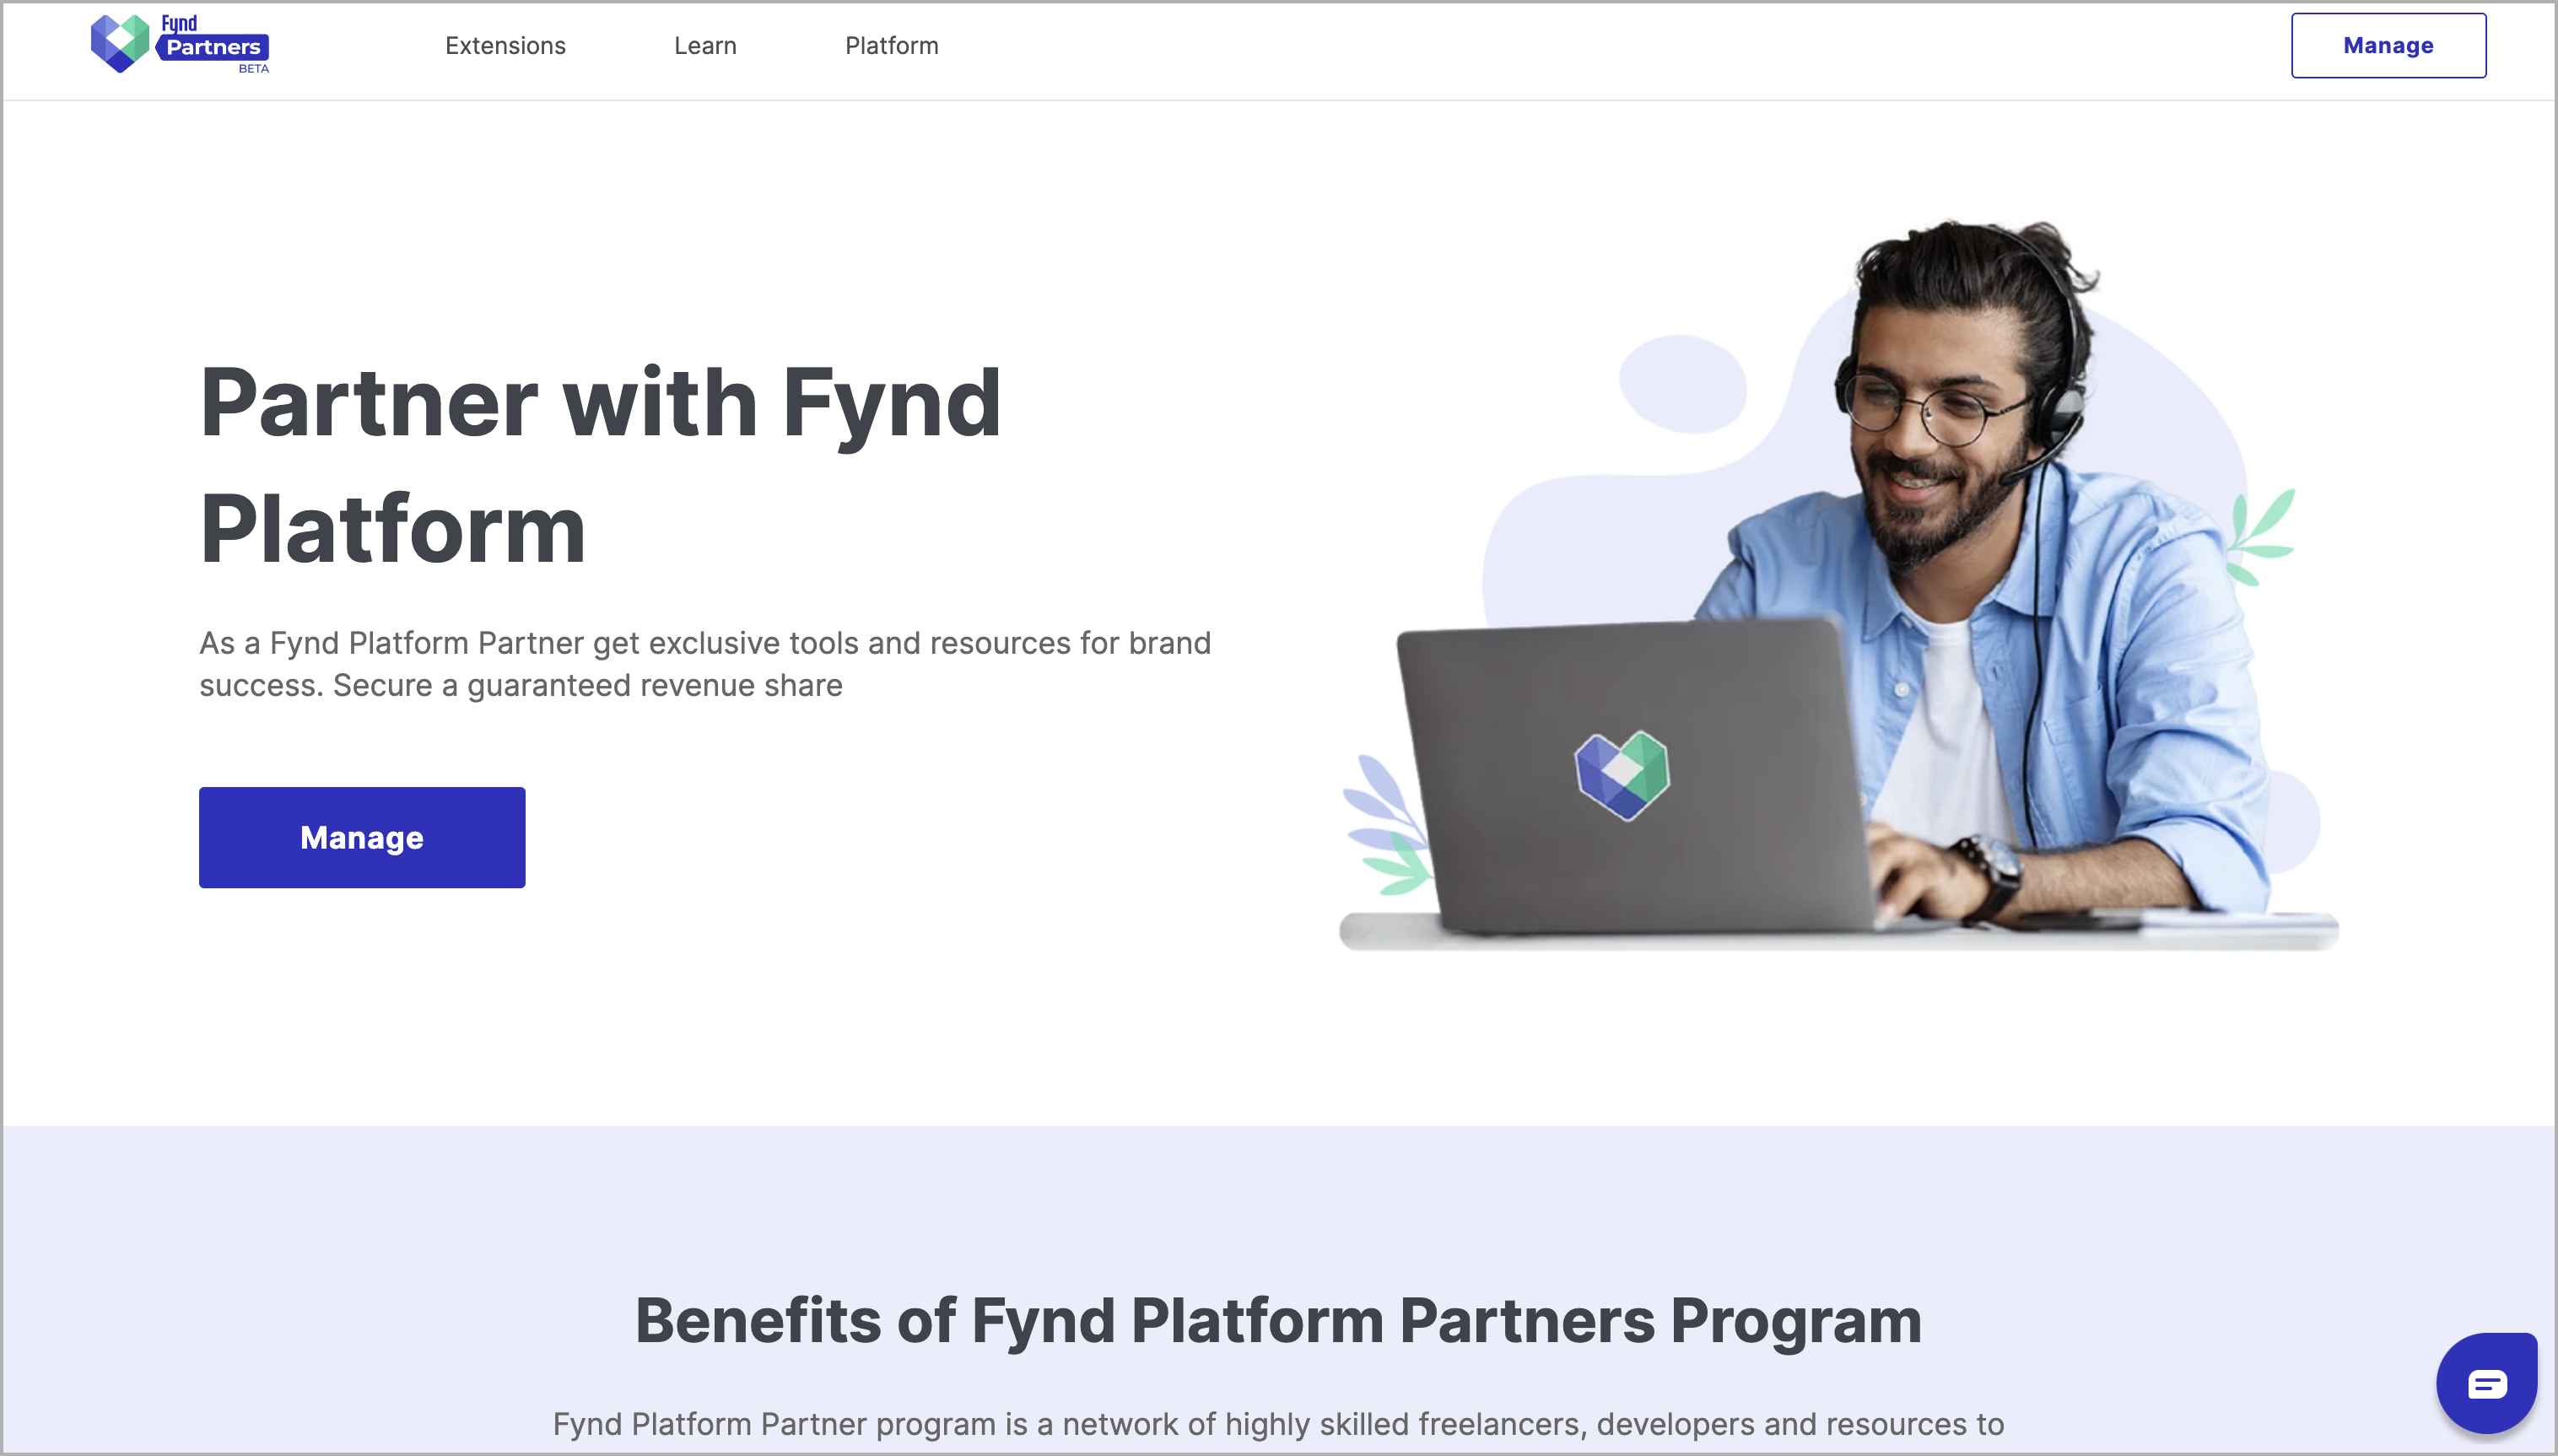
If you are logged in, you will see Manage button on top right corner else you will see Login option. If you haven’t created a partner account, you will need to create one.
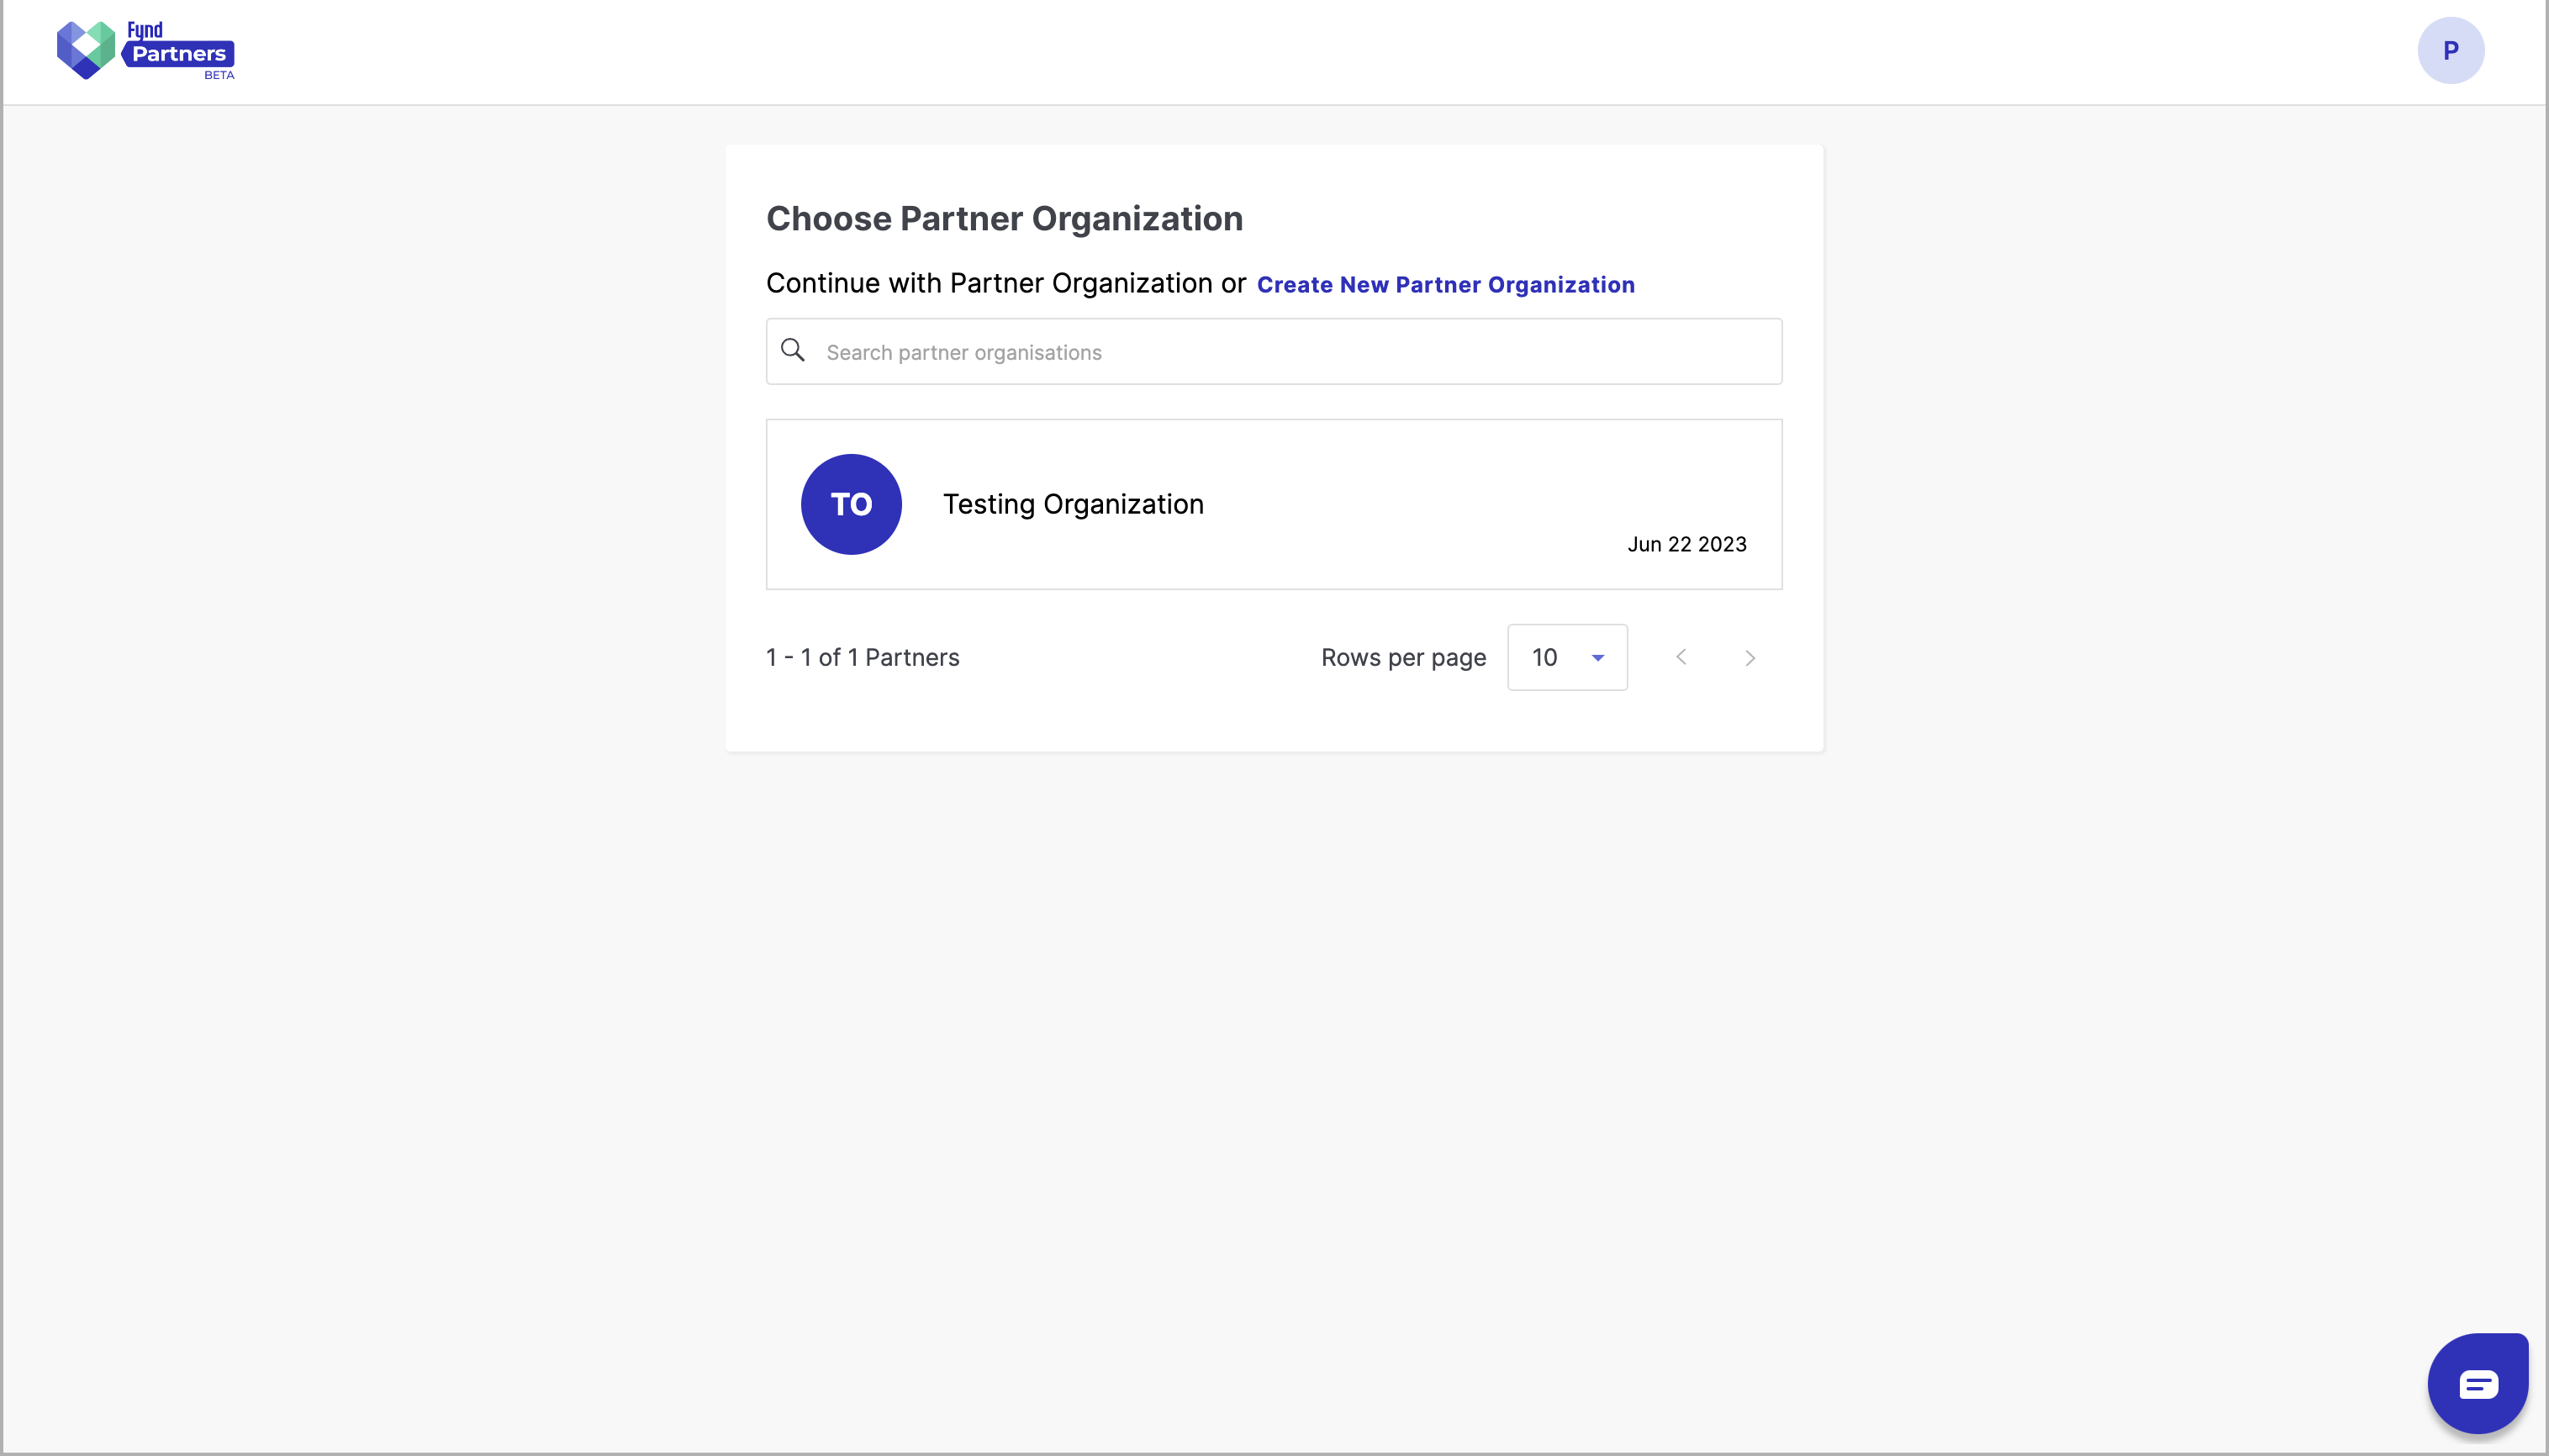
Clicking Manage button and Choose Partner Organization page.
Note: If you want to use a different environment (cluster) for theme development, you can change the active environment by using the following command:
fdk login --host your-partner-domainThis command will change the active environment to the provided cluster host. For example, if your partner account exists at
partners.fynd.com, you should use:fdk login --host partners.fynd.comThis will set the active environment to the Fynd cluster.
Step 3: Select Partner Organization
Select the Partner Organization through which you want to create your theme.
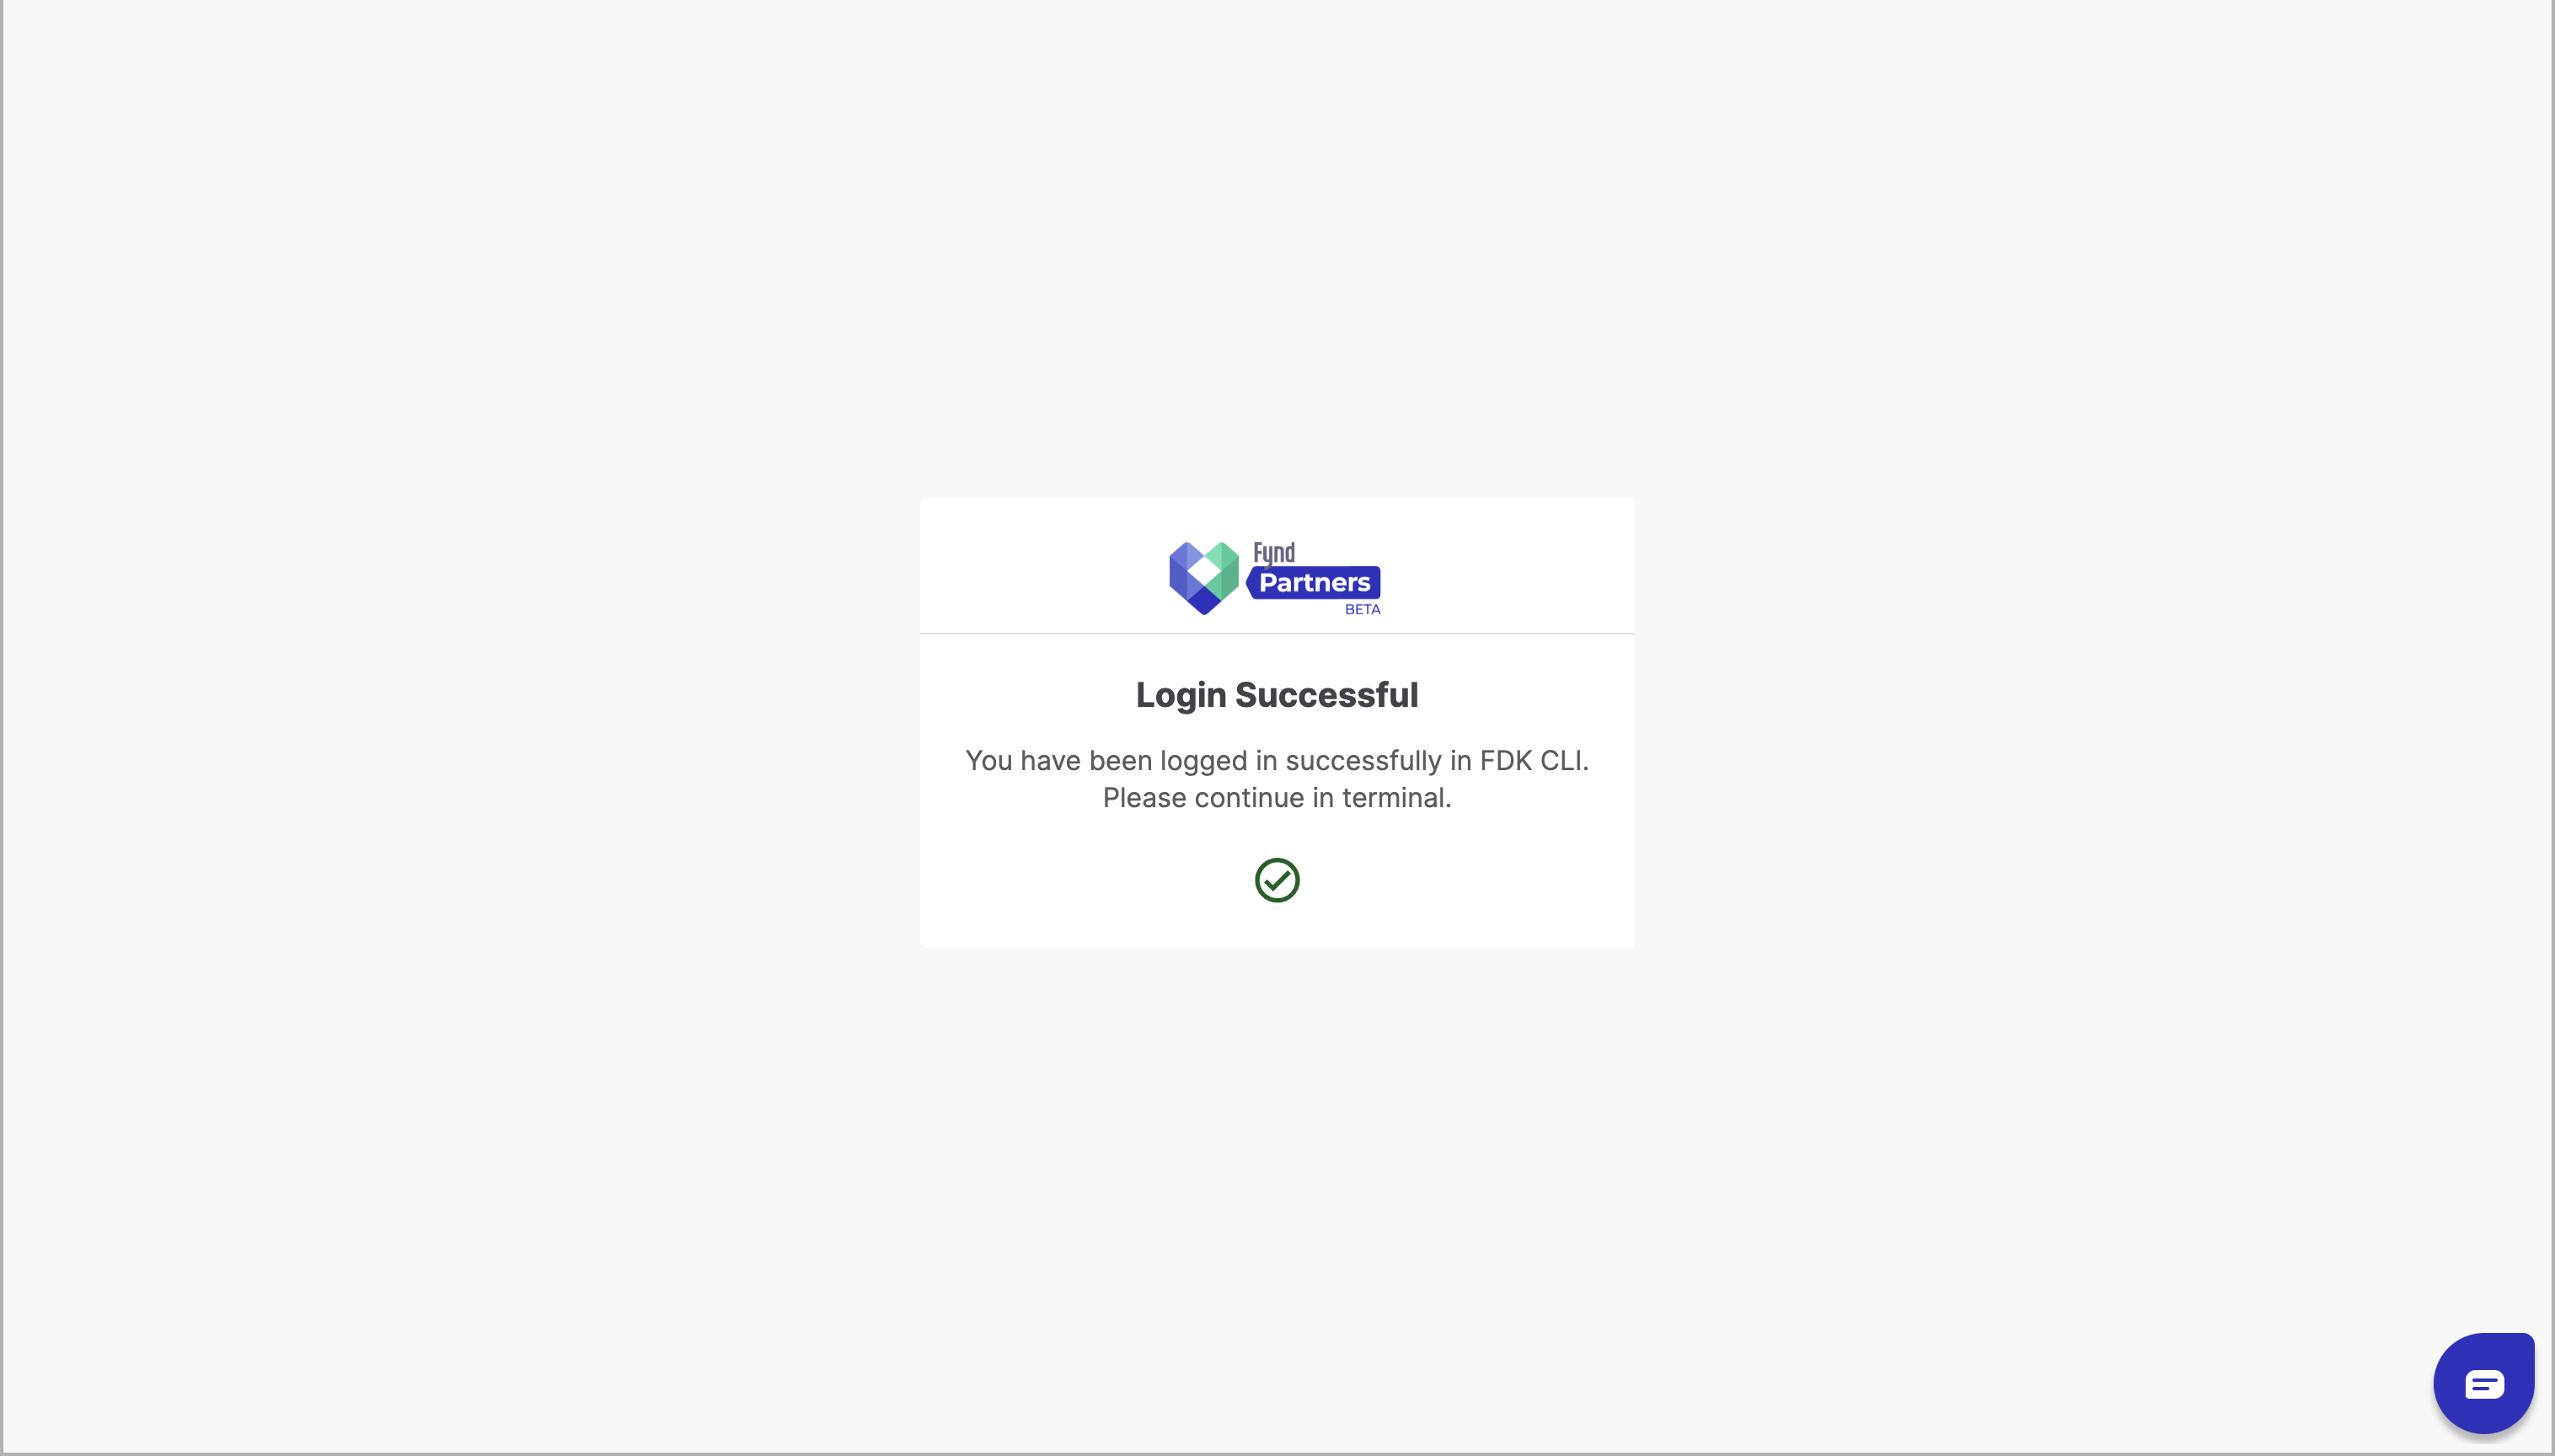
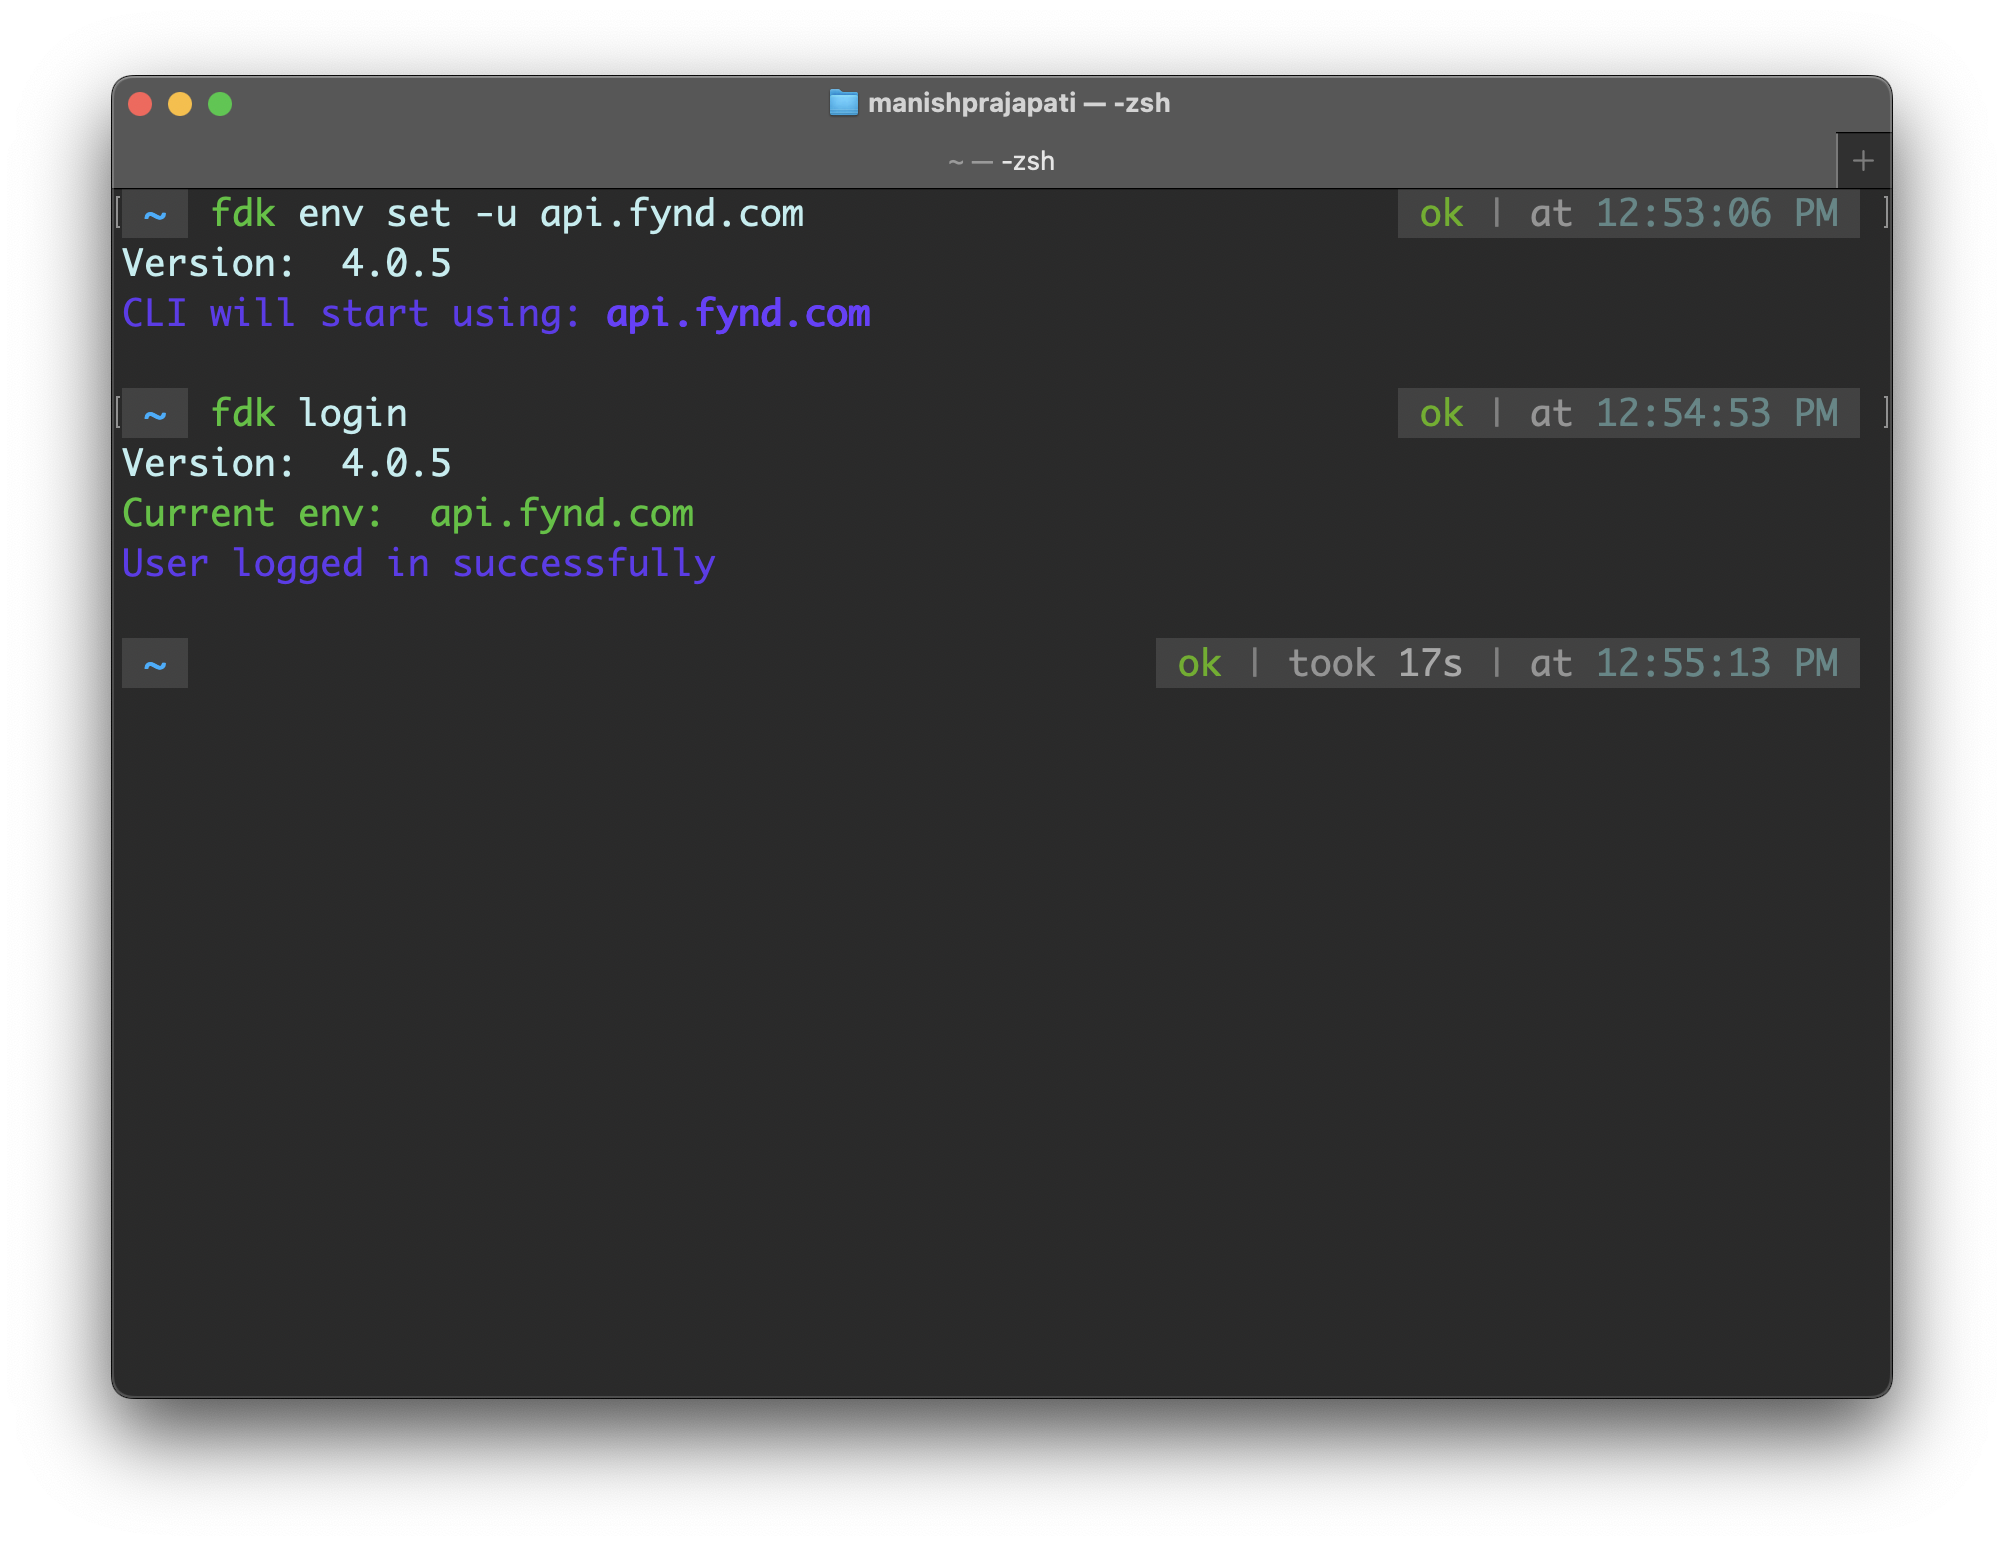
Step 4: Login Successful
As soon as you select the partner organization you will be redirected to the Login Successful page in browser. You will get User logged in successfully message in terminal
Step 5: Verify User
To verify that you are logged into your terminal with the correct user details, run the following command
fdk user
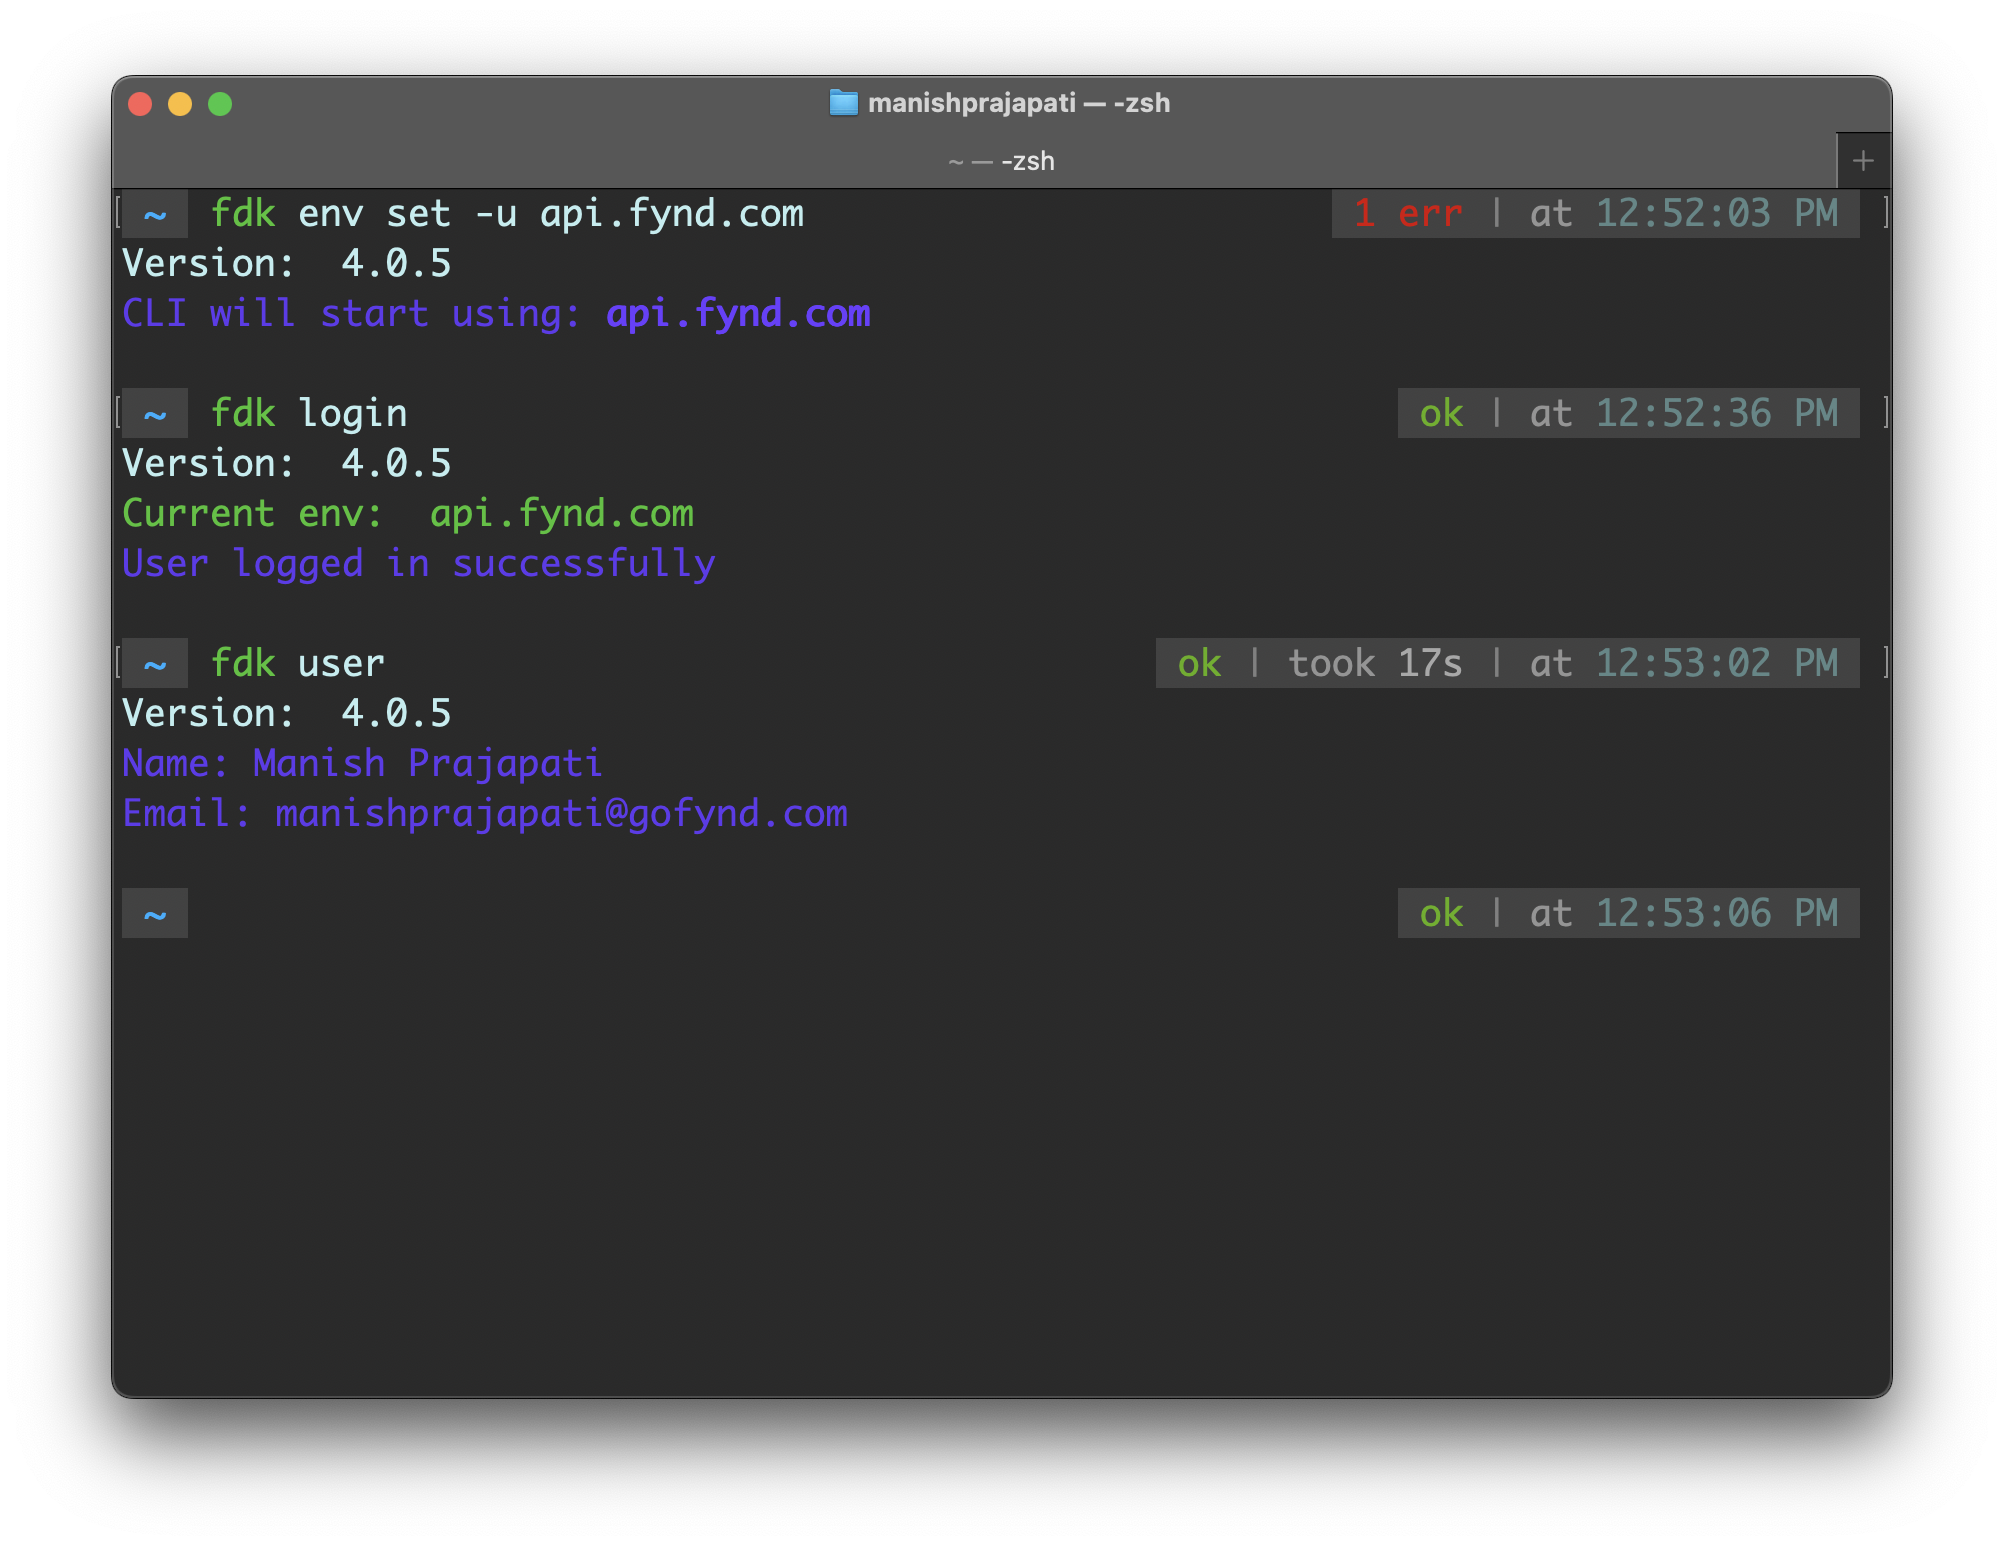
If you are successfully logged in then it will return the name and email of the user else it will ask for login
Step 6: Initialize a new theme using Emerge
Run the below command to clone Emerge Git repository to your local machine. Emerge is Fynd Platform’s reference theme and you can use it as the starting point for building a theme.
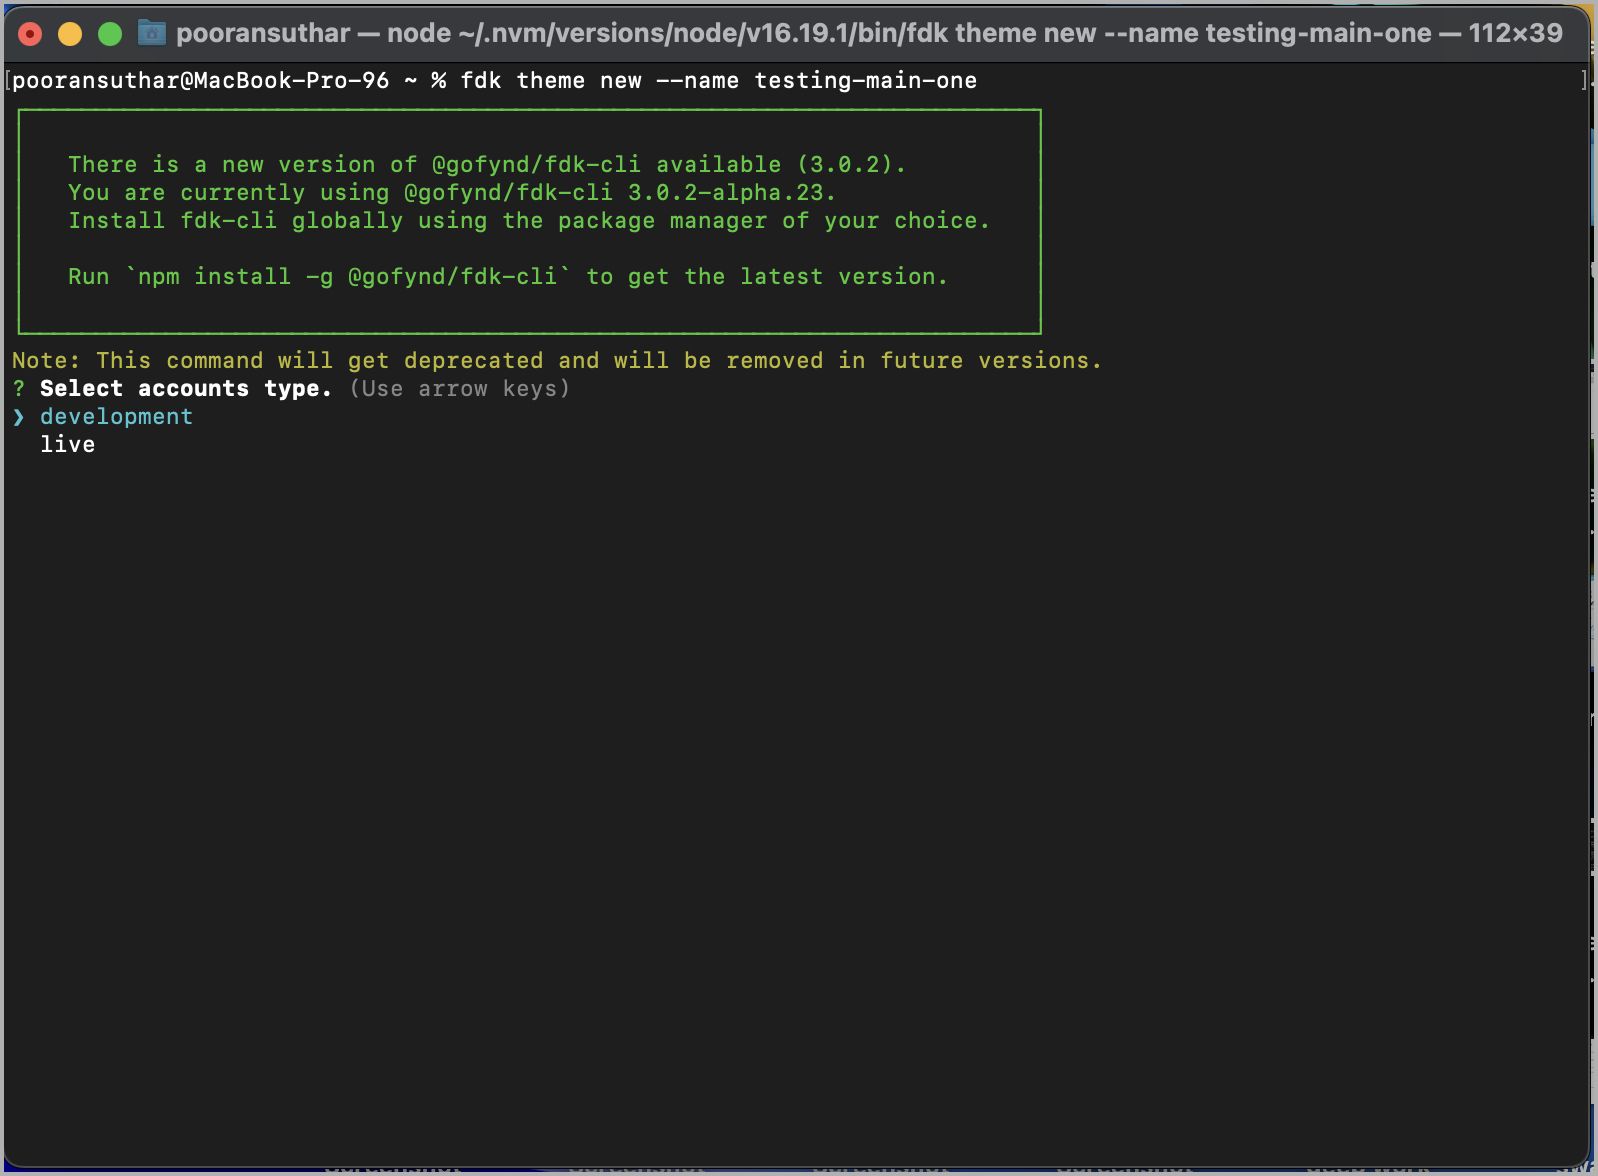
fdk theme new --name name-of-the-theme
Step 7: Select account type
Select account type as development or live depending on the account type you want to use for creating your theme. For this tutorial we are going to use development account
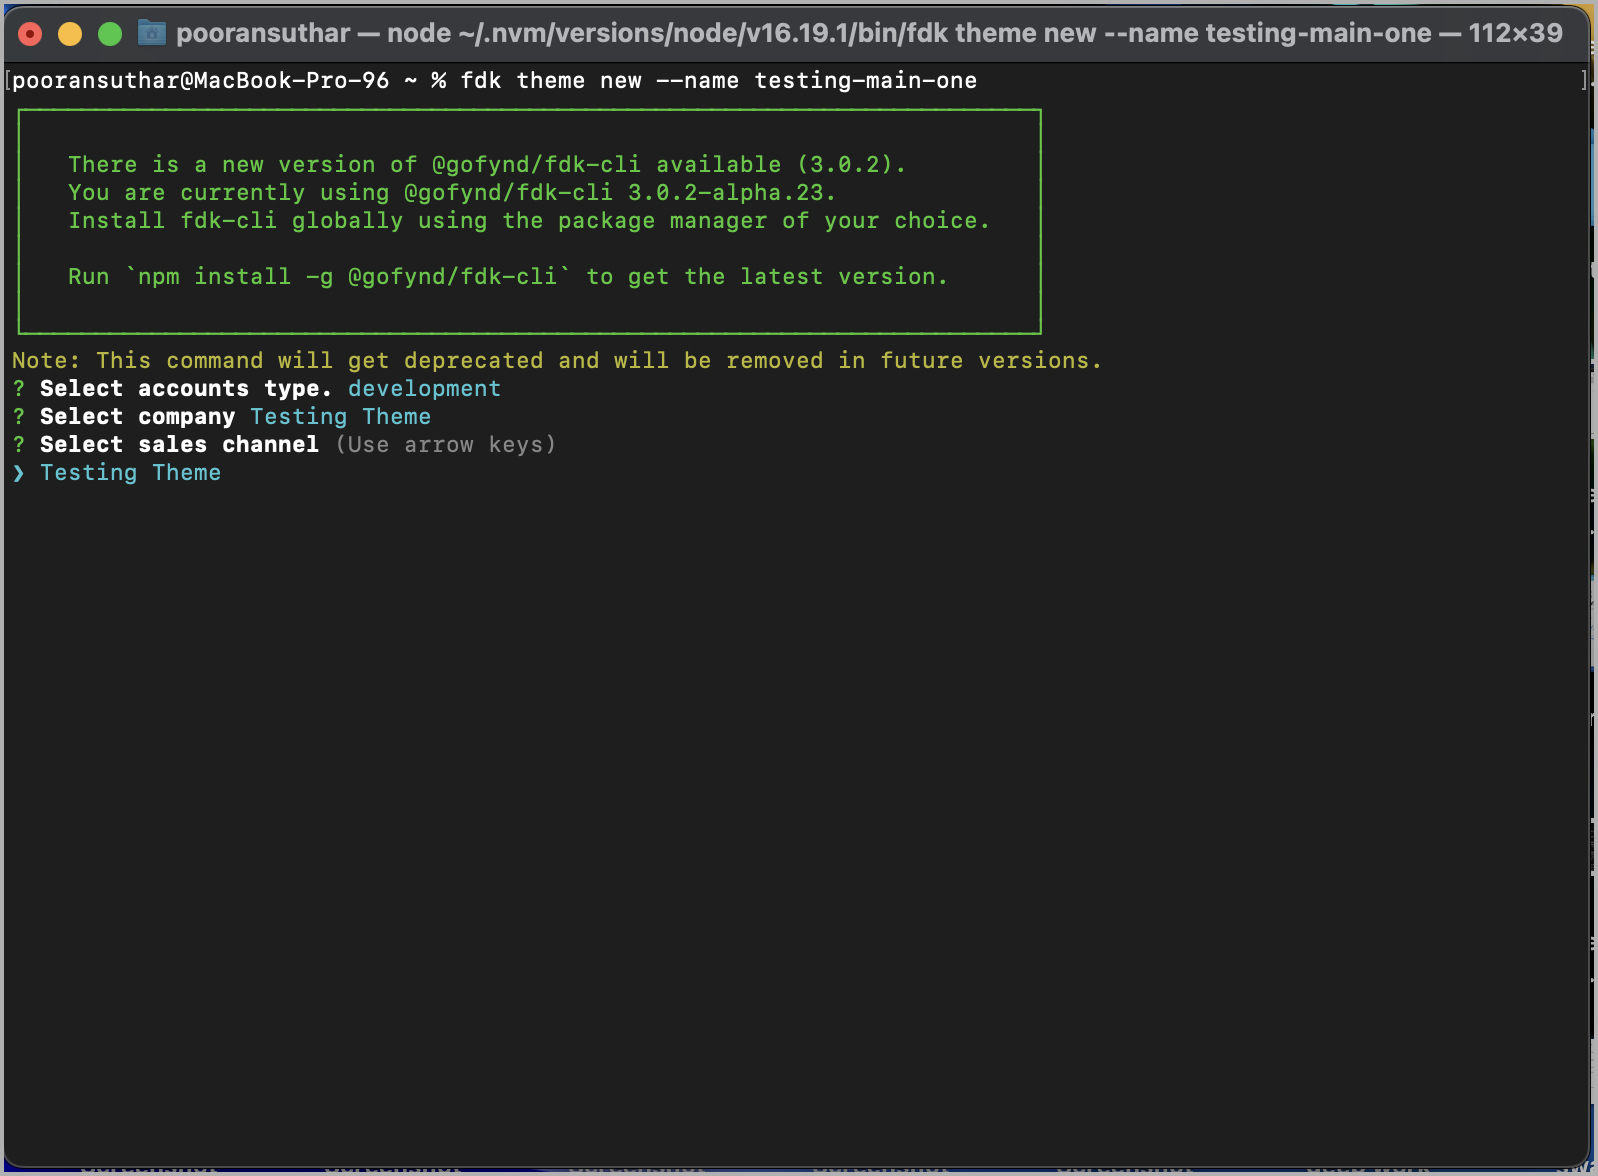
Step 8: Select Account
FDK-CLI will list the development accounts (or live accounts depending on account type chosen in Step 8) available in your partner organization. Select the account in which you want to create the theme.

Step 9: Select Sales Channel
FDK-CLI will list the sales channels available in the account chosen in step 9. Select the sales channel in which you want to create your theme.
A folder with the theme name will be created into your machine with Emerge theme code cloned into it.
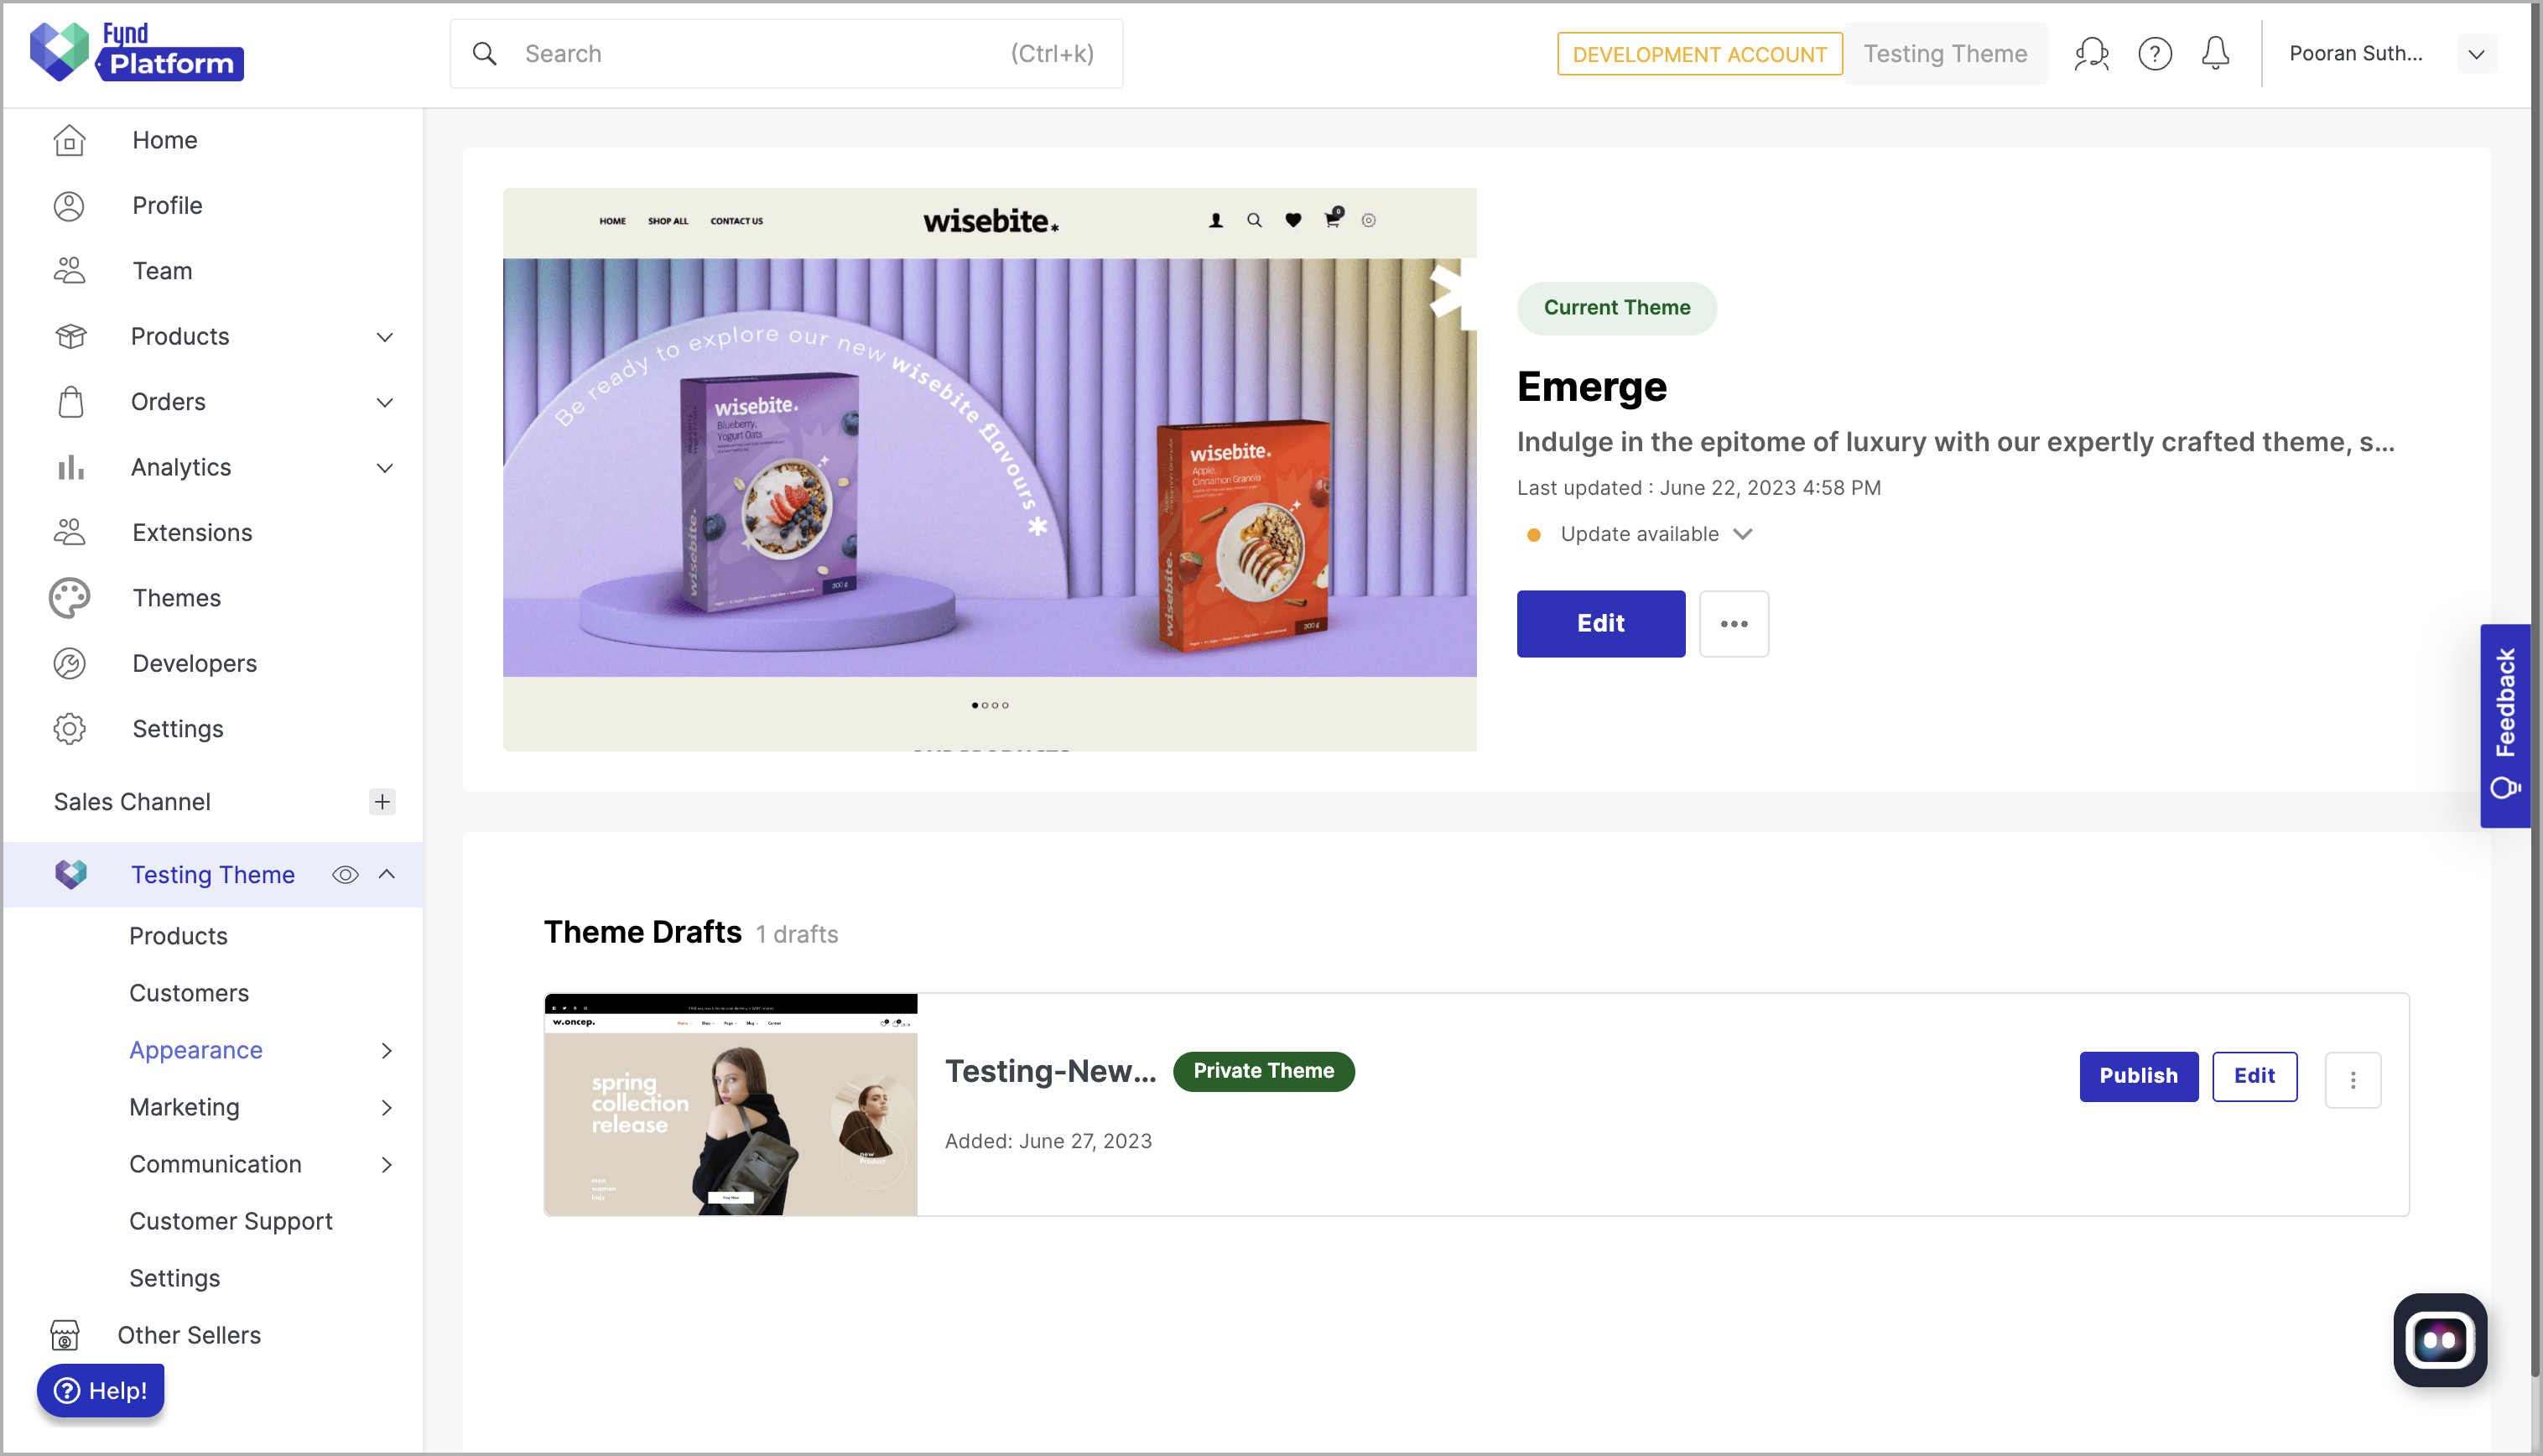
You can check the newly created theme in the required sales channel of development account by following below steps:
- Select the required development account in our partner panel.
- Under Sales Channel section go to required sales channel → Appearance → Themes.
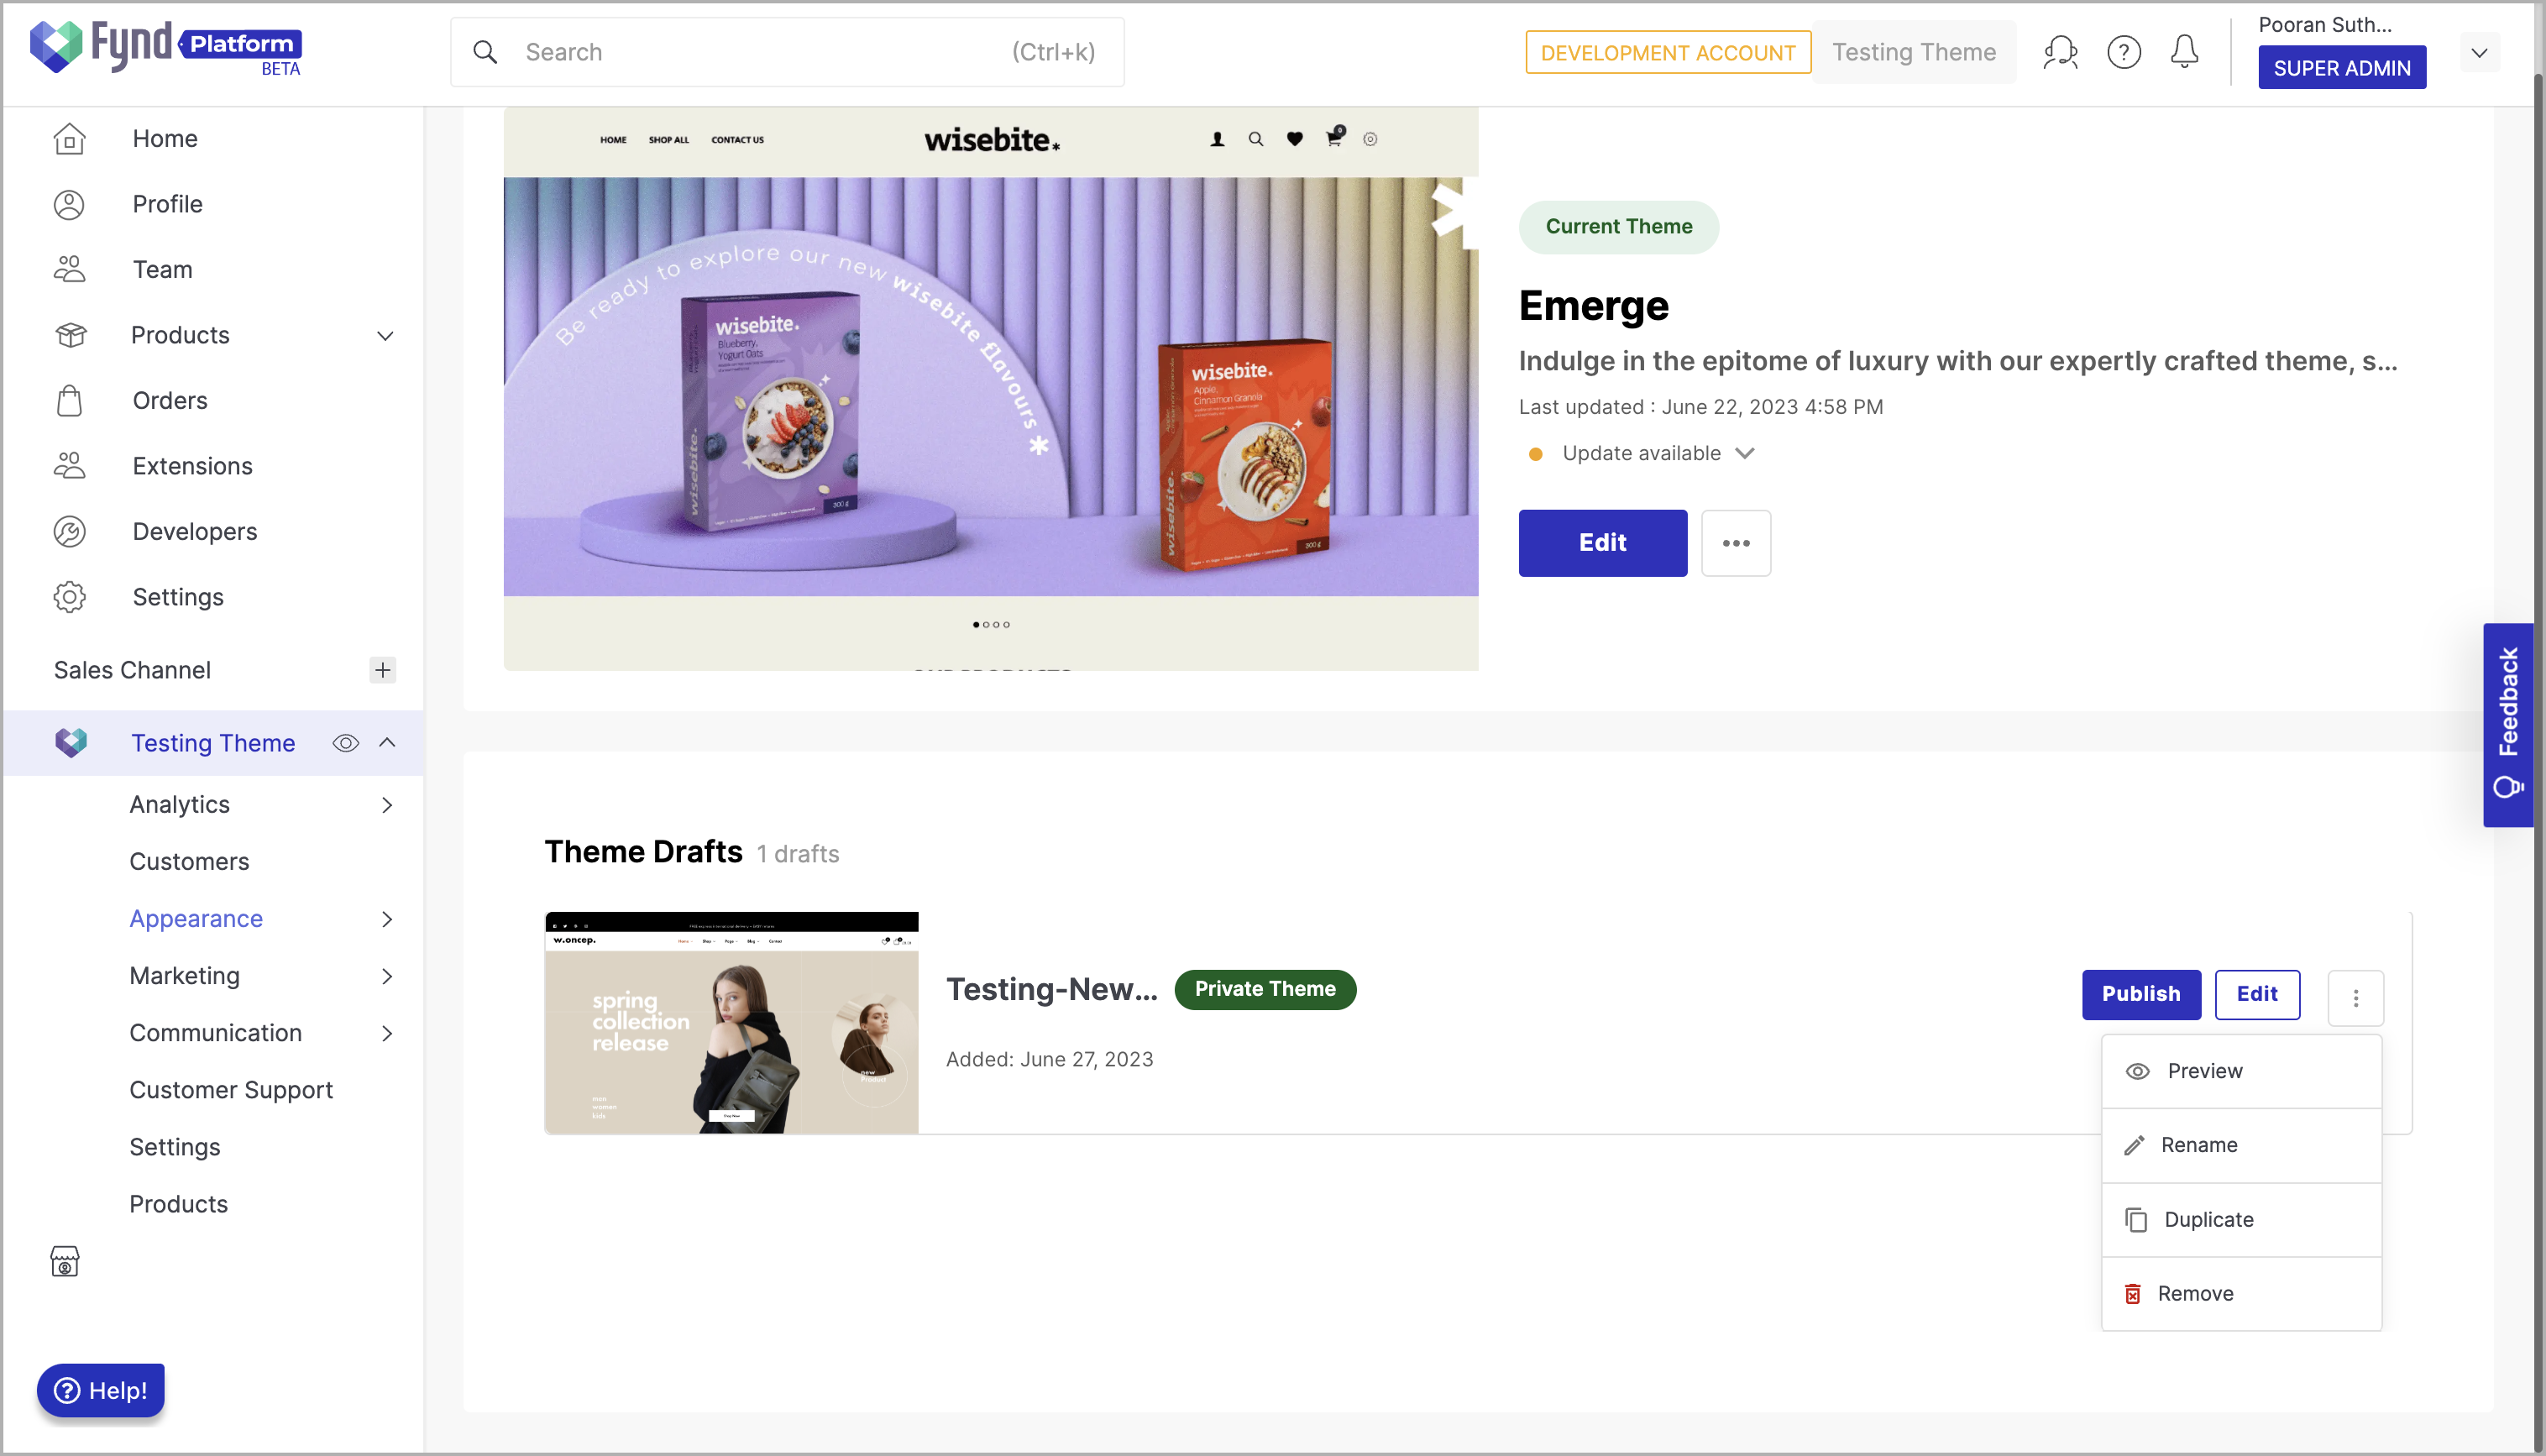
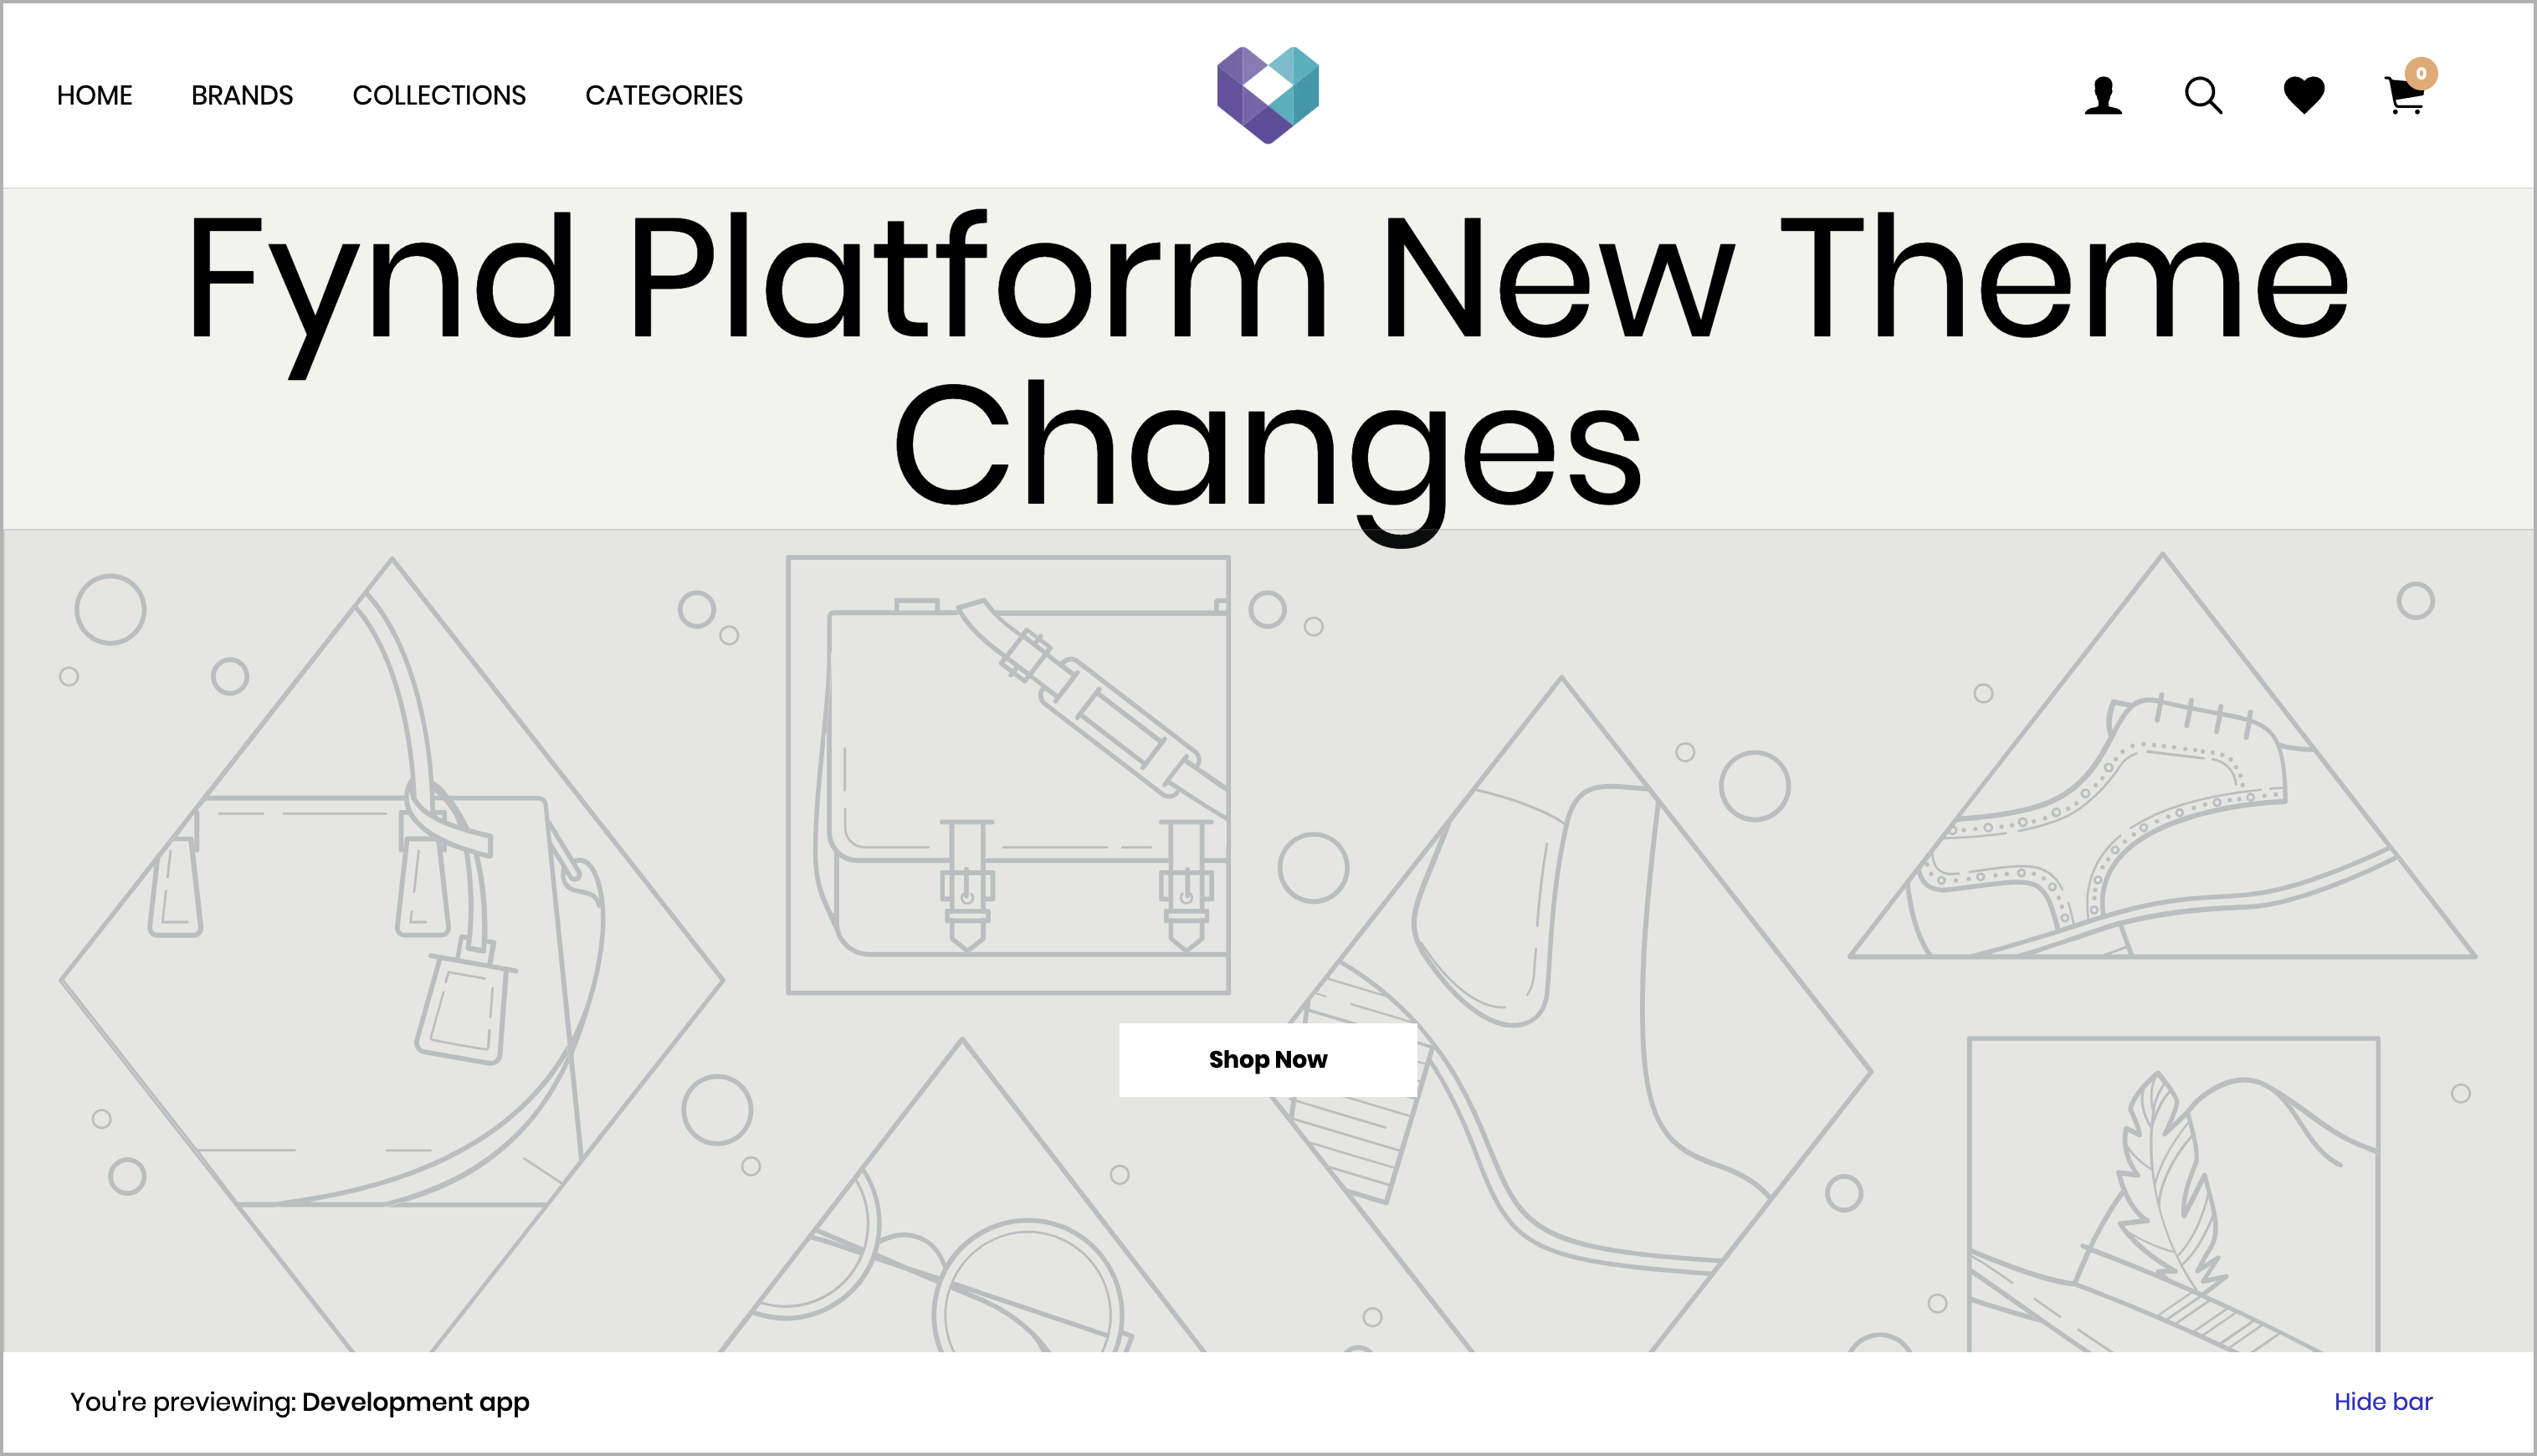
As you can see in the image below, the new theme appears under Theme Drafts section. Click on the kebab menu then select Preview to check your theme.
Add features to your theme
Before editing a theme you should have completed the above step of Creating a new theme.
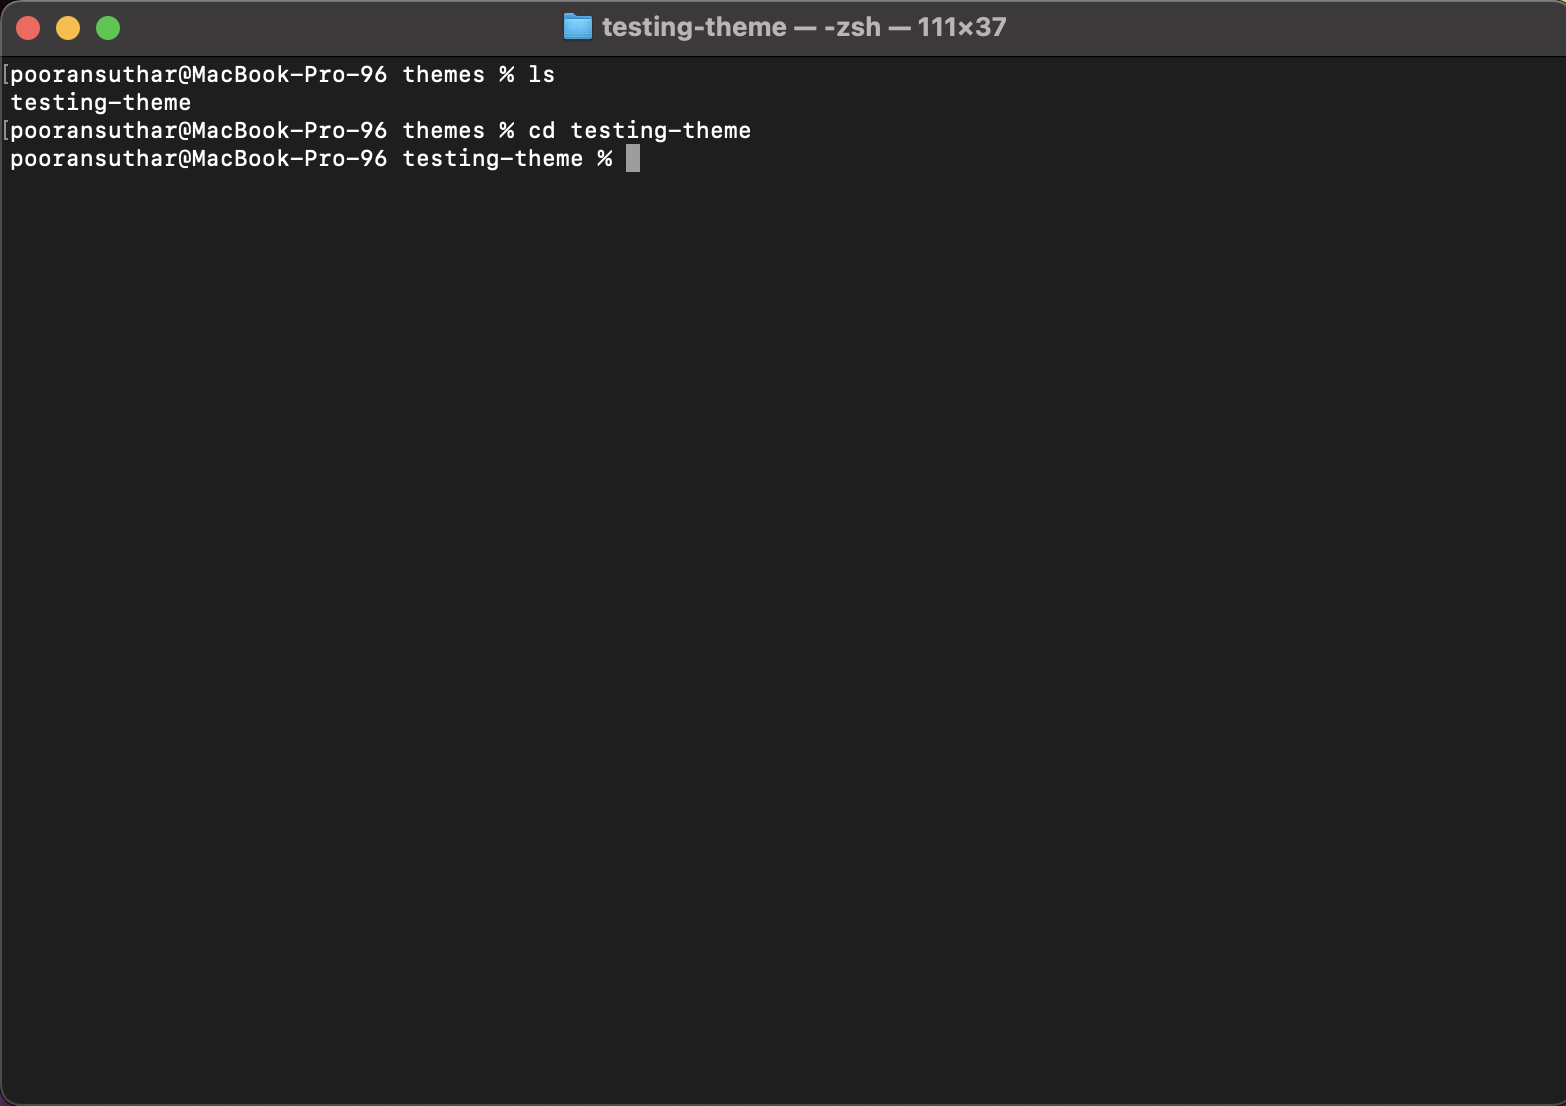
Step 1 : Navigate to your project folder
Run the following command in terminal to navigate to your theme’s folder.
cd theme-name
Step 2: Preview your theme
Once you are into your theme’s directory, run the following command to serve your theme locally and preview your theme.
fdk theme serve
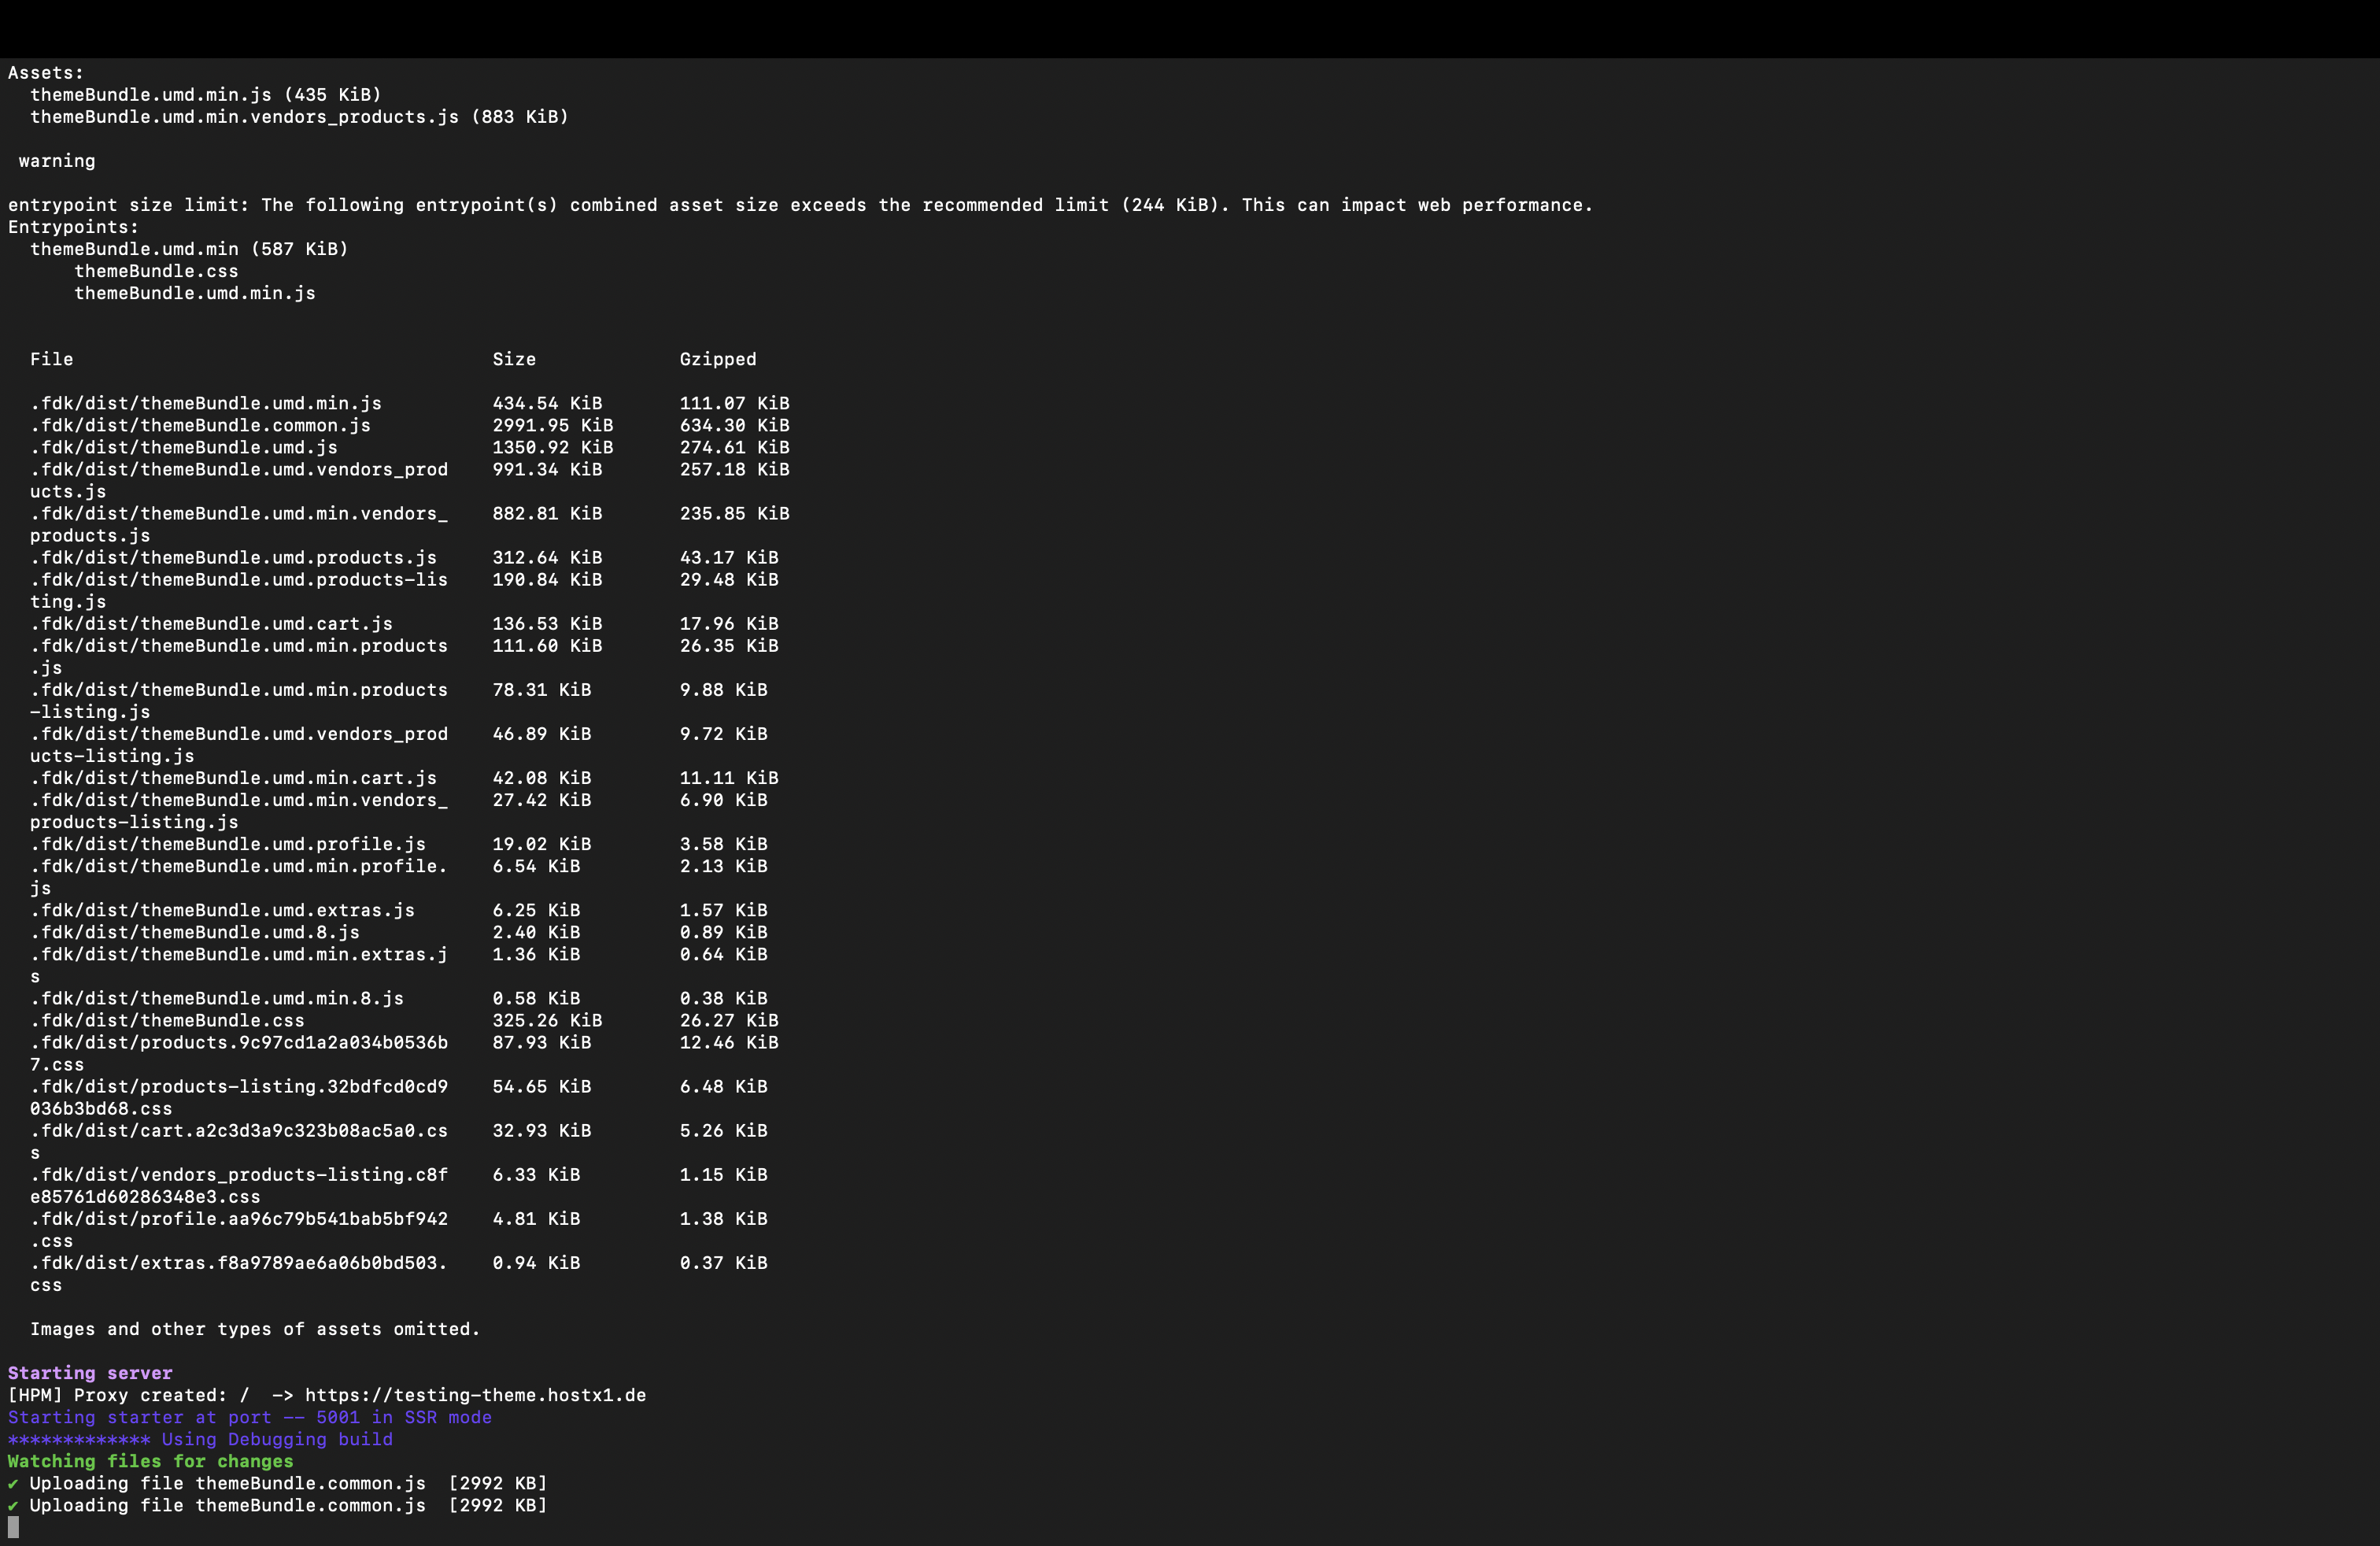
And your theme will be previewed on localhost:5001. The Port number might change based on the availablility of the port during the theme serve command.

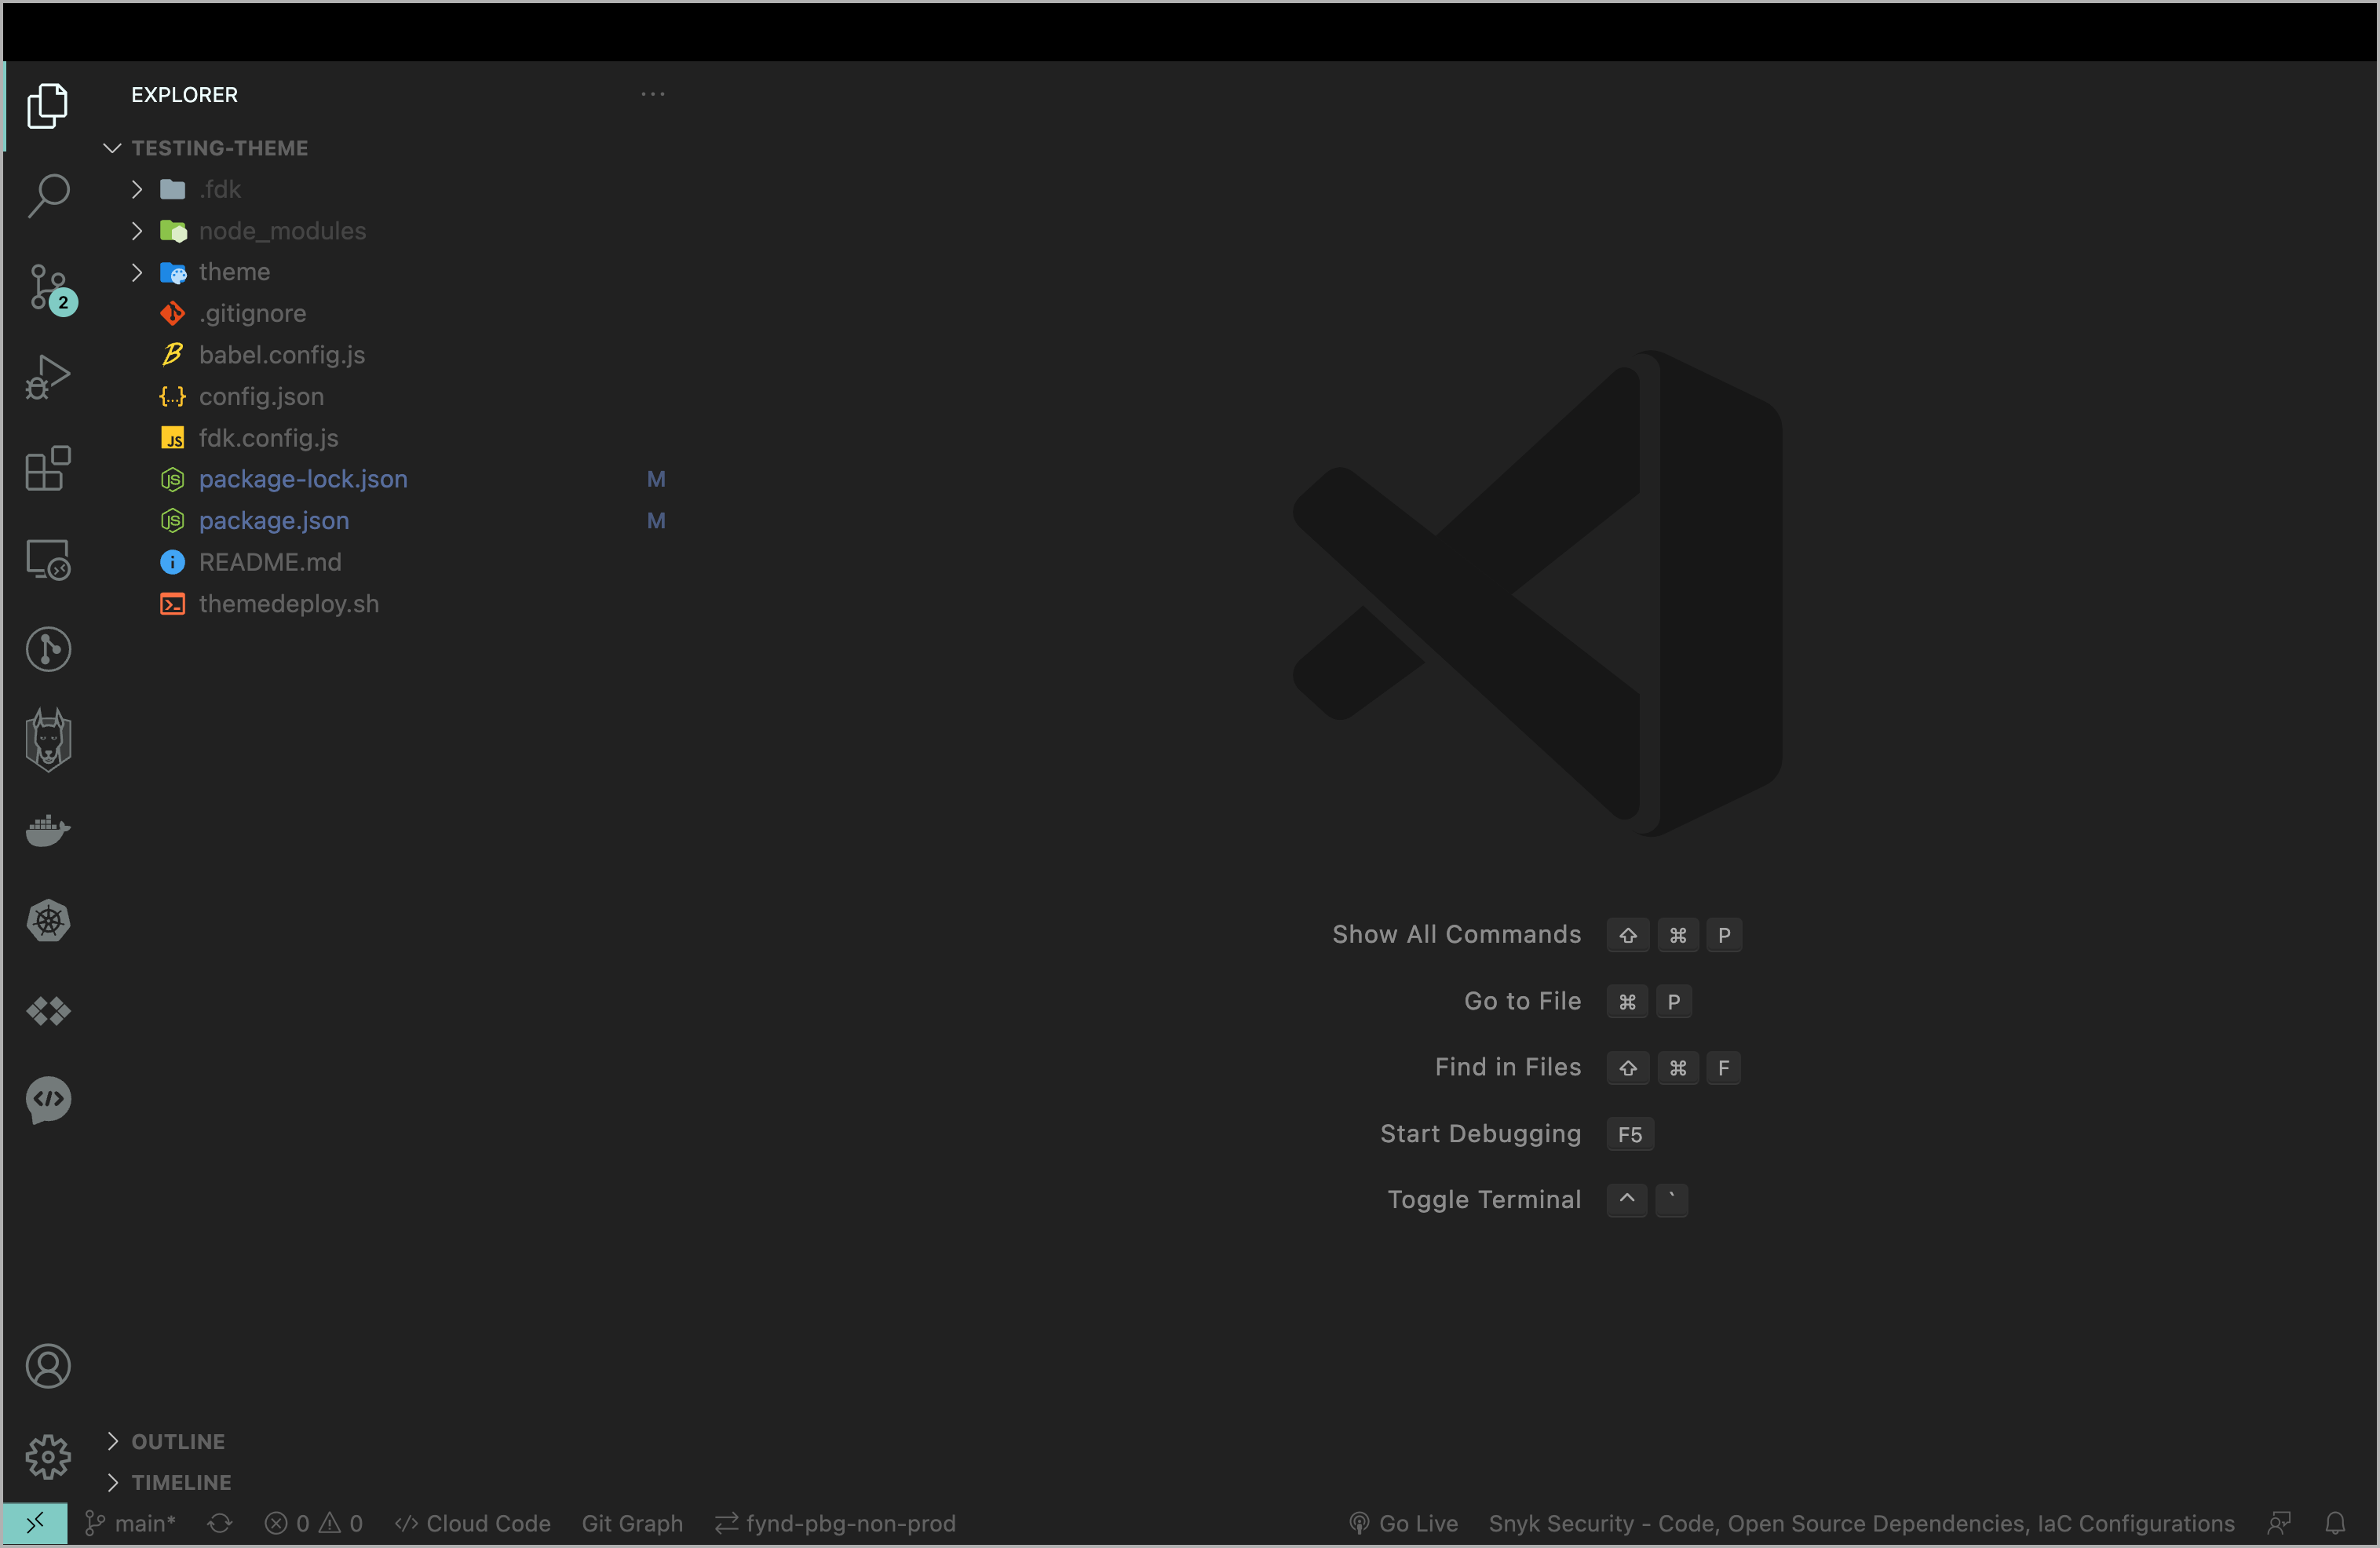
If you check all the files and folders inside the theme-folder there are multiple files defining the code and assets of the predifined theme.
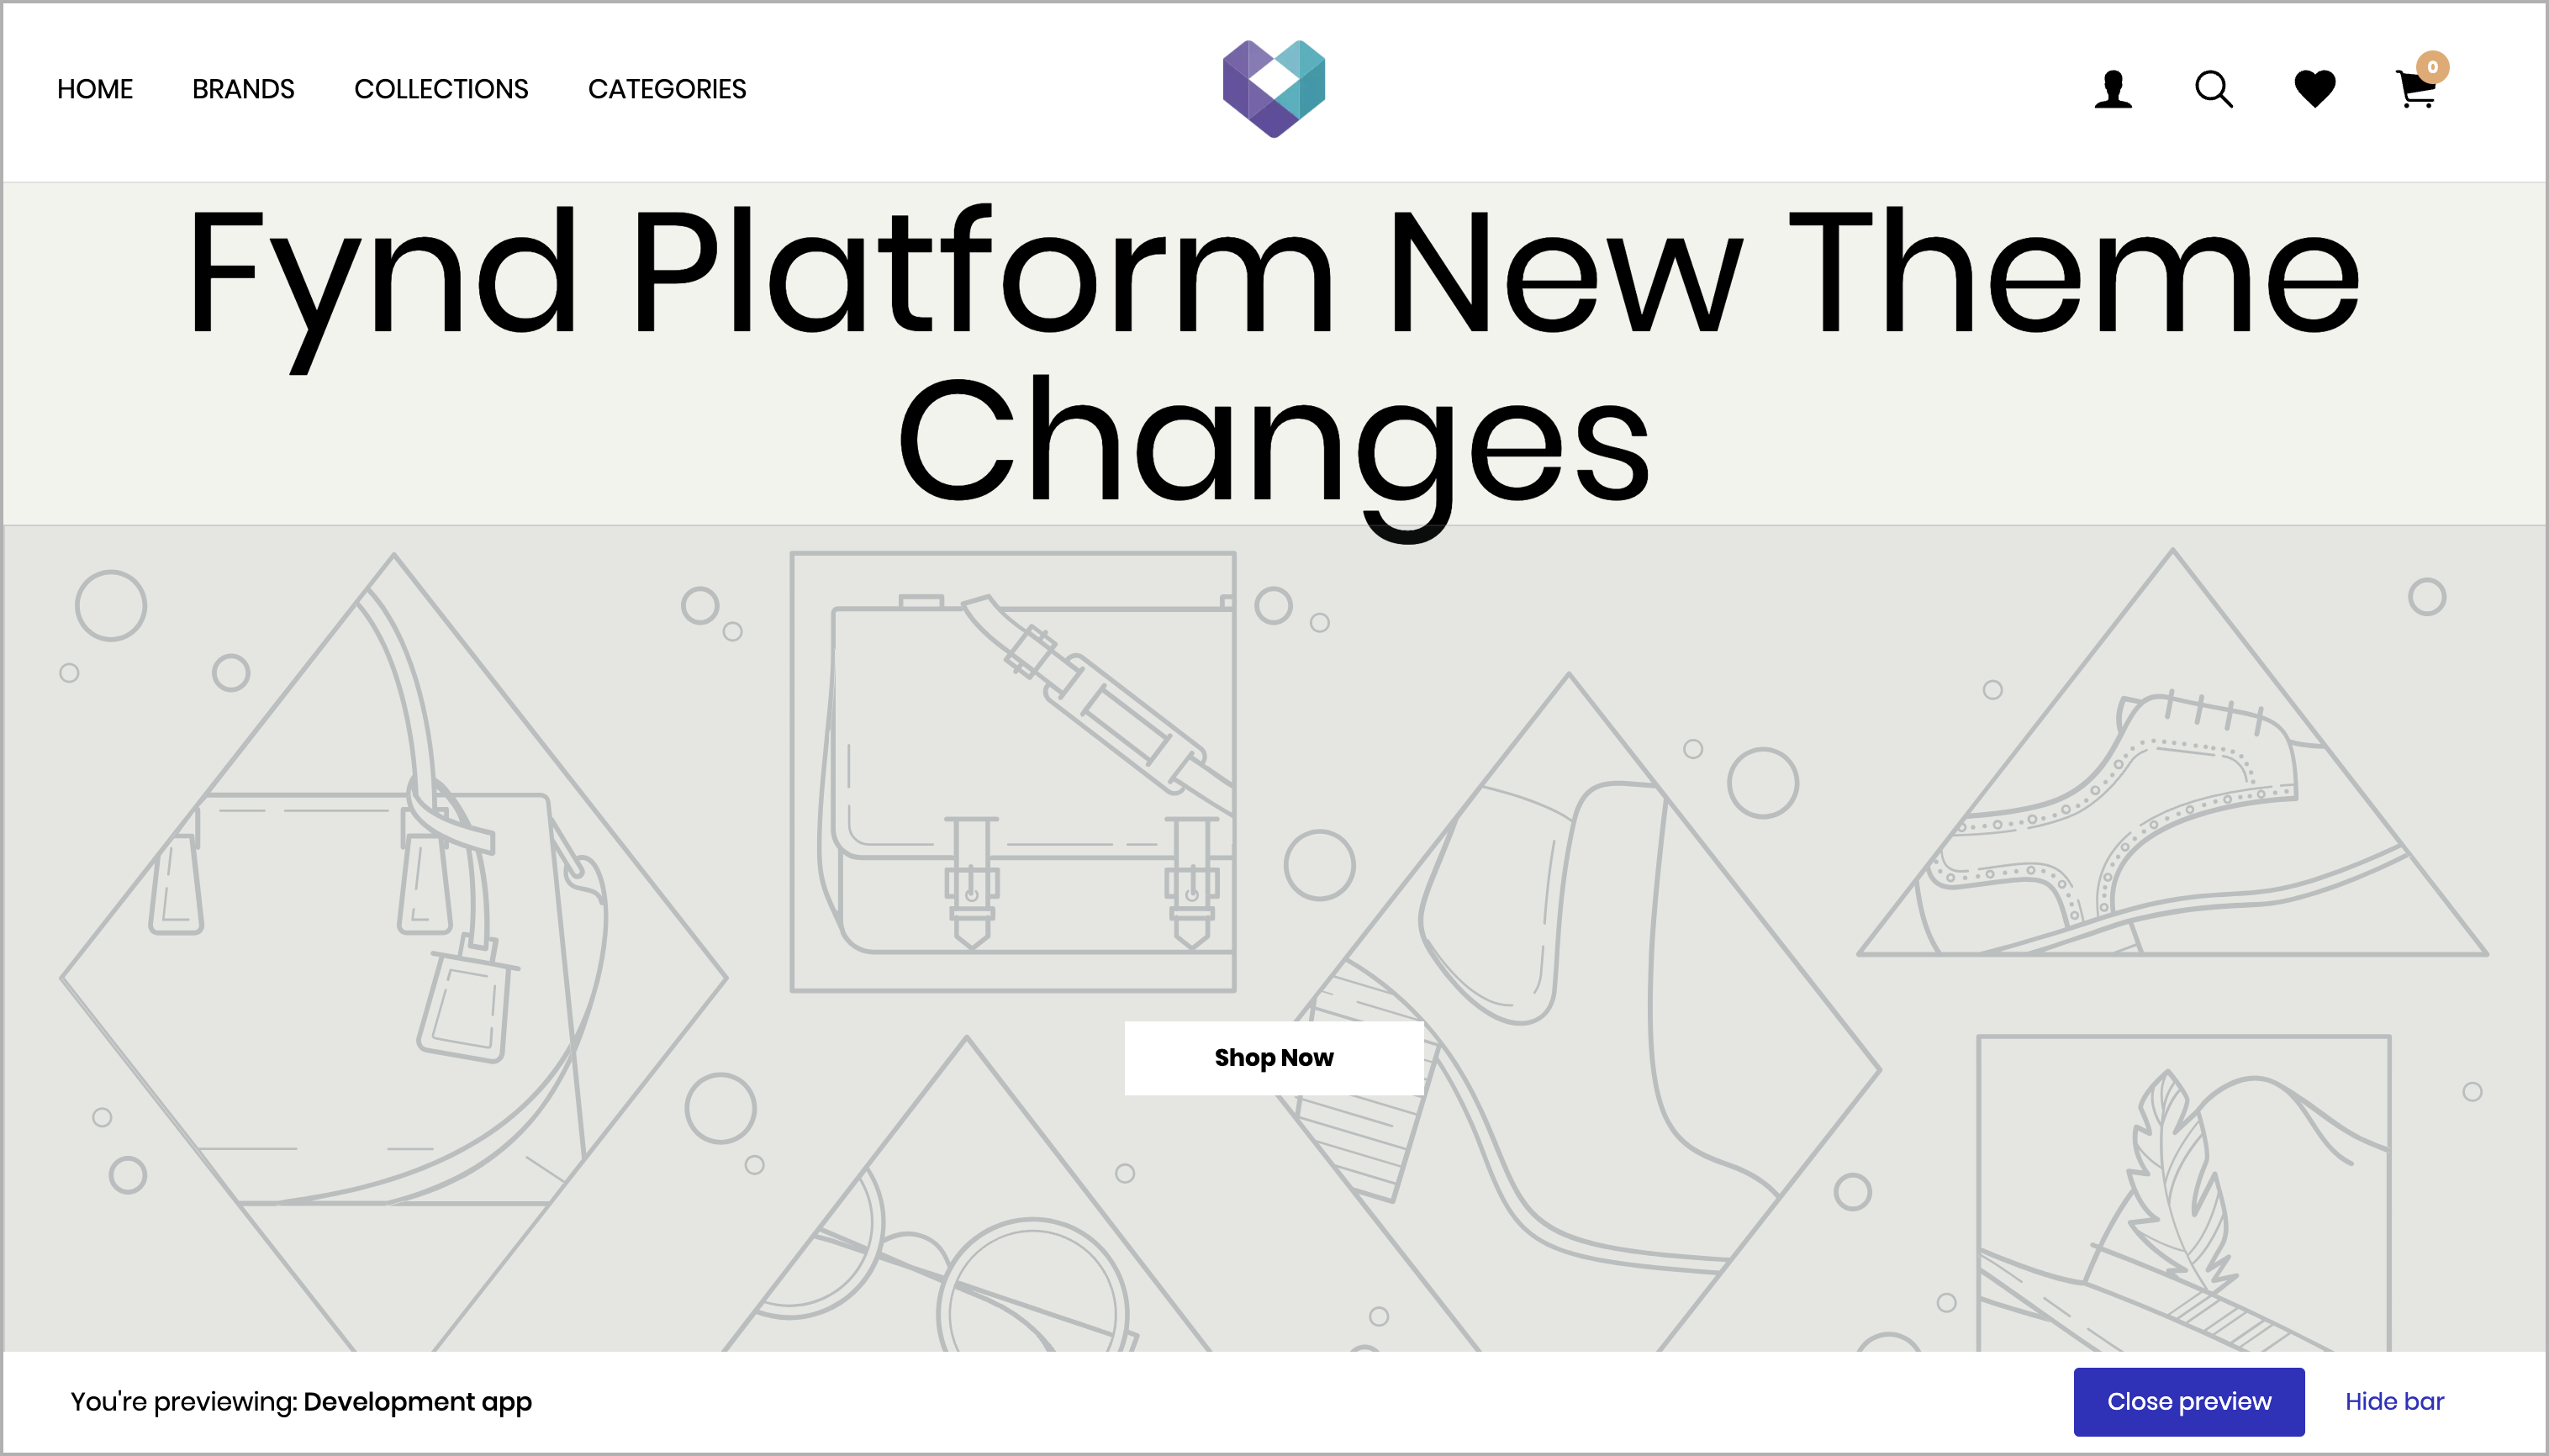
Step 3: Add Heading to Home Page Code
-
Follow the given path:
- Inside the theme folder, navigate to theme > pages > home.jsx.
-
Add the following code to include the desired heading in the home page.
fdk theme serve
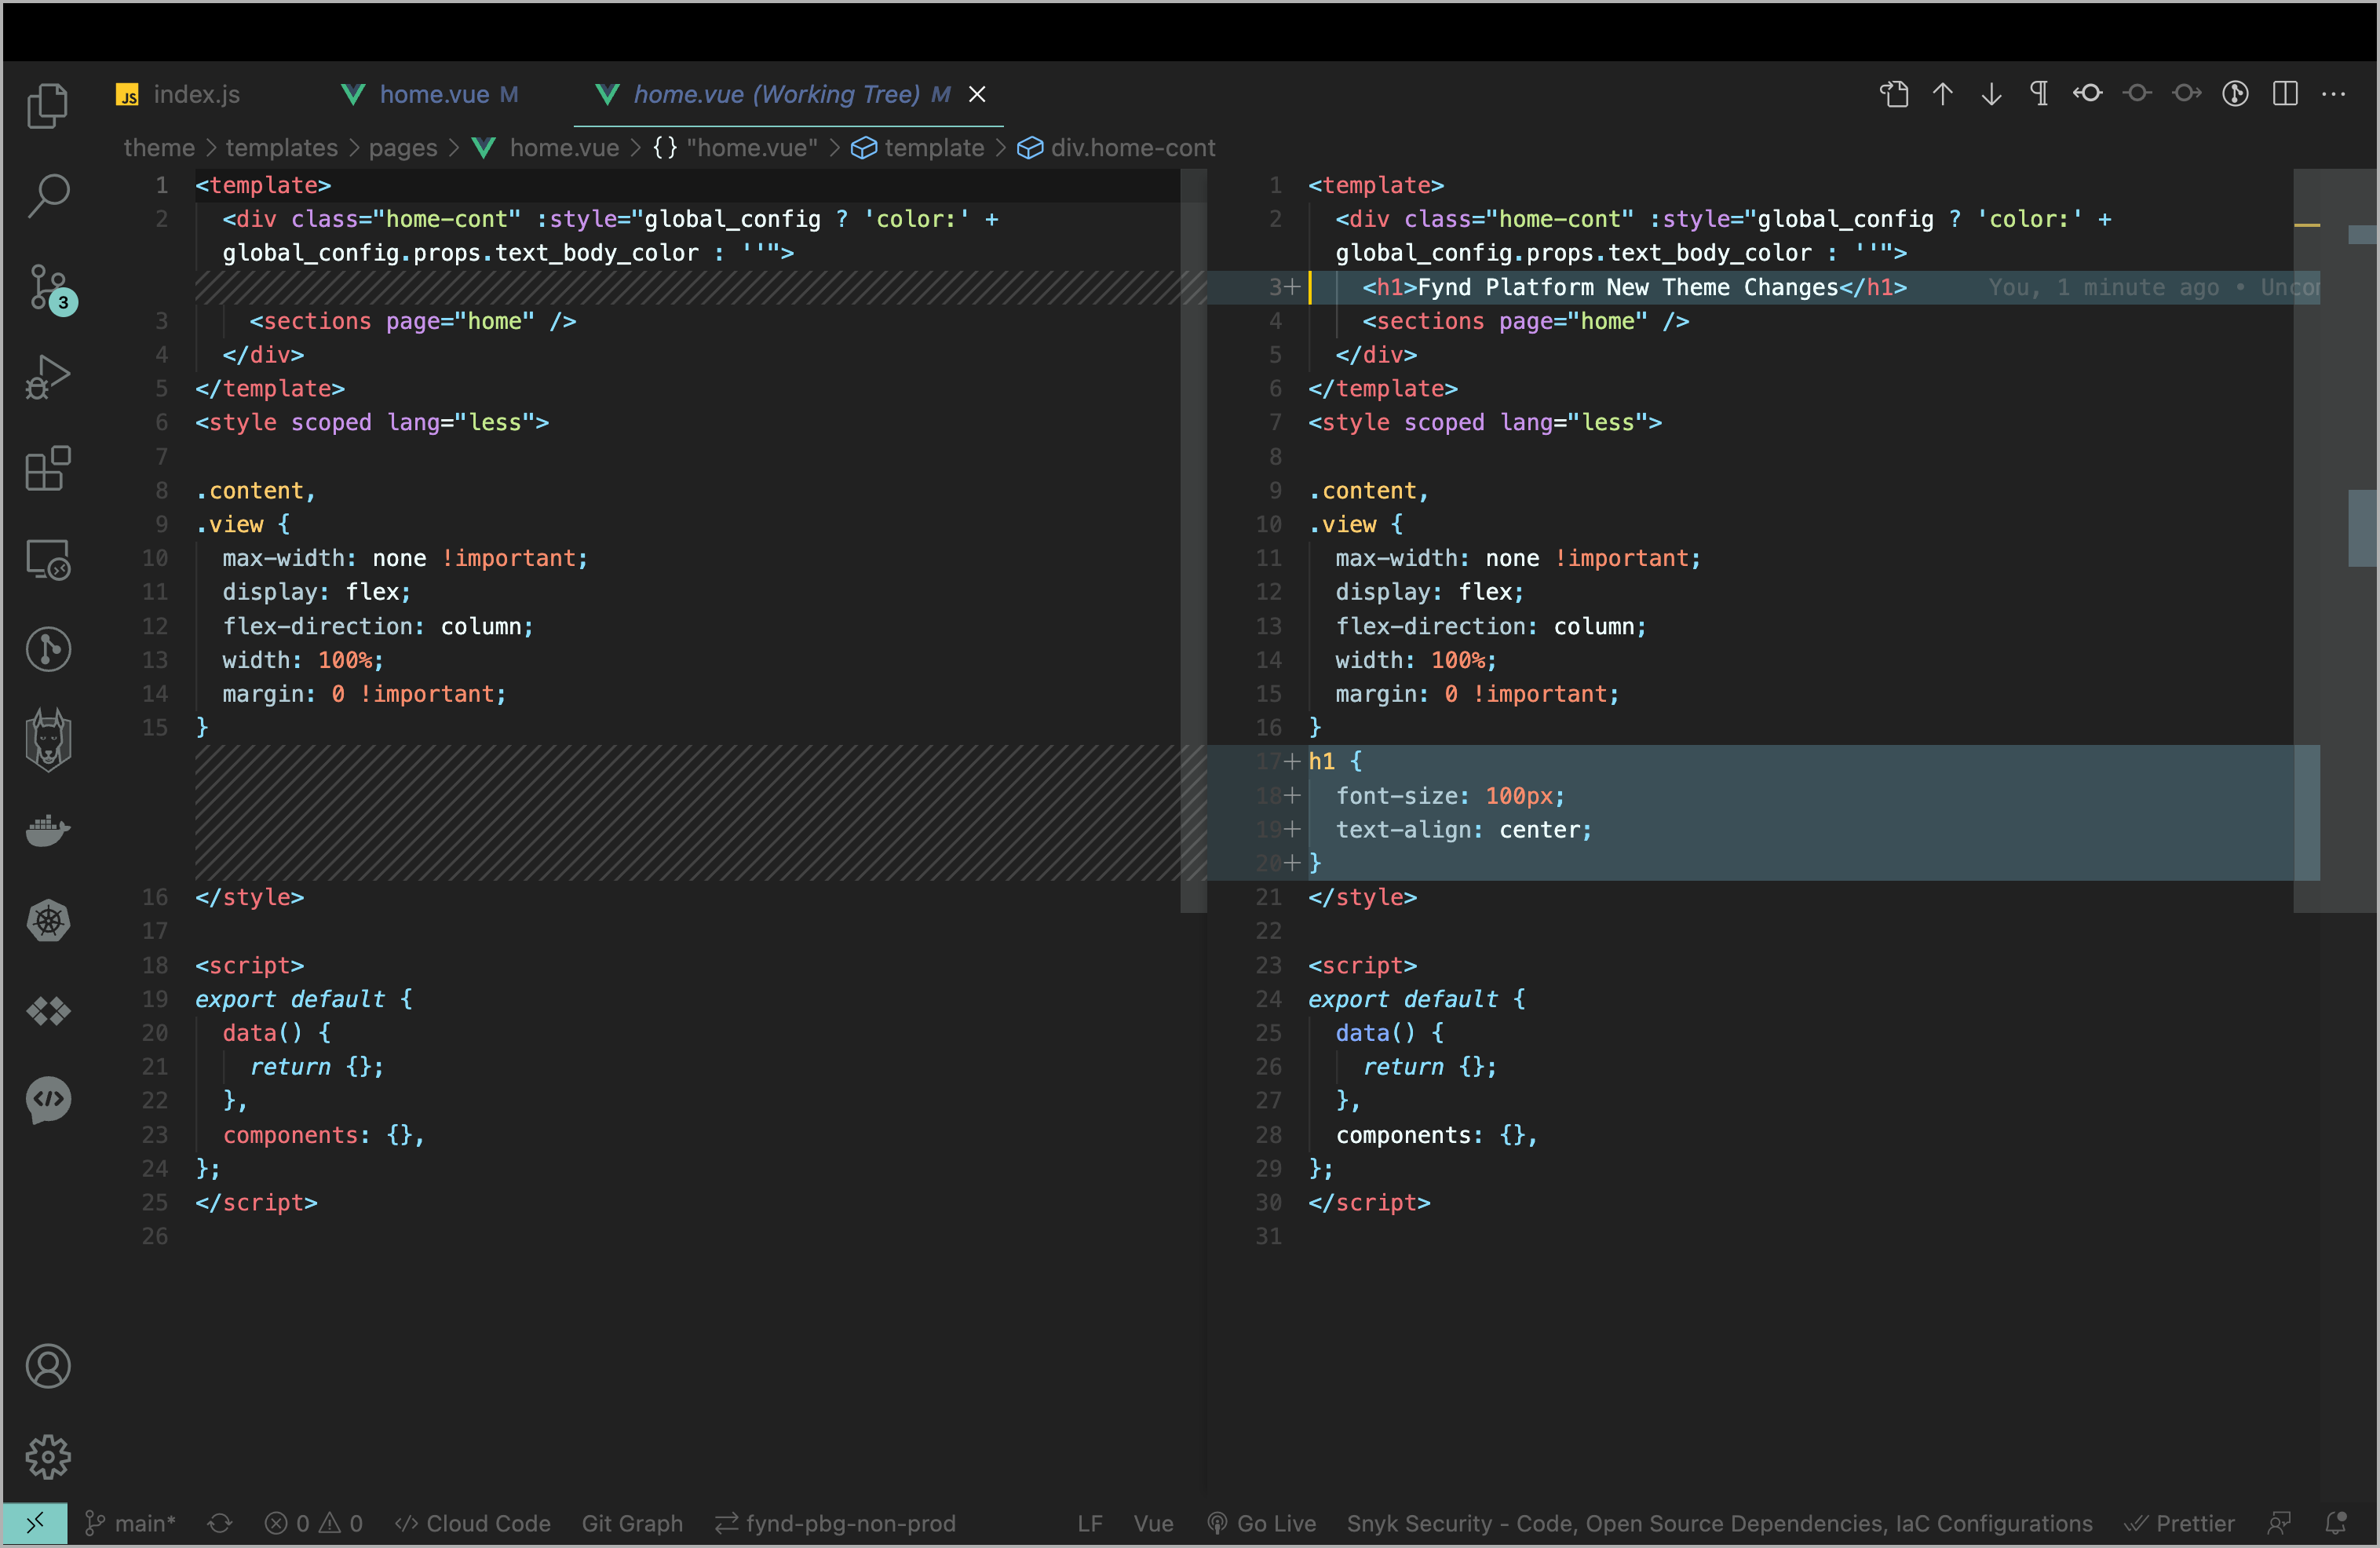
Once the code is added, it will automatically compile, and the changes will be reflected in the local preview if the following command is running. If not, you can run the command again.
You can only preview the changes locally if the theme is not sync.
Sync Theme Changes
If you are familiar with editing and previewing themes locally, proceed with the following steps. Otherwise, refer to the Edit a Theme section (Add features to your theme) above for instructions.
Before syncing the theme to the application, it is essential to ensure that the changes made to the theme are functioning correctly on the local environment.
Step 1: Syncing the Theme
To sync the theme with the application, follow these steps:
- Ensure that you are inside the directory of the theme you want to sync.
- Run the following command to initiate the theme sync:
fdk theme sync. - If the command fails, it indicates a potential issue with the code. In such cases, review and fix any errors before running the command again.
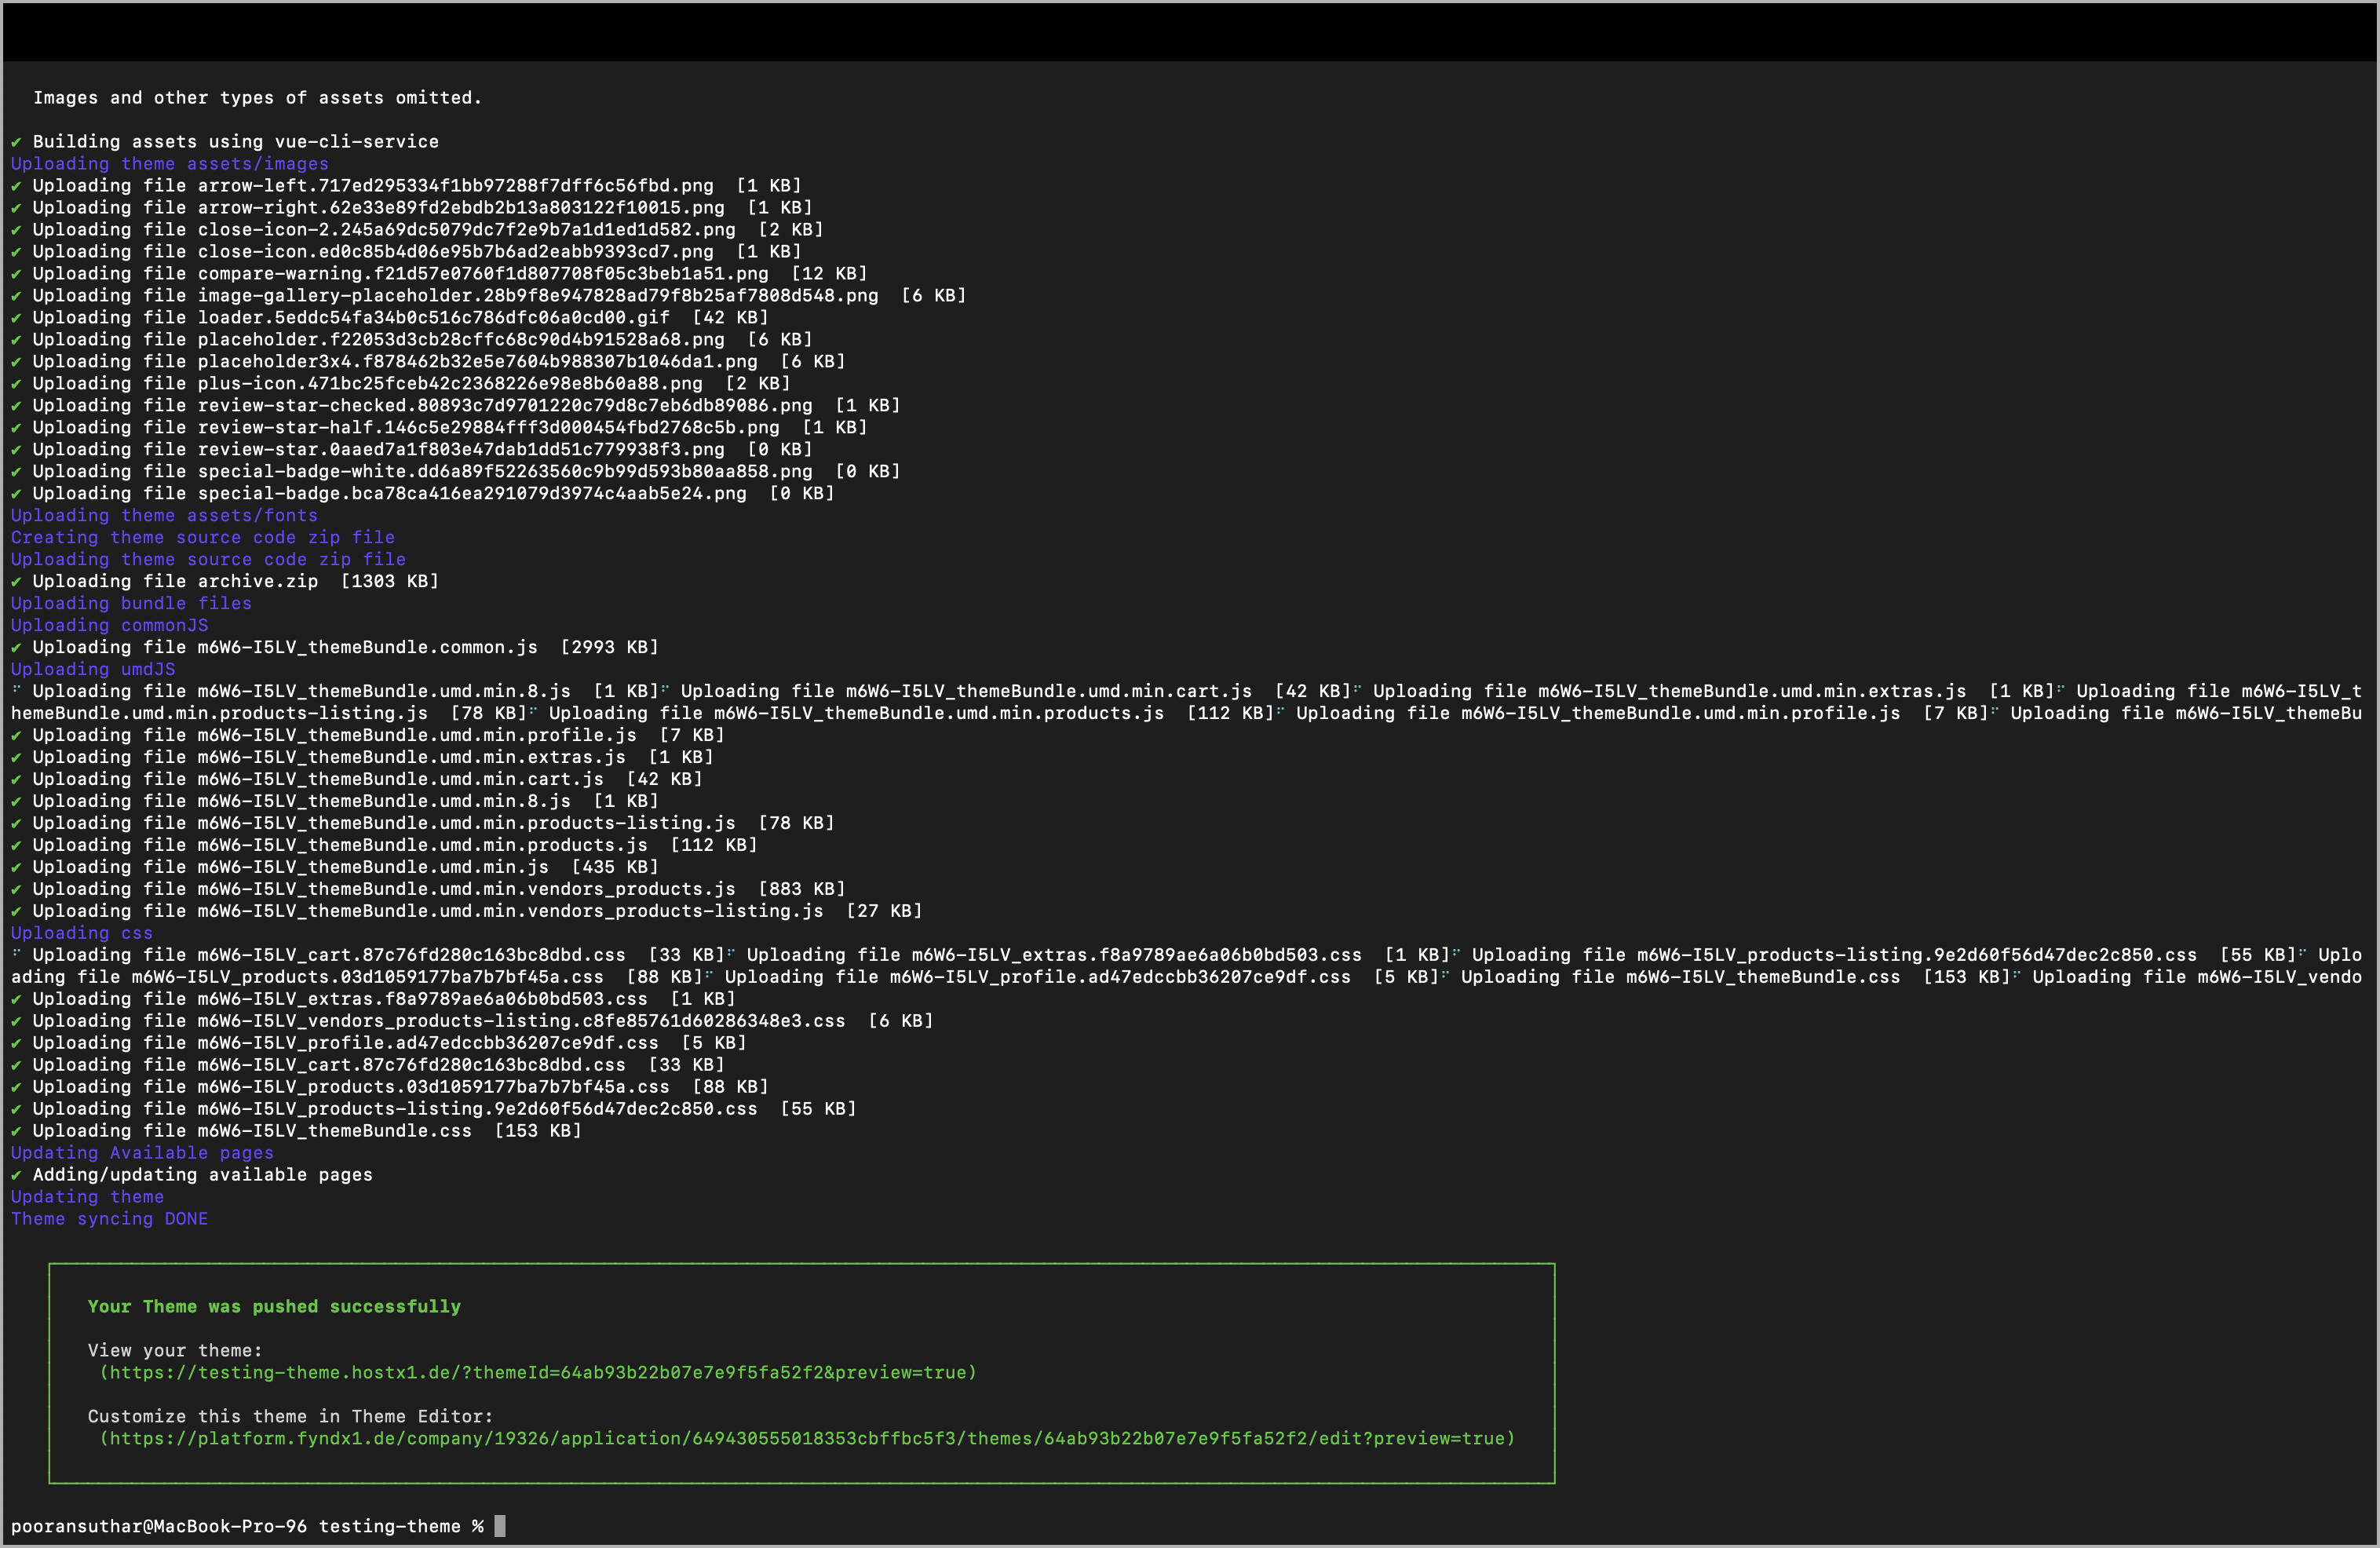
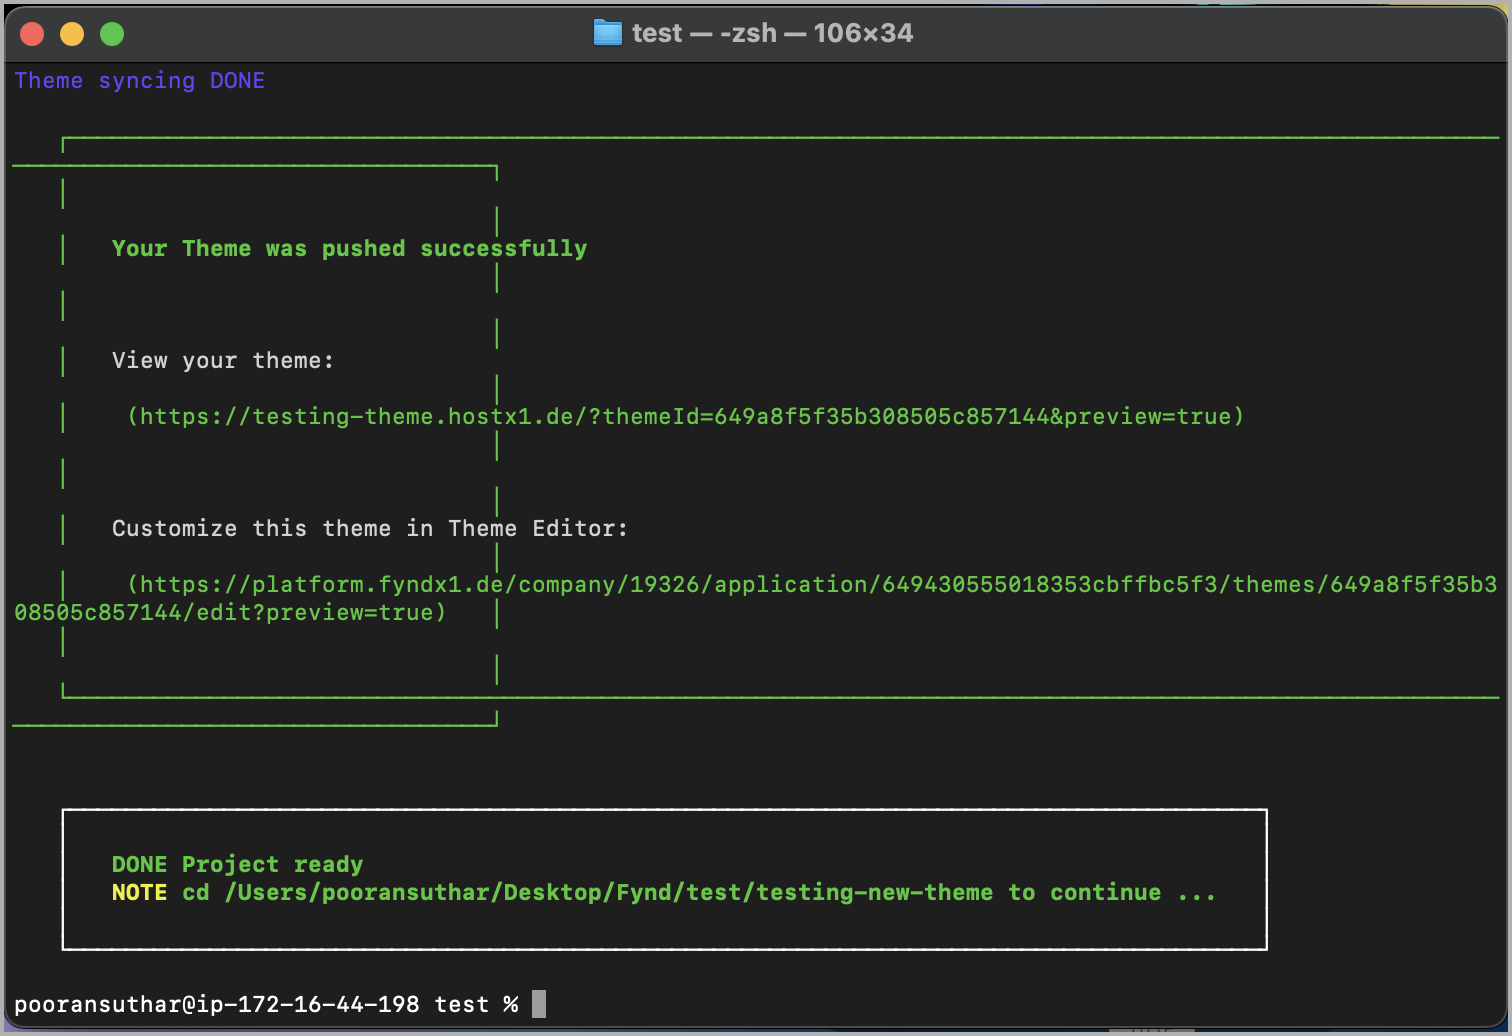
Step 2: Theme Verification
Once the theme sync command is completed, you can verify the changes by executing the following command:
fdk theme open
This command will redirect you to the live preview page of the application, where you can see the updated theme and confirm that the changes have been successfully applied.

Submit a Theme to the Marketplace
Before attempting to submit a theme to the marketplace, ensure that the theme sync changes are running successfully on the application.
Step 1: Create a Theme Package
To create a package zip of the theme that needs to be uploaded on the partner panel, run the following command in your theme directory:
fdk theme package
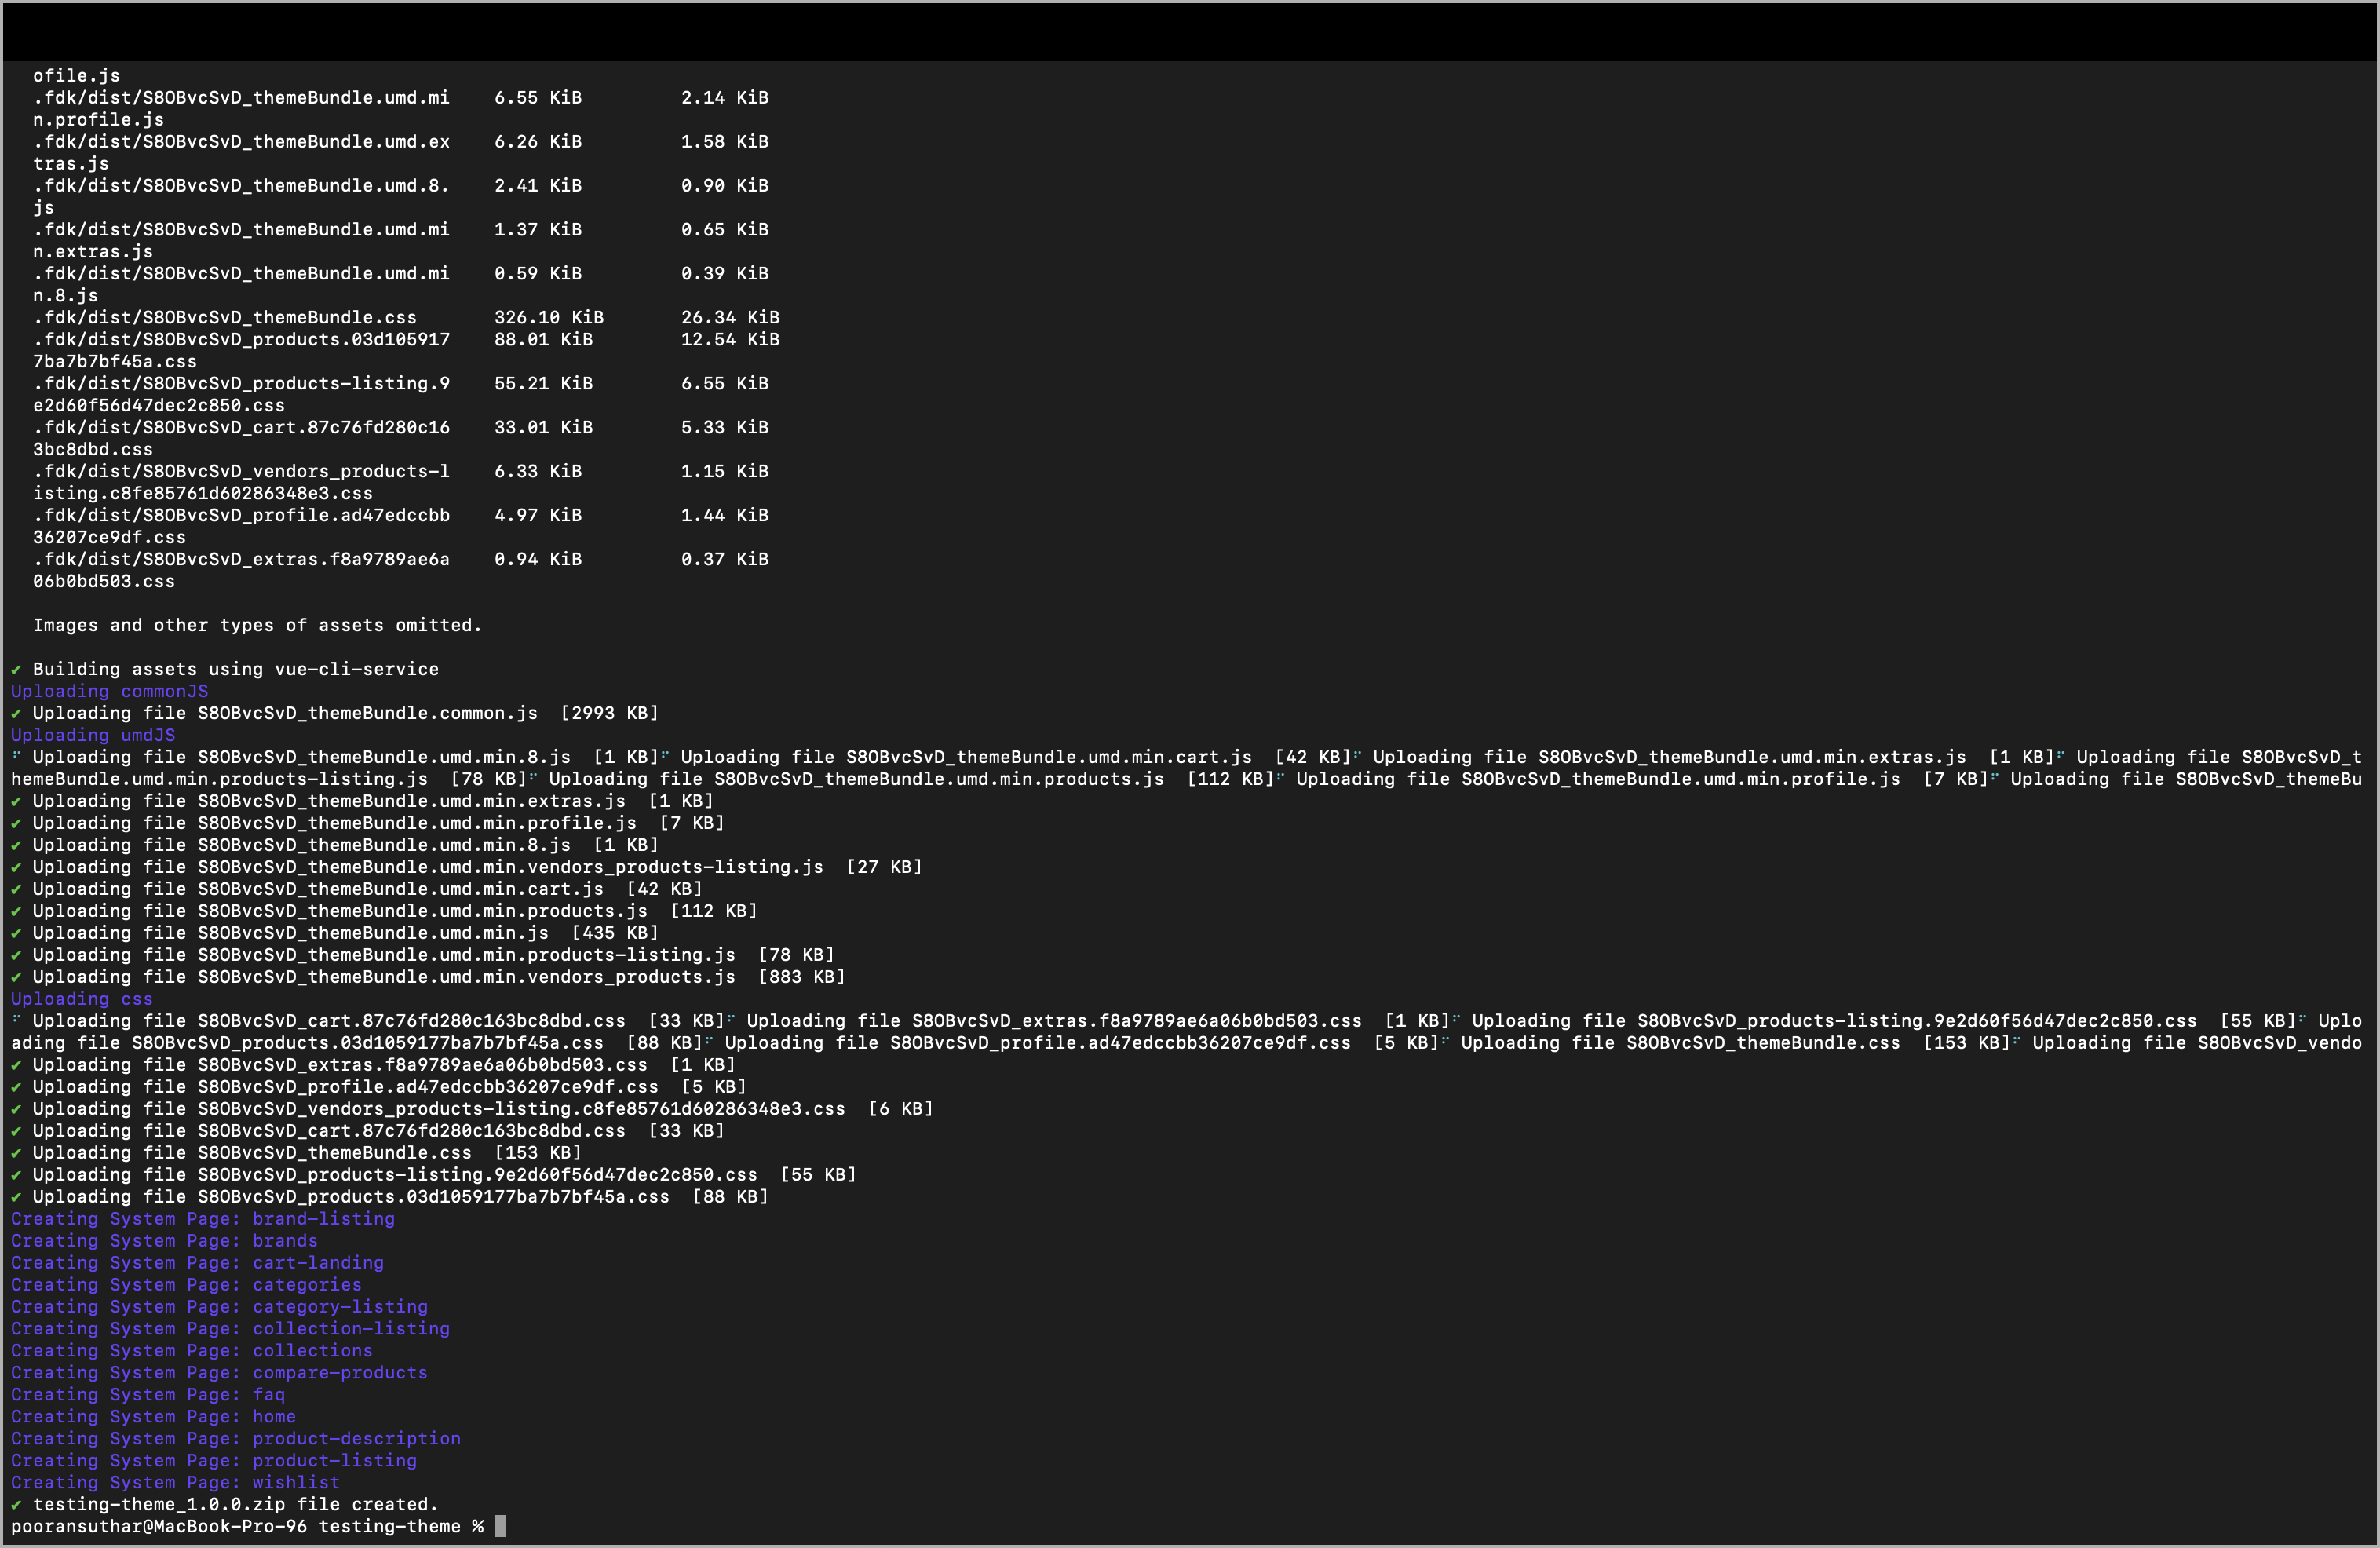
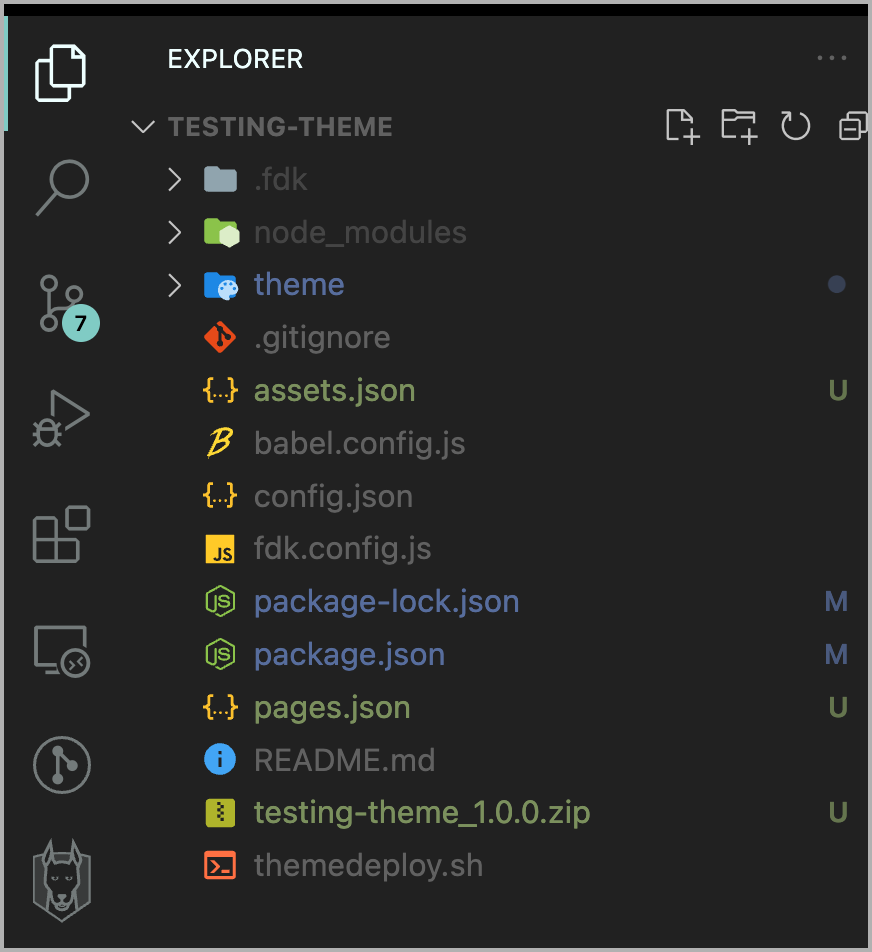
After running the command mentioned above, if you navigate to your theme folder directory, you will find a zip file created with your theme's name and version.
Step 2: Accessing the Theme Submission Page
-
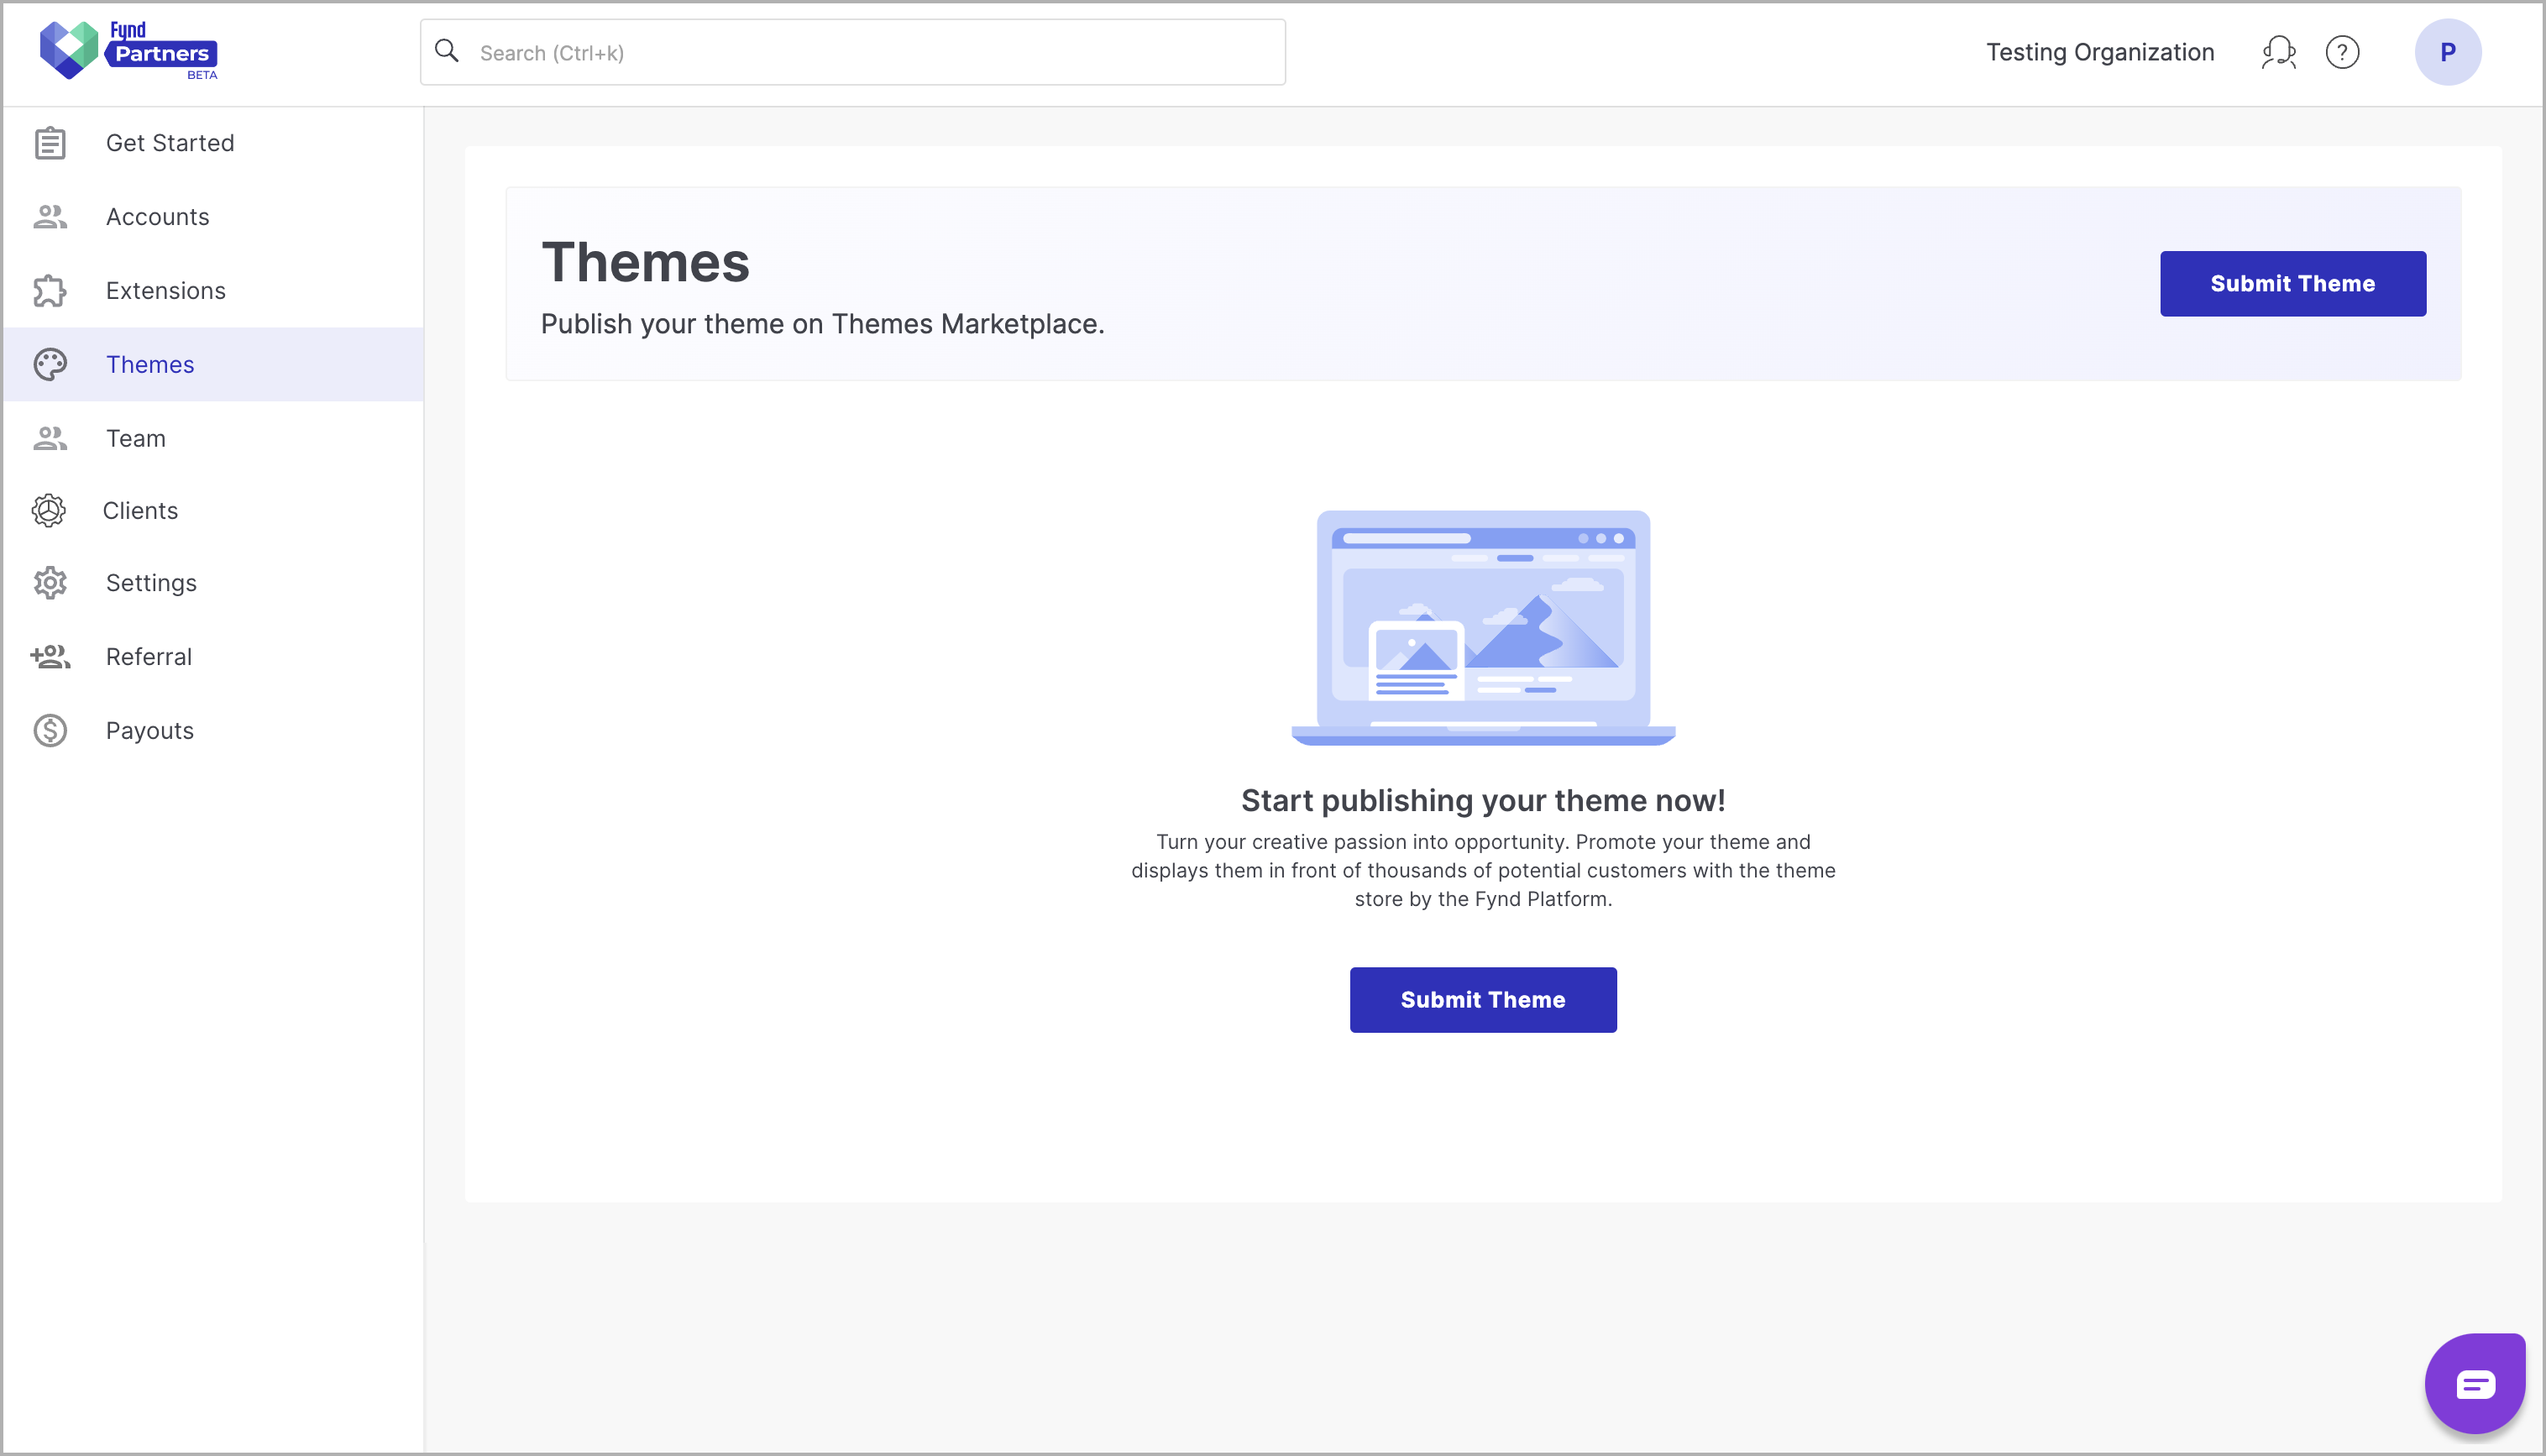
After creating the theme zip file, navigate to the Partners Panel of your specific organization. Once inside, select the Themes tab to access the themes page.
-
Click on Submit Theme in the Themes tab of the Partners Panel. This will open a new page where you can enter the details of the theme you want to submit.
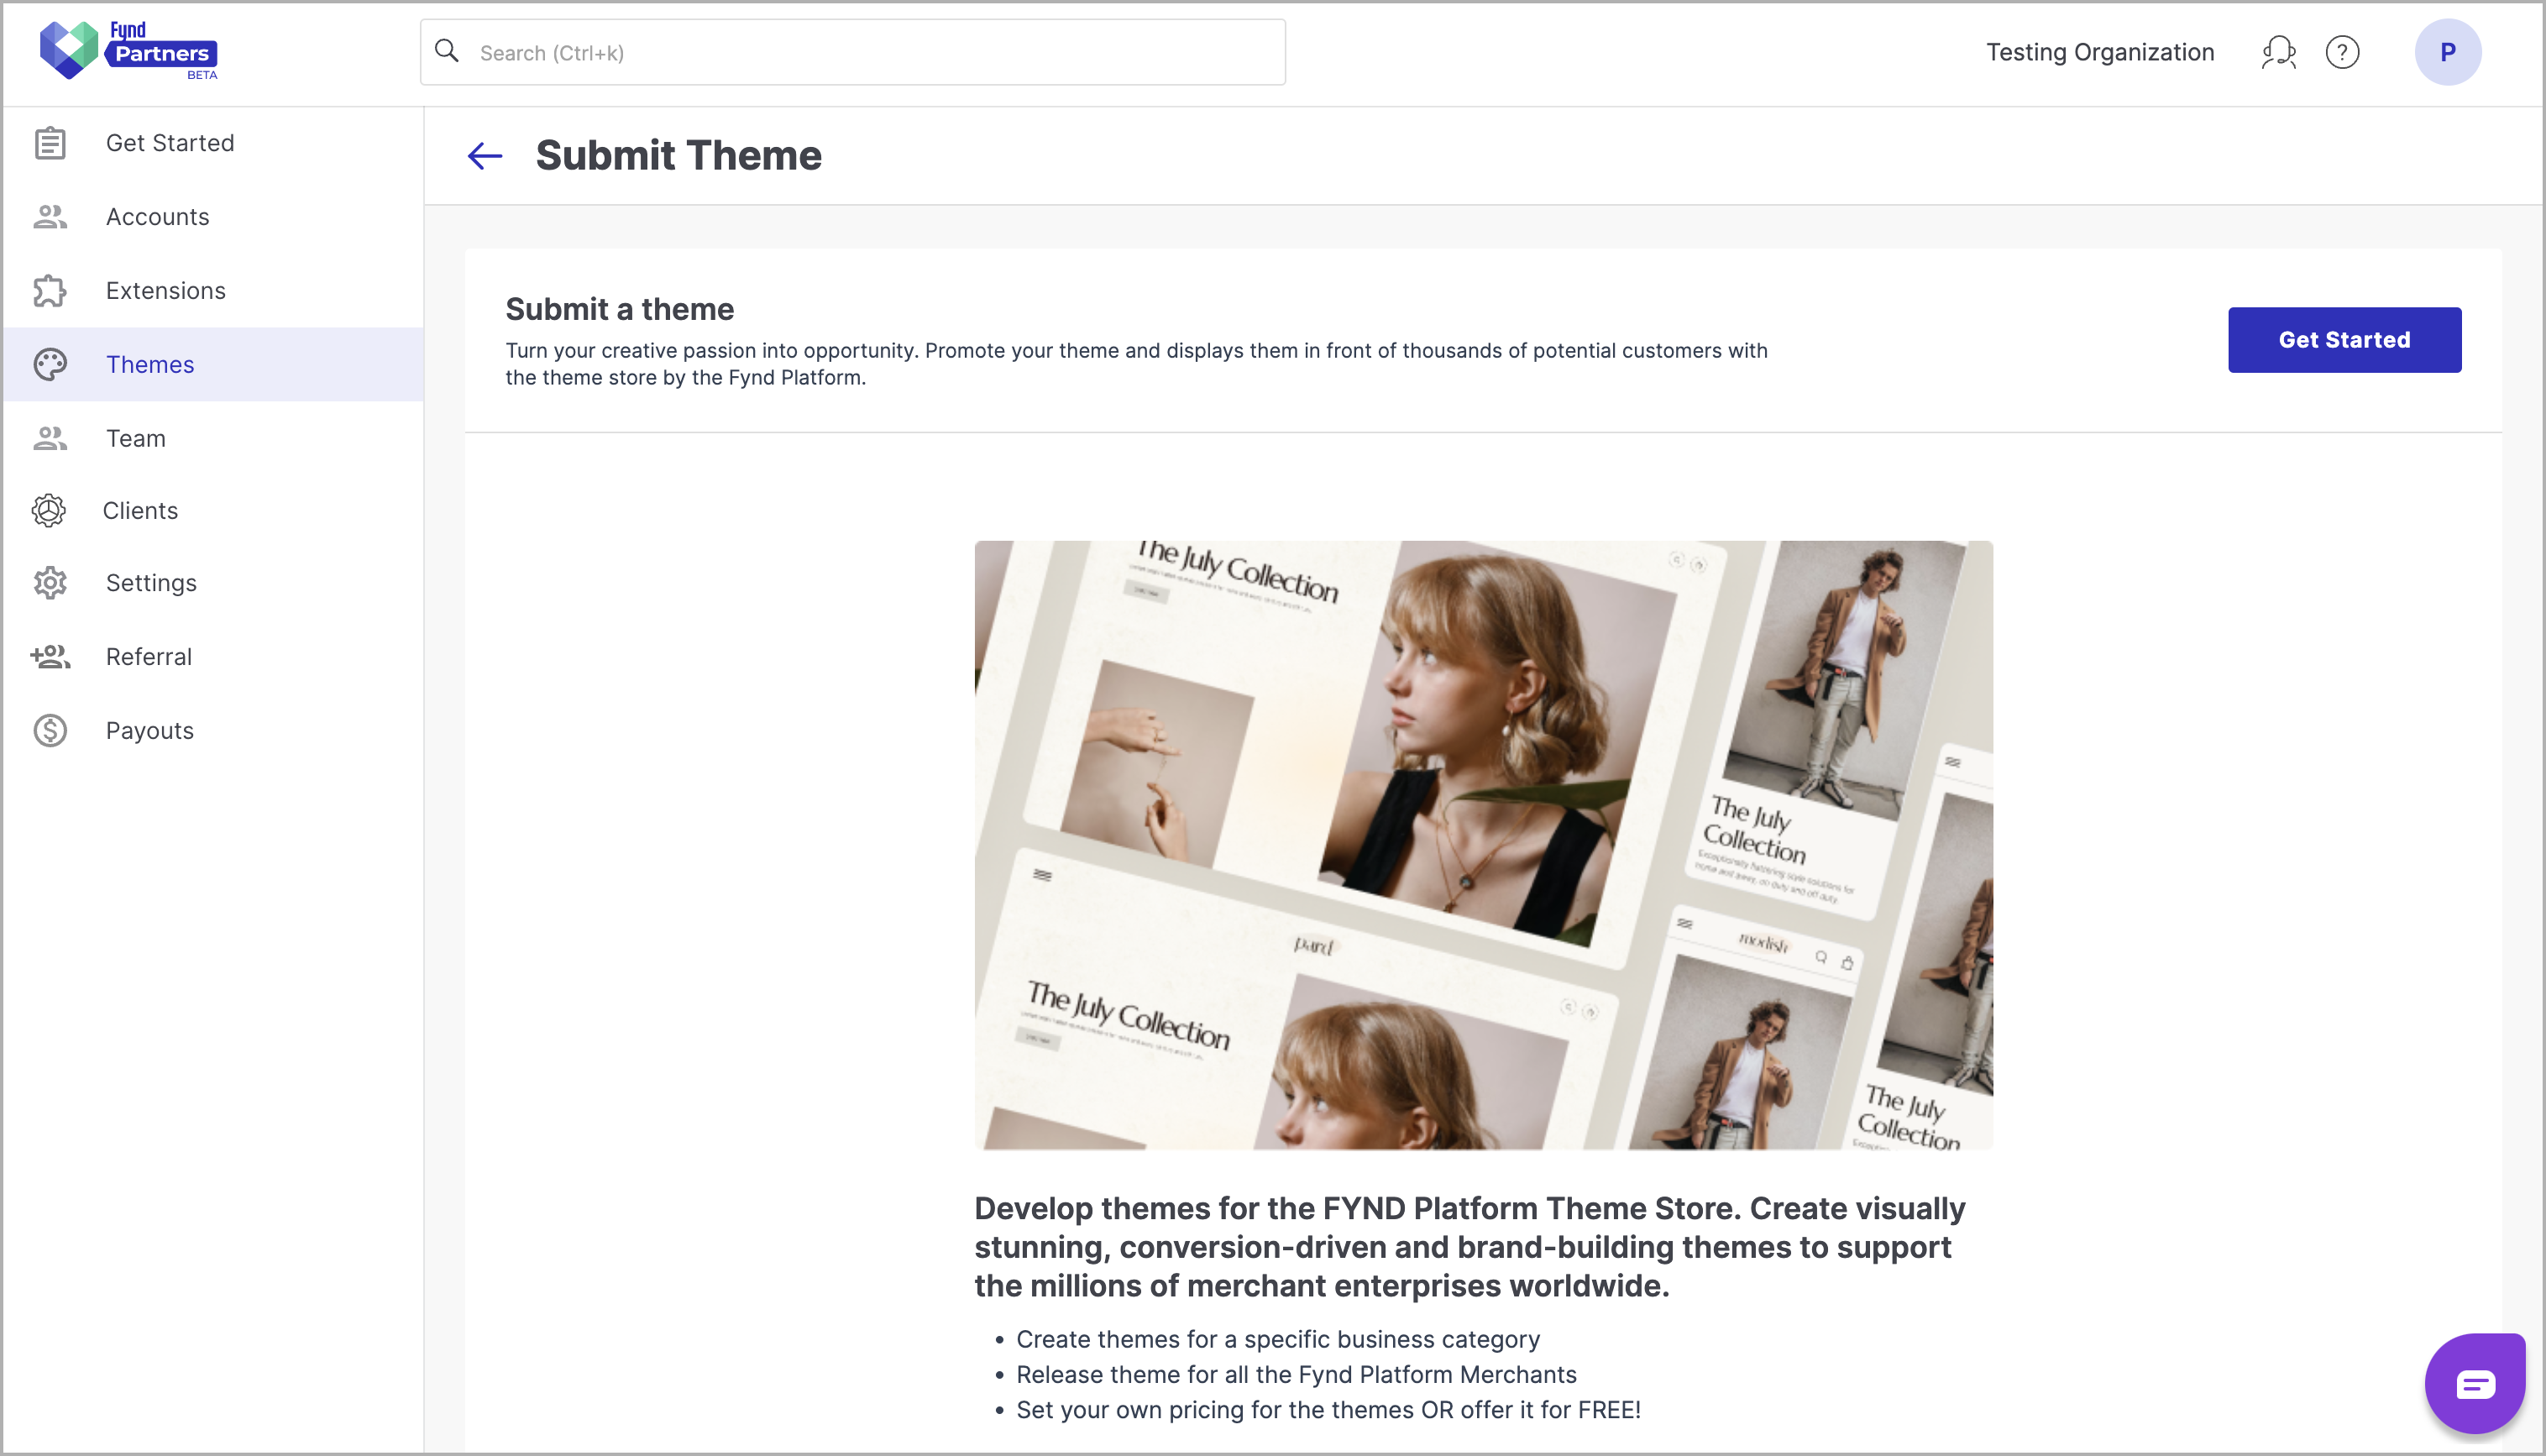
- Click Get Started. This will open a new page where you can enter the details of the theme you want to submit.
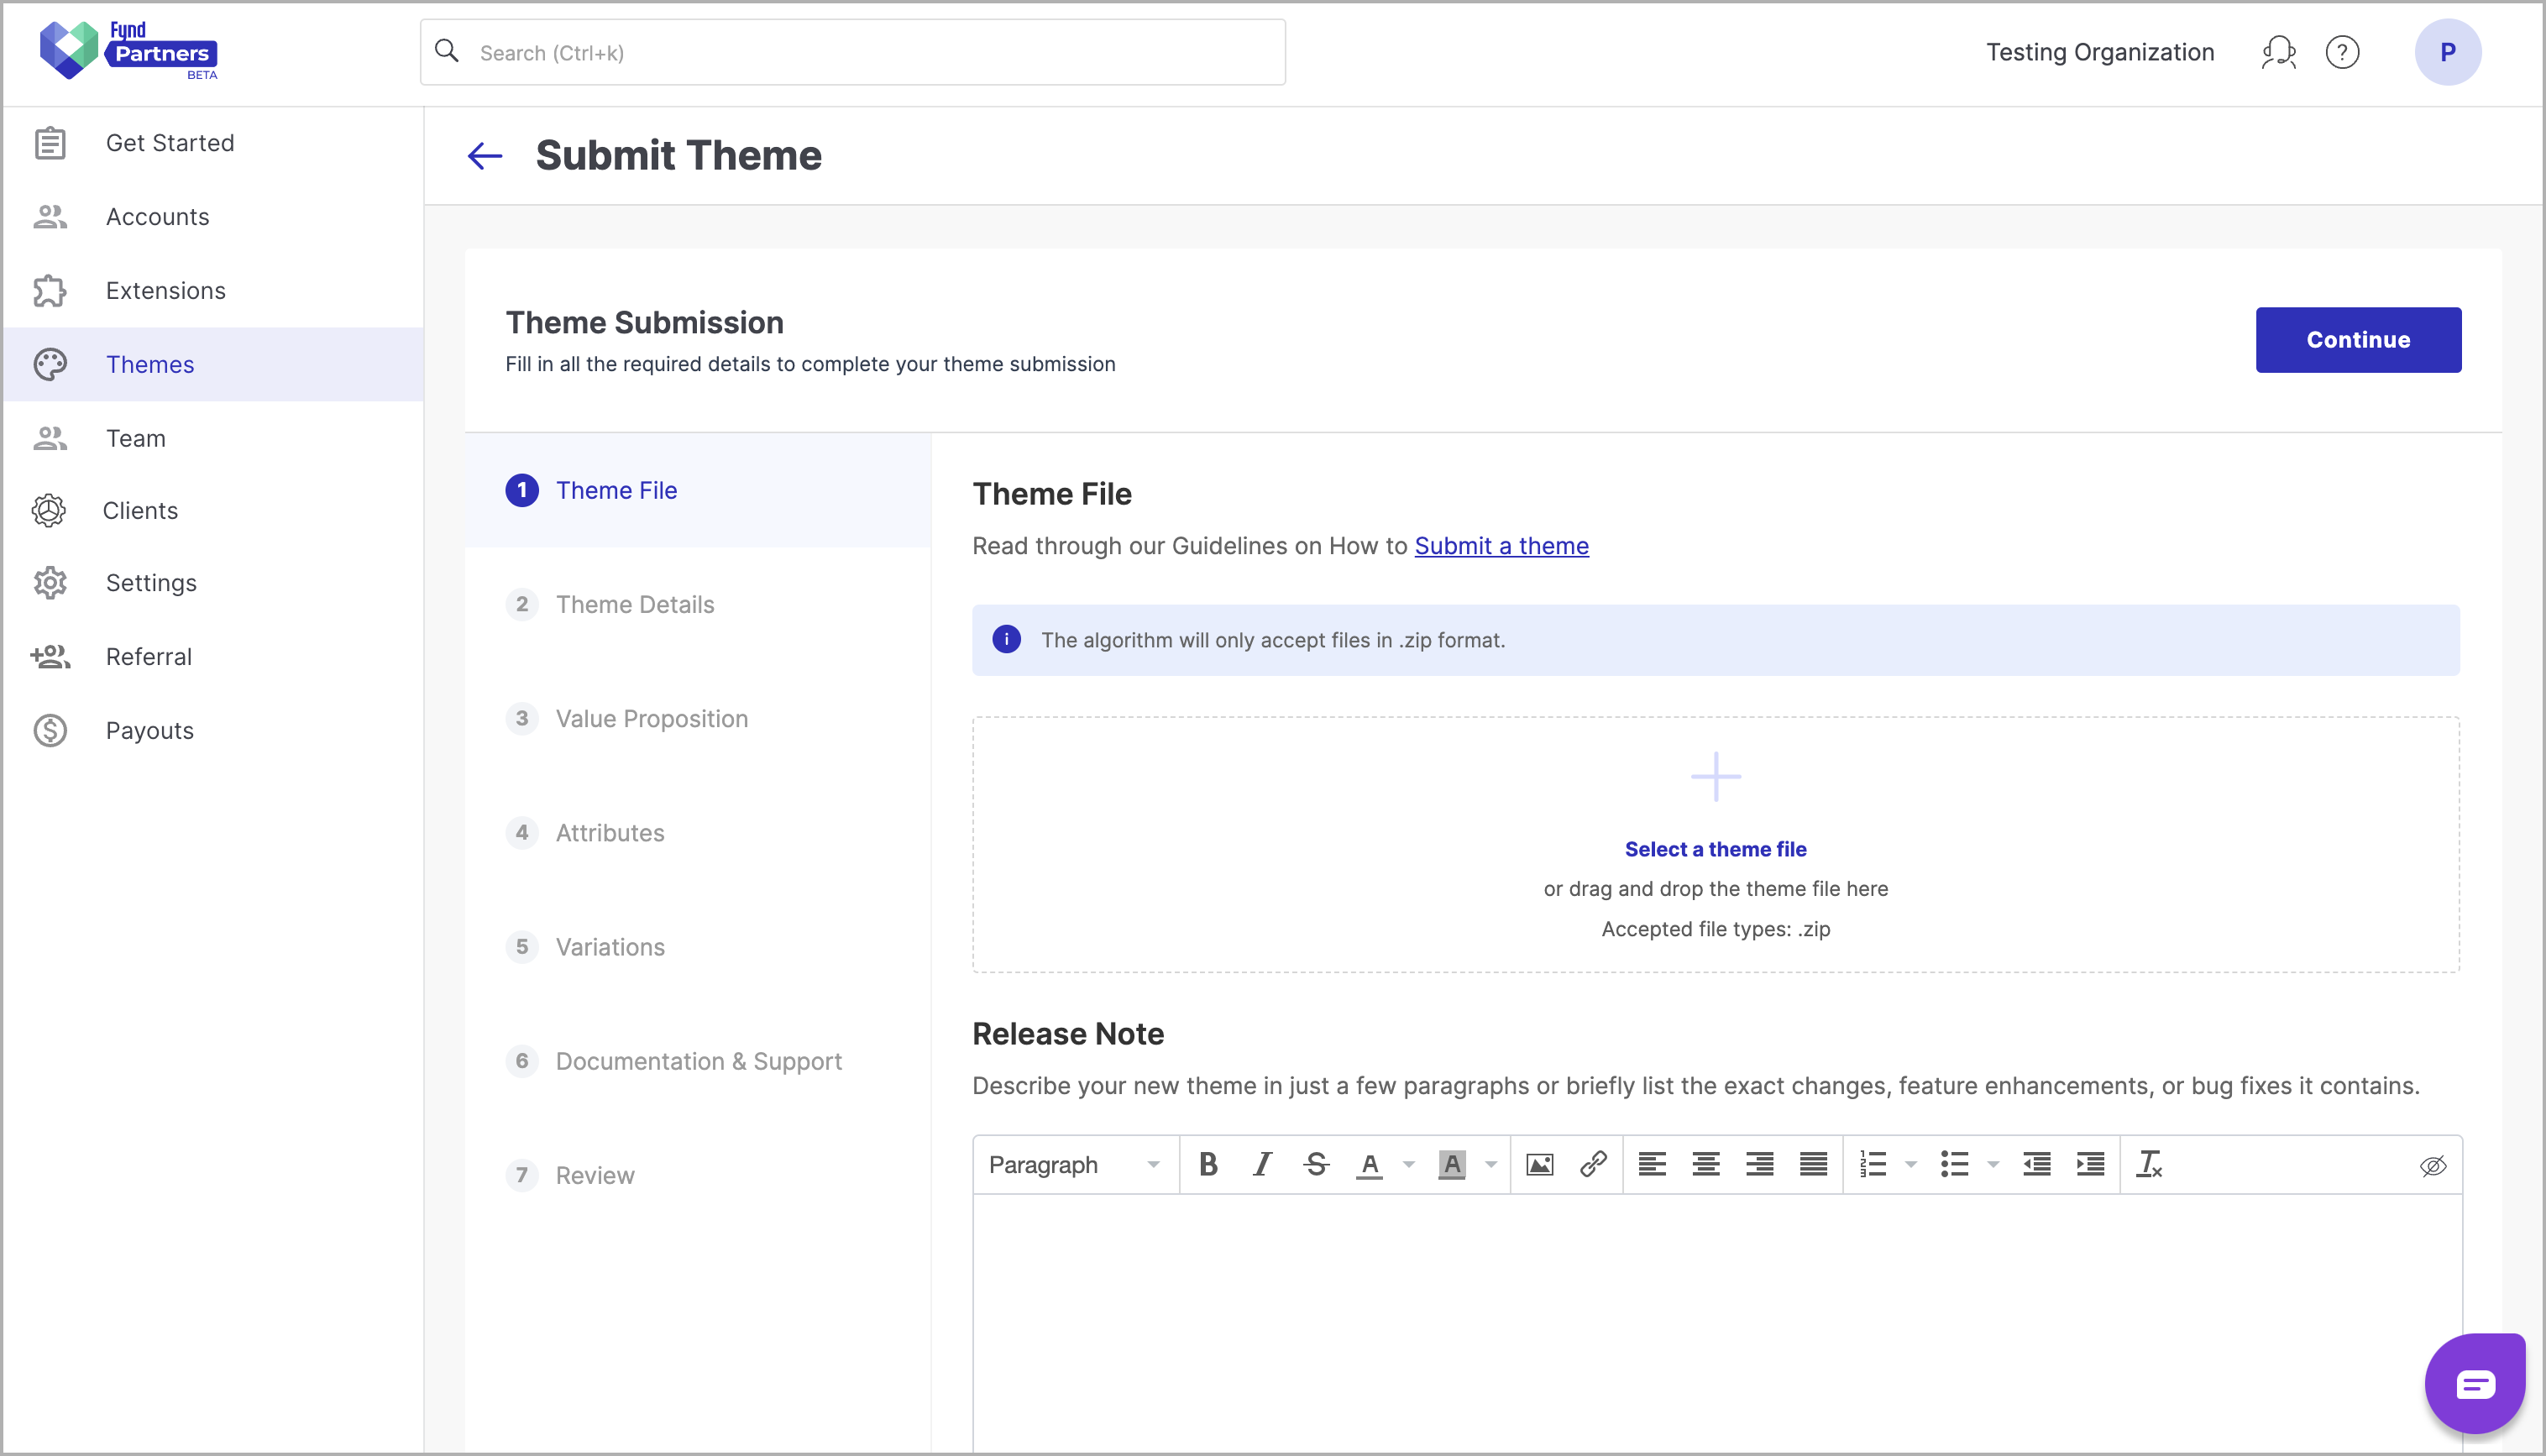
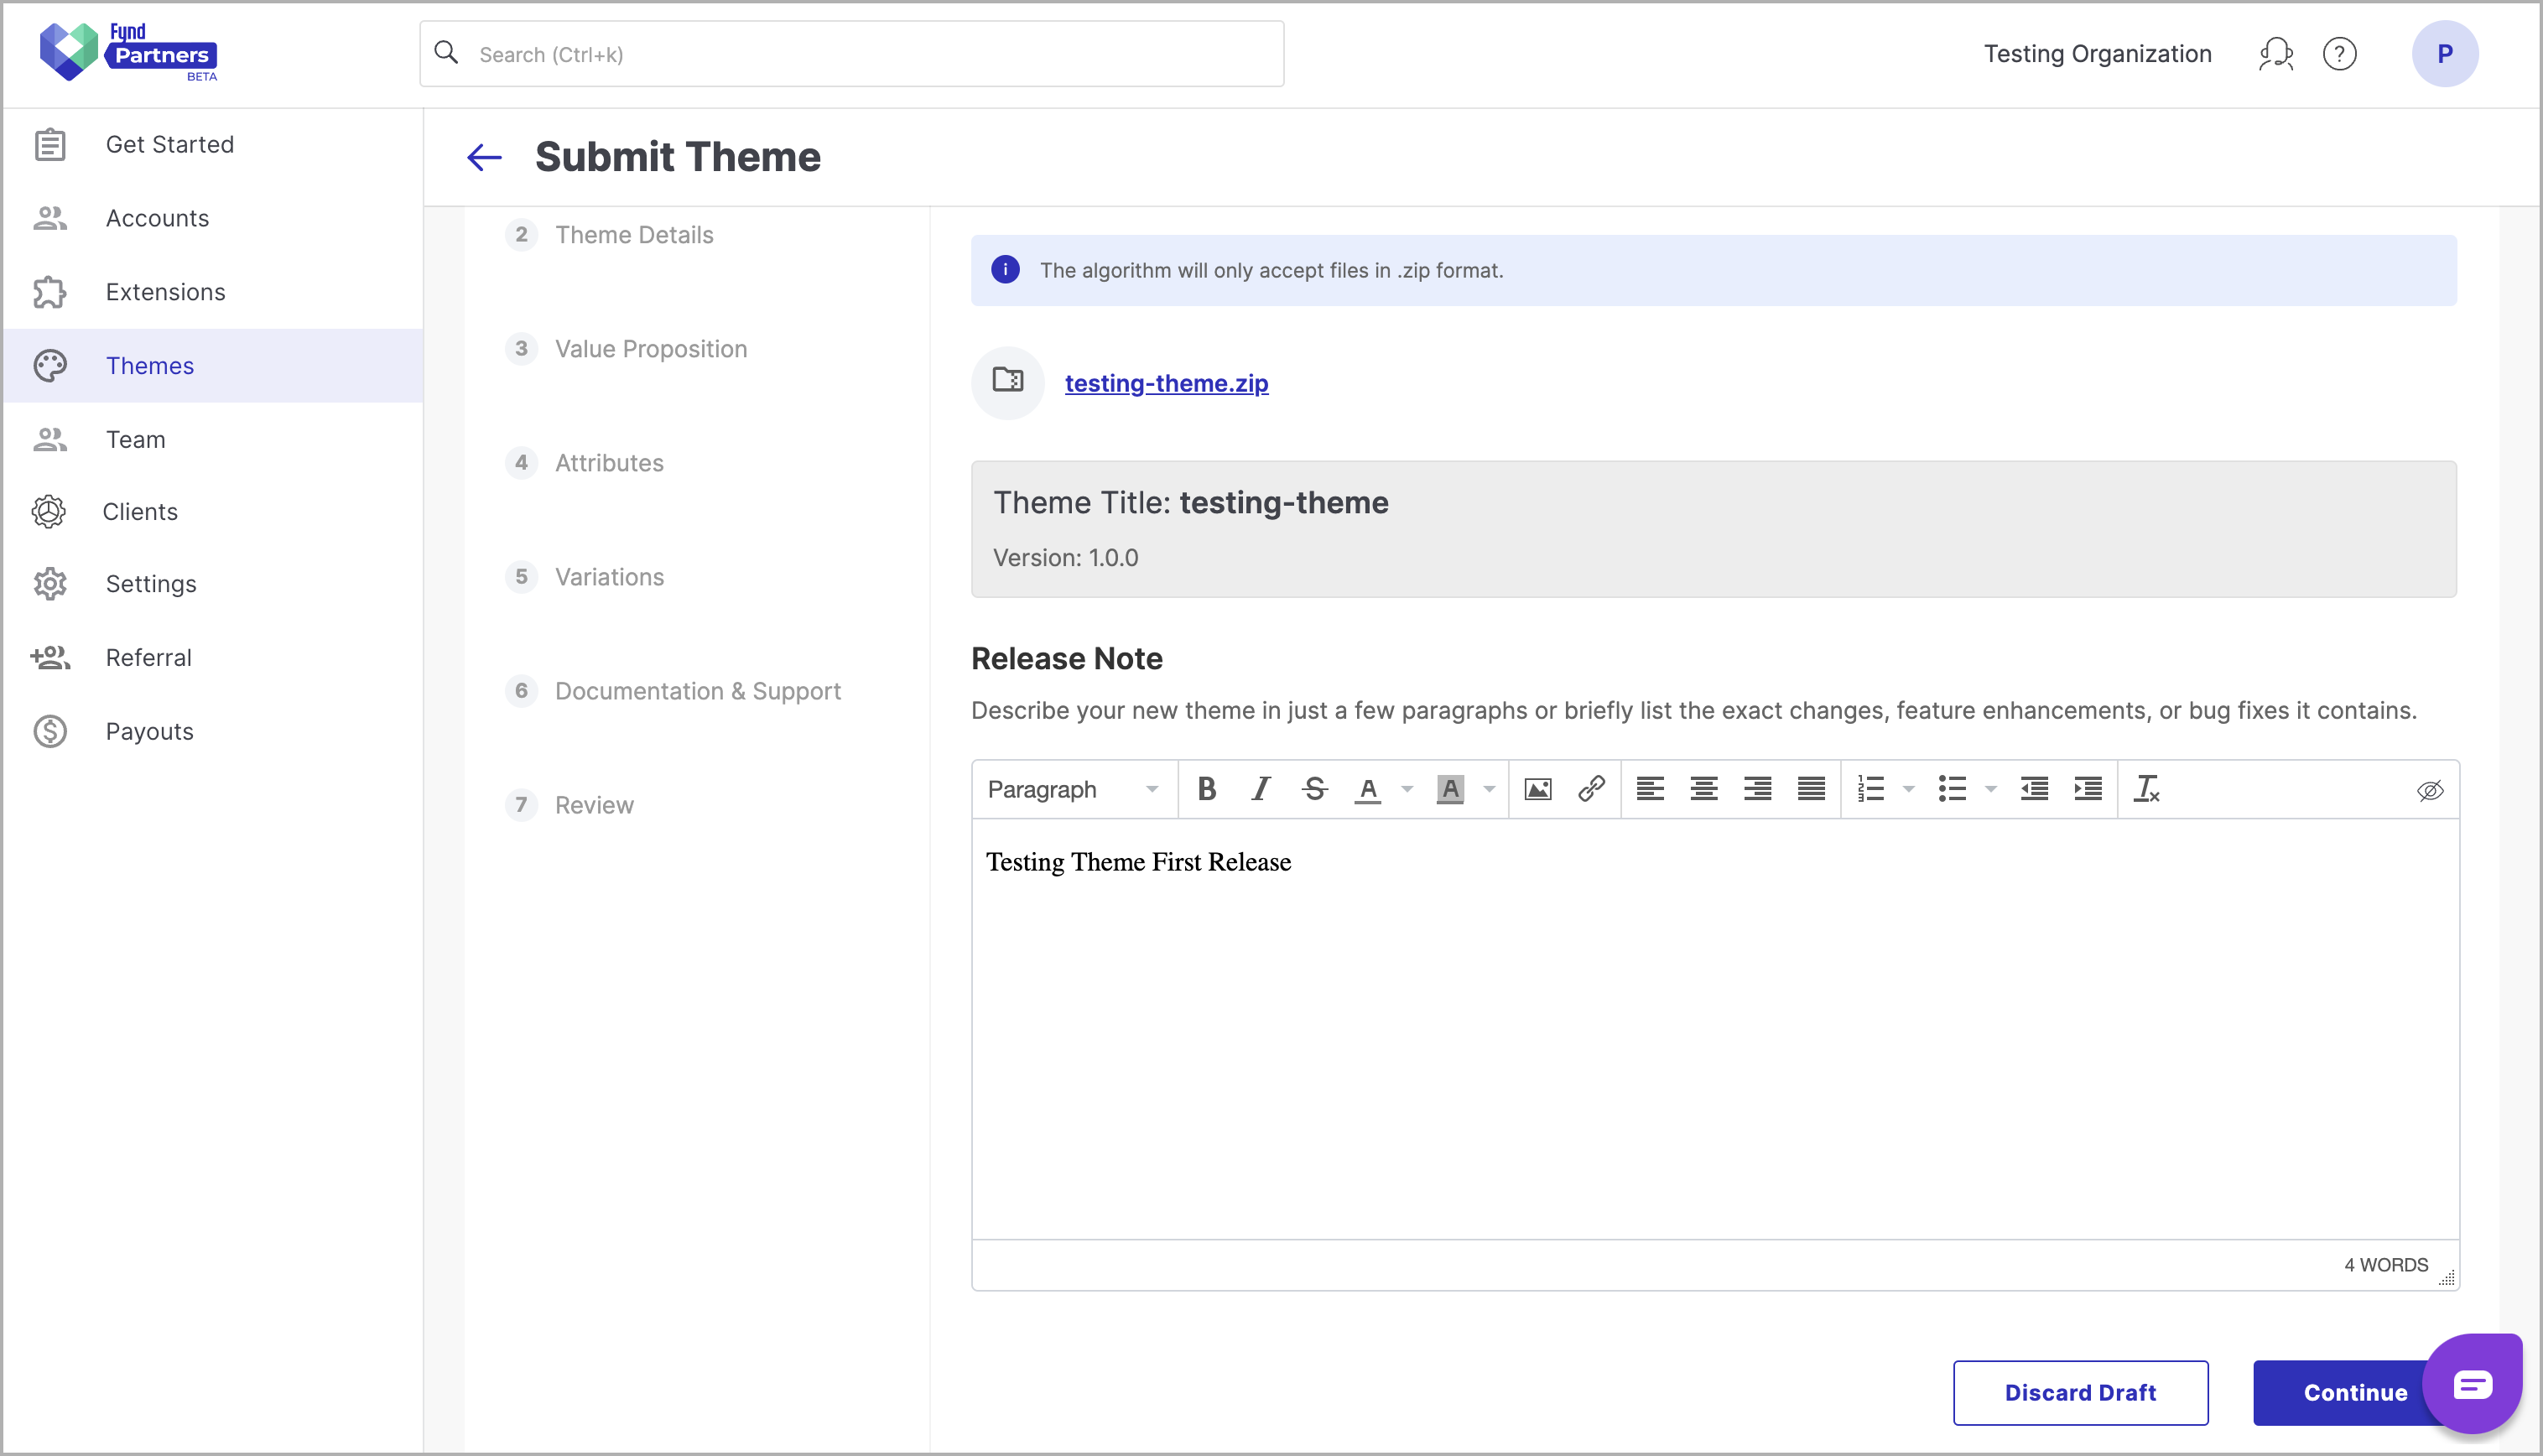
Step 3: Uploading the Theme Zip File and Release Notes
- In the Theme File section, upload the theme zip file you created. Additionally, provide the release notes for the newly created theme.
- Click on Continue after adding both.
Step 4: Completing the Submission Steps
Follow the subsequent steps to provide details such as attributes, variations, and more. Once you reach the Review step, fill in the necessary information and submit the theme.
The submitted theme will undergo a review process and can be approved or rejected.